How to Seed Start Indoors | Budget Gardening
Seed start indoors with this step-by-step tutorial for a high-yield, budget-friendly garden. Seed starting is a great self-sufficient skill to teach the whole family for healthier meals, deeper nutrition and better food security in an unstable world economy.
Once I planted my first garden six years ago, it didn’t take me long to fall in love with the whole natural process from start to finish. I loved it all from planting to harvesting to preserving for year round eating. Every year I wanted a new challenge like more production or a new crop or a different way to preserve a certain harvest of something.
With these challenges, it didn’t take me long to realize that with a garden as large as ours, I needed to learn how to seed start indoors. Sure, the satisfaction of doing it myself felt amazing. The self-sufficiency of it all is a huge reason why I encourage others to learn seed starting.
But really it was the cost of buying starts every year for our large garden that pushed me to learn seed starting. After awhile, I felt like I wasn’t saving money with a garden.
I gained the confidence to begin after watching tutorials at the School of Traditional Skills, and last year was the first year I tried with our set up. I was highly successful with most seeds. For those I couldn’t conquer, I bought them at the local nursery (like herbs and marigolds). At least I drastically cut down on the amount of money spent every May.
And this year I’m determined to cut down on the local nursery all together. I refuse to give up! So if you’re like me and want to challenge yourself and save money on a big garden, I wrote this step-by-step seed starting guide just for you.
Why You’ll Love To Seed Start Indoors
Creates self-sufficiency and resiliency – These two qualities are important life skills to cultivate and grow. They’re necessary for many aspects of life, but for food and financial security, the stakes are even higher. When you learn to seed start indoors, you produce for yourself and rely less on a consumption based economic system.
Budget-friendly – When you seed start indoors, it’s way easier on the pocketbook, especially if you have a large garden like Luke and I. It’s even better if your home has ideal conditions like a big sunny window by a furnace register for added warmth or if you have a greenhouse. Our farmhouse itself isn’t conducive for seed starting so we force the conditions. You’ll see in our setup below we did have to invest in shelves and lighting the first year, but now we only have the cost of seeds. Much more budget-friendly than going to the nursery every May!
Higher crop production and yield – Until I learned how to seed start indoors, our yearly food preservation plan and budget dictated how much I could spend at the local greenhouse for garden starts. Now I can start as many seeds as I’d like (depending on space). I also have the ability to double my yield with a spring and fall crop of some plants like carrots and brassicas because I’m not relying on the local nursery starts solely in springtime.
Helpful Hints to Seed Start Indoors
If you’re looking to add seed starting to your gardening skillset, it’s important to note it marks the beginning of the gardening season. That’s why I highlight the following things to consider because it’s easy to do, but requires effort.
Conditions
You need to be honest with yourself and consider if you have the right conditions in your living situation to seed start indoors. Remember, some seeds are more finicky to start than others. Perhaps some seeds can be started according to your plan, while others may need to be purchased from the local greenhouse (for me that’s herbs). Think about this:
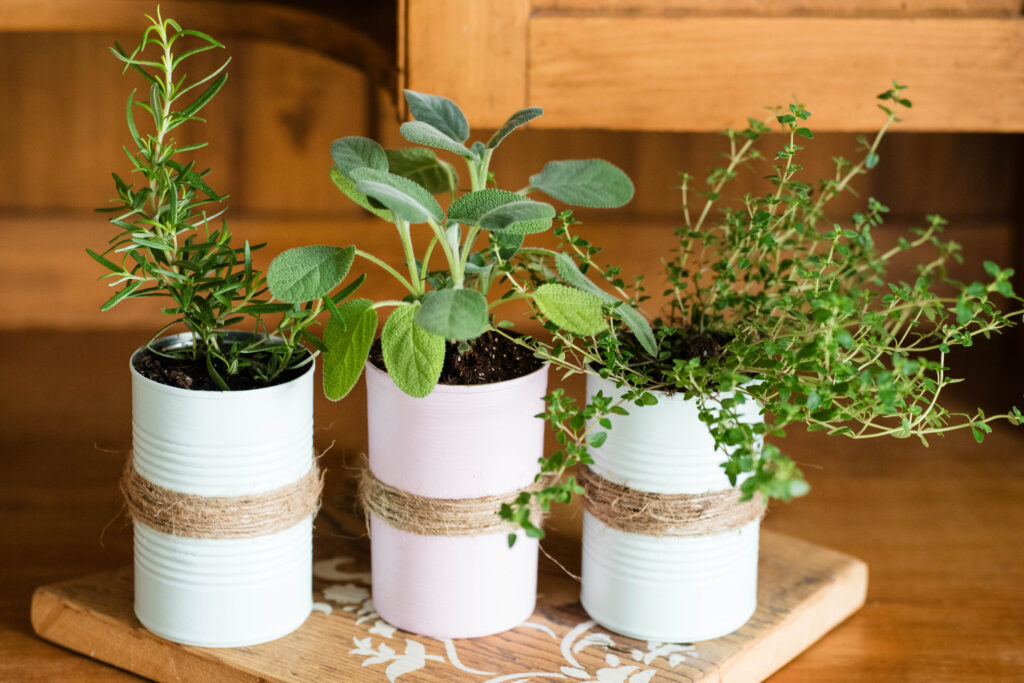
- Space – Do you have the physical space with the right conditions? If you only want a few herbs, they require a sunny windowsill in a cute little terracotta pot or decorated tin can. But if you’re looking to start a sizable amount of seeds, you’ll need a bigger space than that.
Do you have a spare bedroom or space in the garage or basement? Do these spaces have enough natural window light for eight or more hours a day? Are they warm enough? Remember, seeds need warmth to germinate and light to grow. You’ll also need room for tables or shelving and lights (if you need to force growing conditions like I do.)
Also consider aesthetics. Do you want tables and containers with soil in your nice living room even if the growing conditions are right? That’s okay if you do, but most people prefer not to clutter their living spaces.
Make a Garden Plan
Honestly, don’t skip this step! In the heart of December, January and February, this is the perfect time to draw out a plan and order seeds. If you need guidance, I wrote a post just for you. For a higher yield and cost savings on food, consider planting spring and fall crops. And don’t be afraid to experiment. I finally decided to direct sow carrots for a fall garden last year. Turns out the colder the weather, the bigger they grew. Who knew?! Basically, a plan guides what seeds need direct sowing verses what you should seed start indoors.
Time
Seed starting is easy to do, but it requires time and effort. You might have the initial time it takes to start the seeds, but then you need to tend to them. They need watering and fertilizing and sometimes you’ll have to re-start the seeds that didn’t germinate. Then they need hardening off before planting. Does your schedule have time for this?
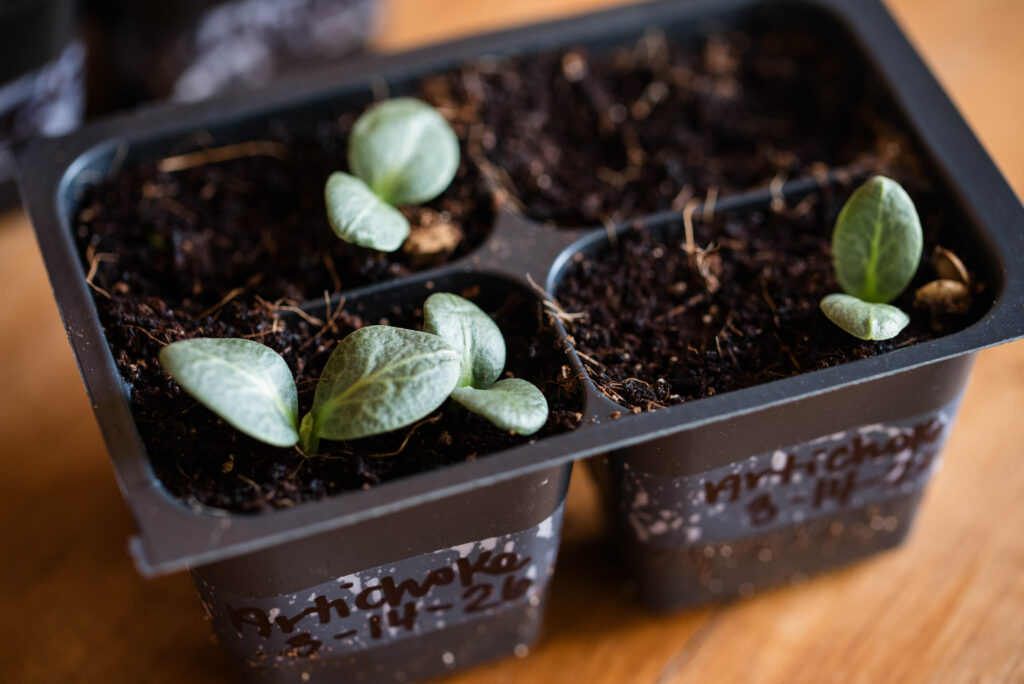
More Helpful Tips for Successful Seed Starting
- Remember, all containers need holes for drainage and water uptake. When seed starting, containers are watered from the bottom up, so the seeds don’t become water logged and rotten. For tin cans, use a drill bit or hammer and nail to make holes and for soft plastic containers and red solo cups, use a heated nail or needle to melt holes into the plastic.
- There are many budget-friendly seed starting container options. Save cardboard rolls from toilet paper and paper toweling. If you buy starts from a nursery, save the plastic containers. Save sour cream and yogurt containers, etc. Get creative and don’t invest a lot of money. Avoid trendy containers like egg cartons, egg shells, citrus rinds, etc. because they are too small and become moldy before seedlings are planted.
- Be careful when watering the seeds and starts. Mist the top of soil with water until they germinate and then cautiously add water to the bottom of the pans. If they’re overwatered, the soil could grow fungus and mold.
- Only start as many seeds as you want to plant in the garden. I know it’s tempting to plant more thinking some seeds won’t germinate, but what if they all do? I know from experience I can’t waste a good seedling, so of course they all get planted. But that tiny tomato or huckleberry seed turns into a huge plant by late summer that produces a lot of fruit to harvest not to mention all the pruning and watering it requires. If you want to share seedlings with family and friends, which I encourage you to do, go ahead and start extra seeds. Otherwise, use restraint and only start what you want to take care of in the garden.
- Keep lights about one inch above containers. This avoids leggy seedlings, ultimately creating a stronger plant for outside.
- Understand the difference between cold stratification, seed starting and direct sowing. This ensures successful germination rates.
Cold Stratification
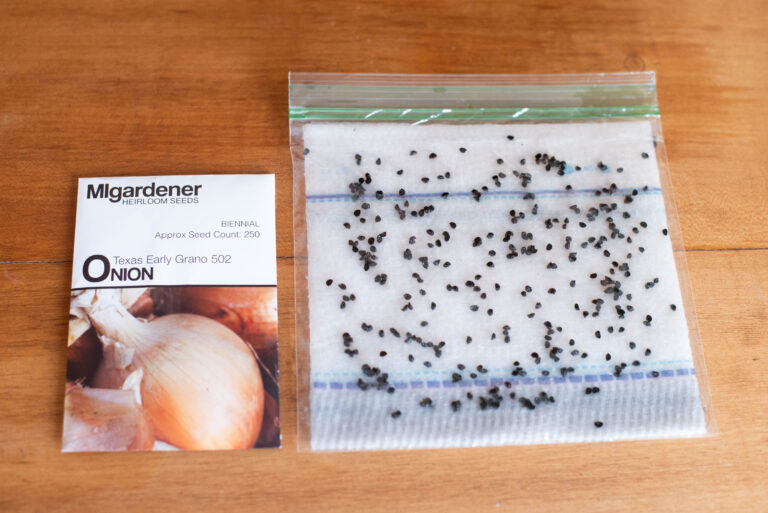
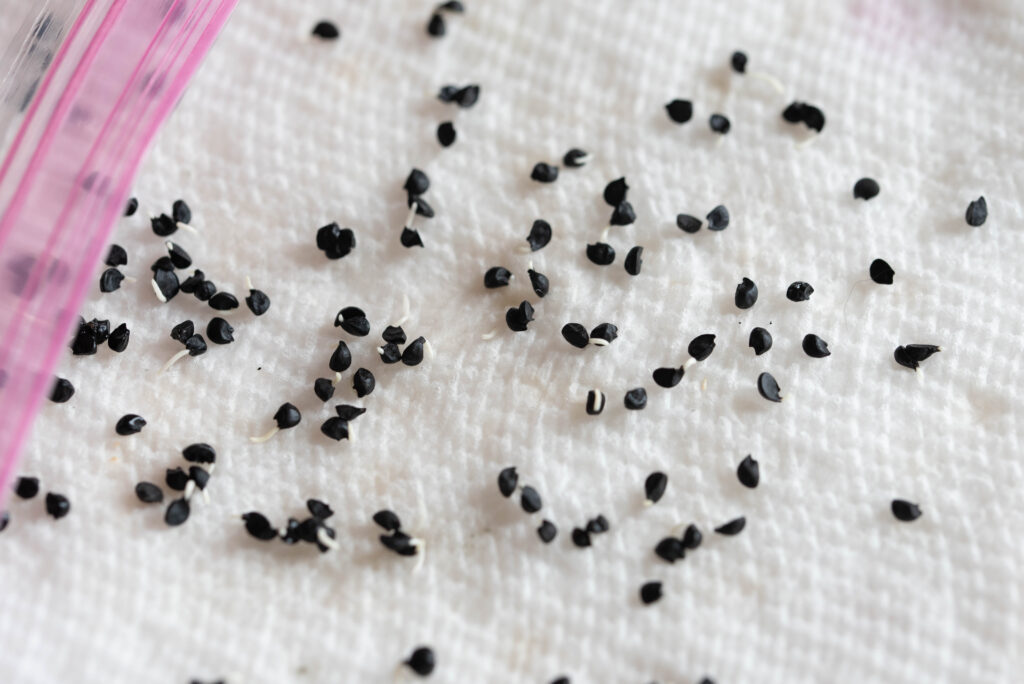
This is a process that mimics overwintering of certain seeds. Some seeds require a period of cold before they open up and germinate the plant. Onions are the best example. Simply place a paper towel in a Ziplock baggie, wet it down and spread seeds on top. Place in the fridge for minimum three weeks, preferably six weeks before seed starting.
Seed Starting
Seed starting is the process explained in this article. It’s the forced starting of seeds indoors in a space that mimics outdoor growing conditions like sunlight and warmth from the sun and water, which is similar to rain.
Direct Sowing
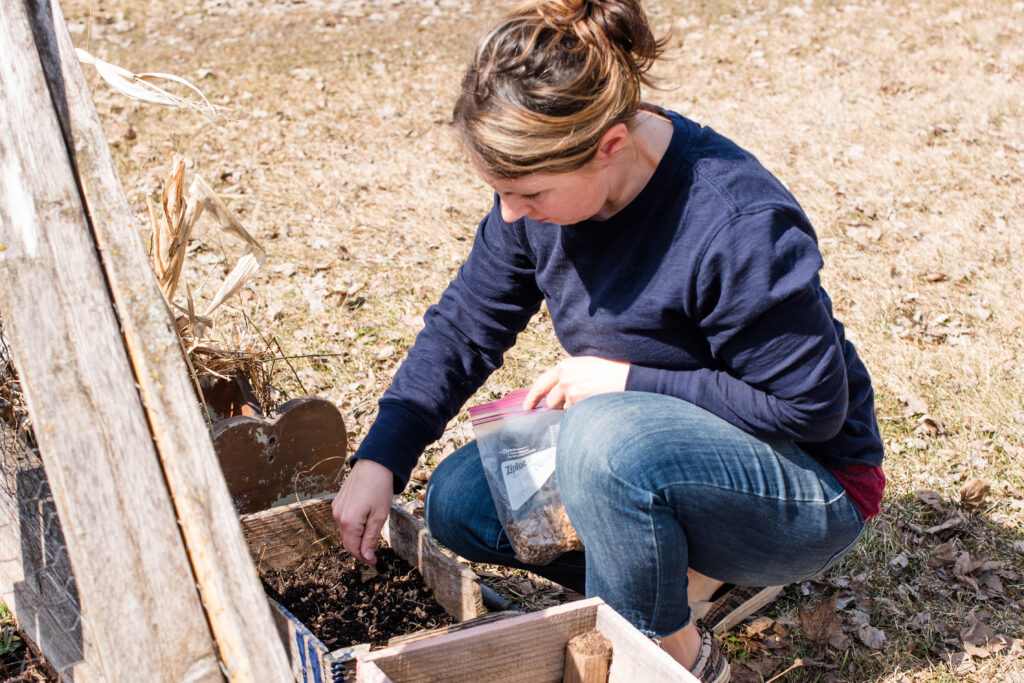
Direct seed sowing means you place the seeds directly into the ground instead of starting them indoors. Some produce prefers direct sowing like root vegetables (carrots, beets, etc.), green beans and pumpkins. Others like herbs, celery and other delicate seeds prefer indoor seed starting.
If you want an experiment, direct sow some seeds in the fall so that they overwinter and germinate in the spring when they feel the weather is right. No equipment, extra time or money needed! Examples include broccoli, cabbage, cauliflower, carrots and onions. I tend to sprinkle lettuce, dill and calendula seeds on a nice day anywhere from January to March and they’ve always produced heartily.
How to Seed Start Indoors
What You’ll Need
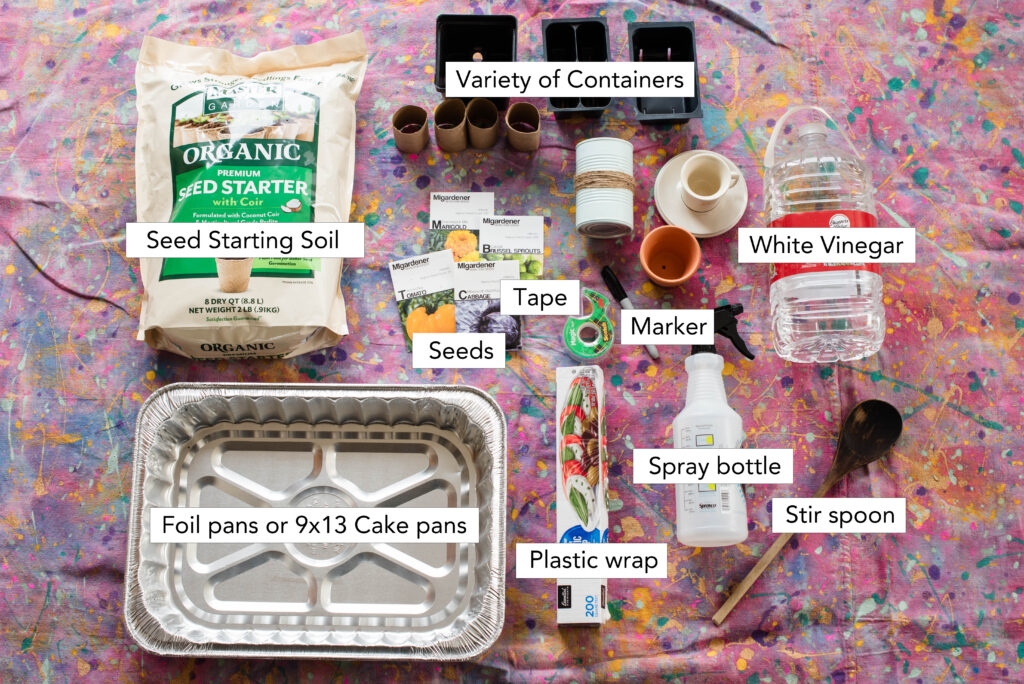
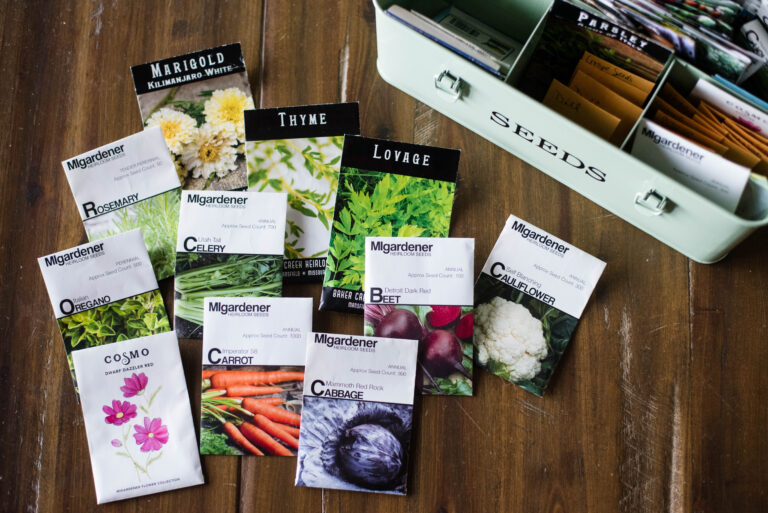
Seeds – Gather the seeds you’ll be starting according to your garden plan.
Need help making a garden plan? Check out my guide here!
Seed starting soil – Mix your own or head to the local garden center or home improvement store in the garden section. This is my go-to mix purchased from Menard’s.
Foil pans or 9×13 cake pans – These pans hold the seed starting containers and allow for easy watering.
Variety of containers – Choose containers with drainage holes and materials that easily release the starts when planting. Make drainage holes in tin cans, solo cups, etc. Use a spoon to gently scoop out starts from more rigid containers like tin cans.
White vinegar – This is used for sanitizing containers before filling with seed starting mix.
Tape/Marker – For labeling what seed was planted and the date.
Plastic wrap – Used for wrapping the pans and containers to create a greenhouse effect for germination.
Liquid fertilizer (not pictured) – This is necessary for nutrition once the seedlings are about two weeks old. I use liquid fish fertilizer.
Shelves/Grow lights – If you don’t have ideal conditions in your home or a greenhouse, you’ll need shelves and grow lights. This is our setup in an upstairs room with a baseboard heater for warmth. Save money on grow lights and purchase shop lights instead. This is the brand we purchased from Menard’s.
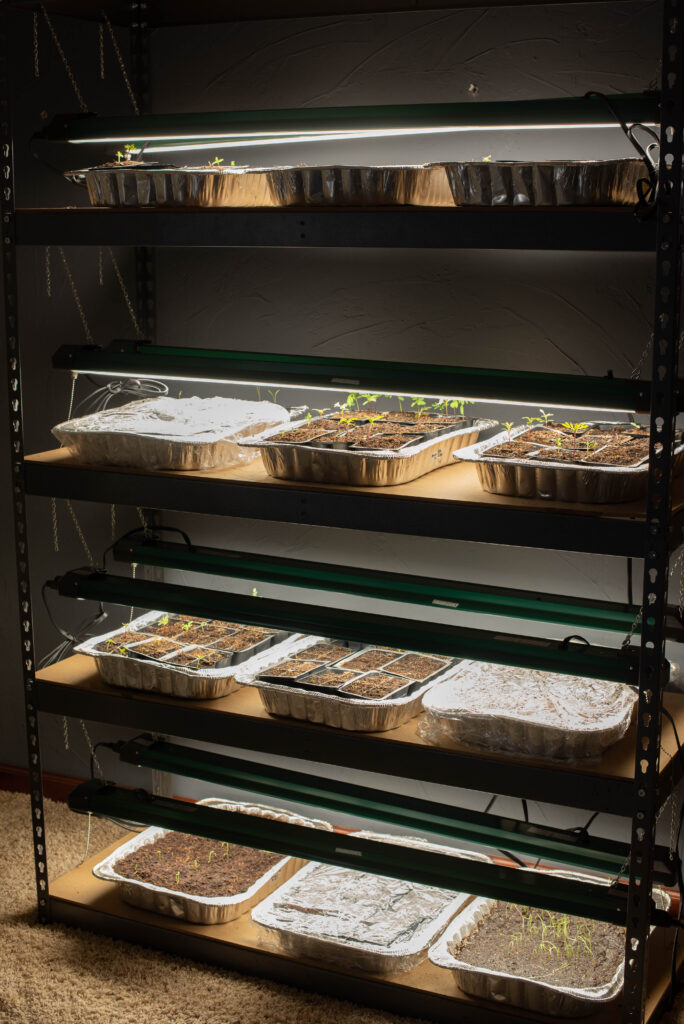
Step-by-Step Instructions
First Phase
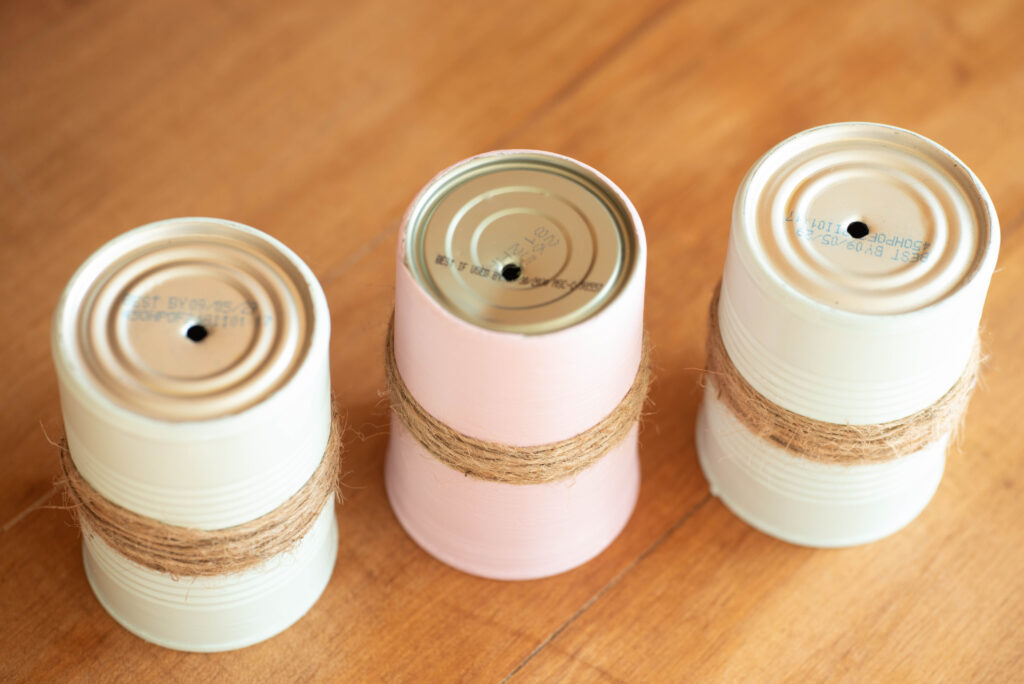
The first step is to make sure all containers have drainage holes.
Make holes easily in plastic and tin can containers with a nail and a hammer. Use a drill bit for teacups and glass containers. Wear safety glasses.
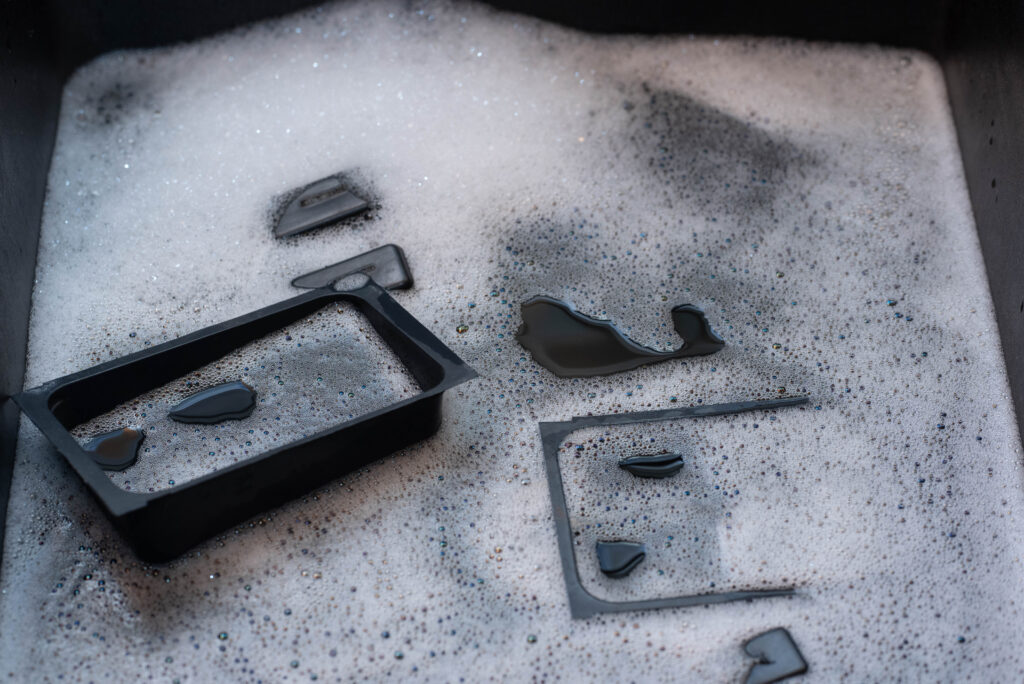
Next, wash all containers in hot, soapy water.
Then sanitize containers with your preferred method. I spray mine down with distilled white vinegar.
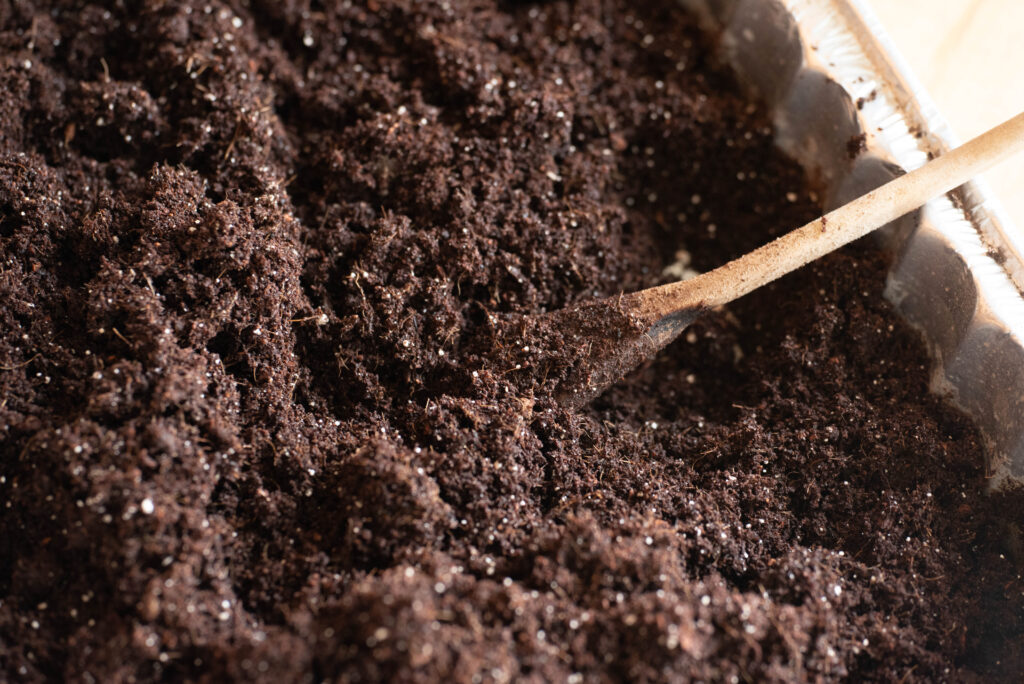
While the containers dry, mix the seed starting soil with water to moisten. You’ll want enough water to dampen the soil, but not too much.
Soil needs to be a slightly damp, light and fluffy texture. It should not be a soggy, soupy mixture.
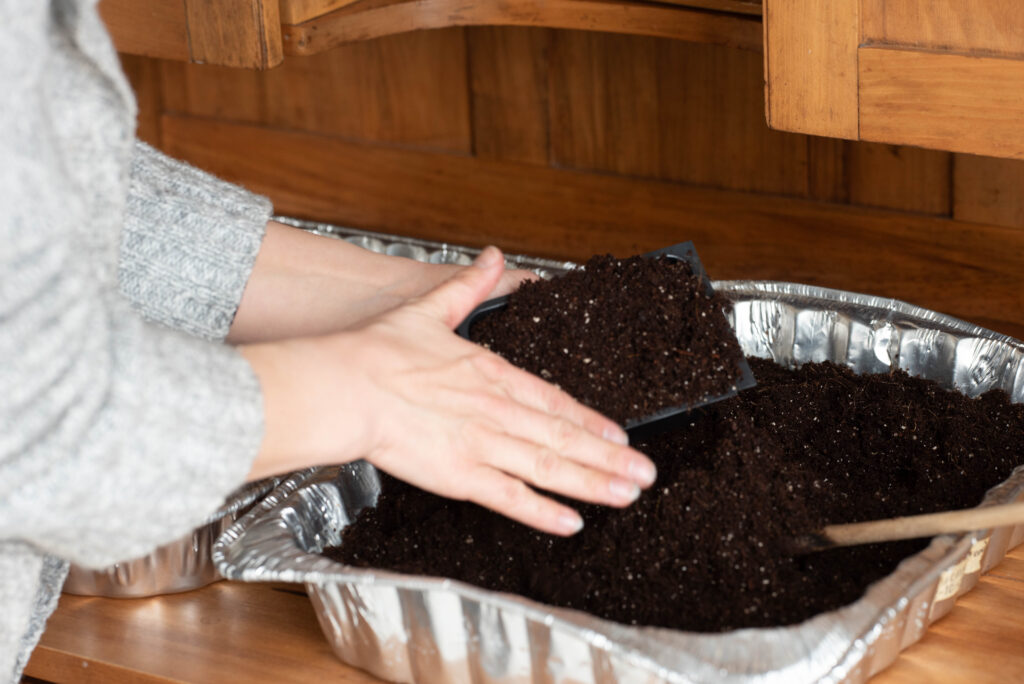
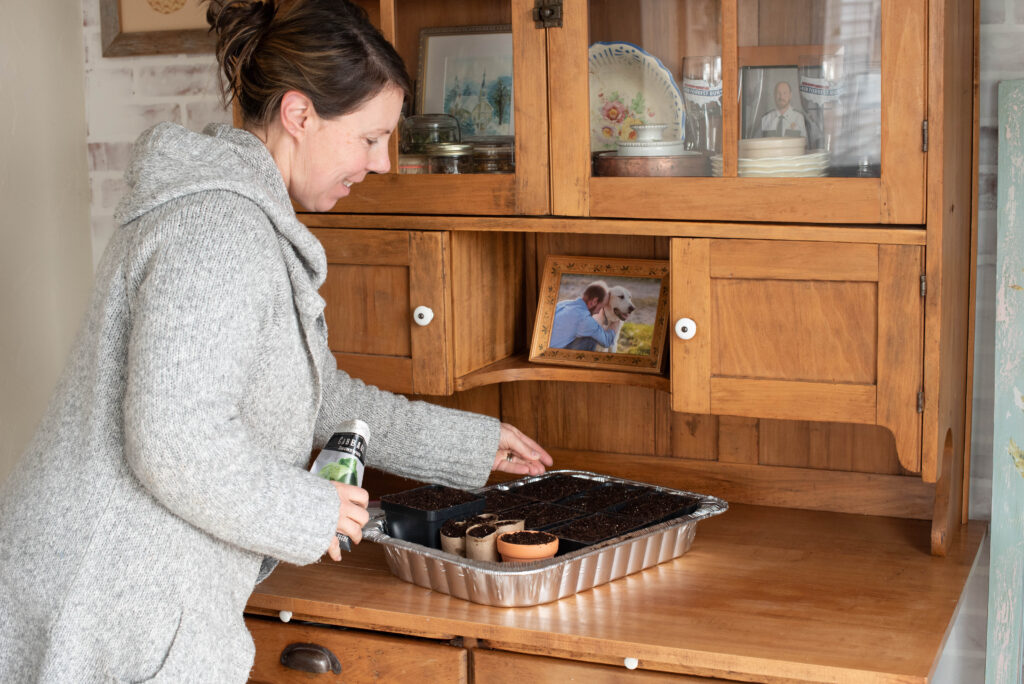
Now it’s time to fill the containers. Scoop soil and level flat to the top of the container. It’s not necessary to pack it in tight.
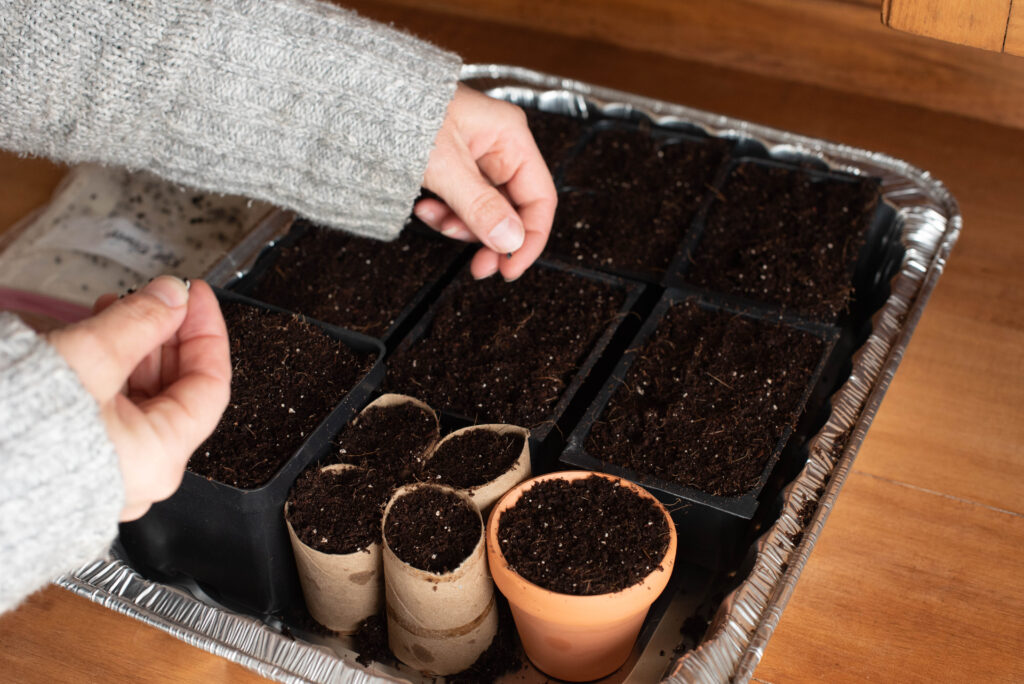
Next, label each container with the plant and date. Then plant each seed according to the instructions on the package label.
Remember, only start the amount of seeds you want to plant in the spring, especially those seeds with a high germination rate. If they don’t germinate within two weeks, start them again.
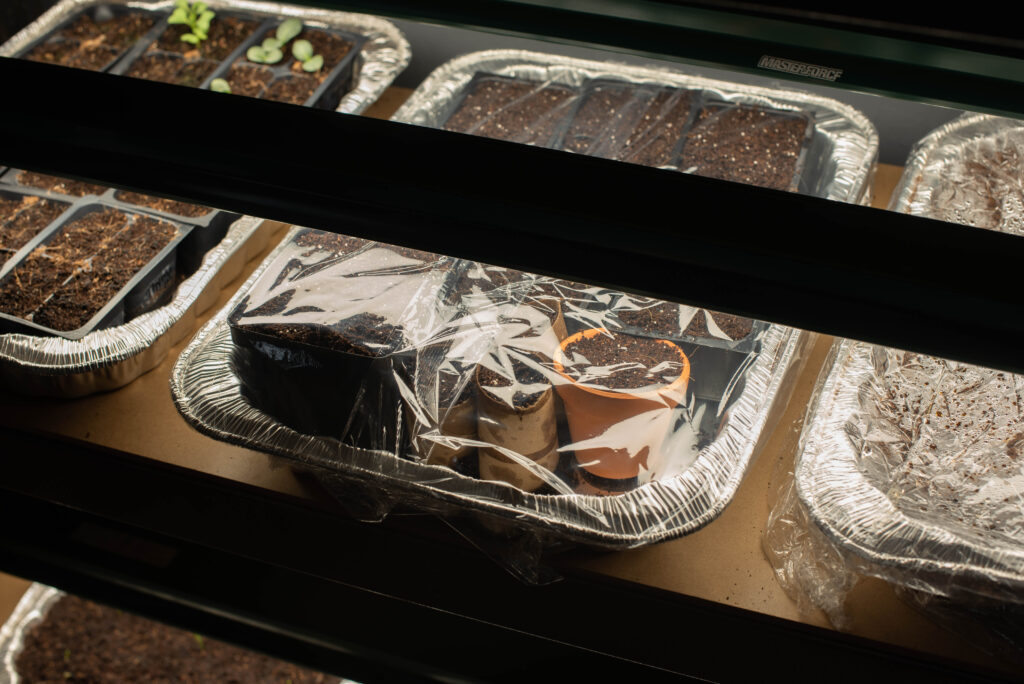
Finally, spritz the top of each container with water to moisten.
Wrap the pan with plastic wrap to create a greenhouse effect, place on shelf and turn the lights on.
Keep the lights about one inch above the containers to avoid leggy seedlings.
Second Phase
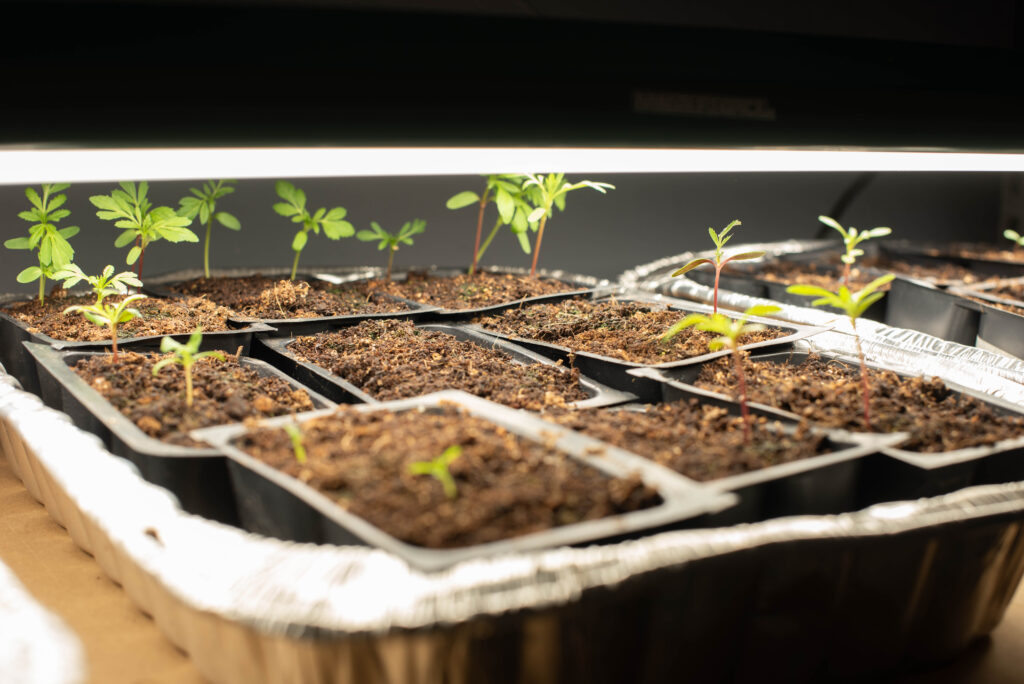
Once the seeds germinate, remove the plastic wrap. Continue misting the top of the soil with water until the seedlings grow a bit stronger.
Then water as needed every few days as the soil dries out. Fill each pan with enough water to slightly cover the bottom of the containers.
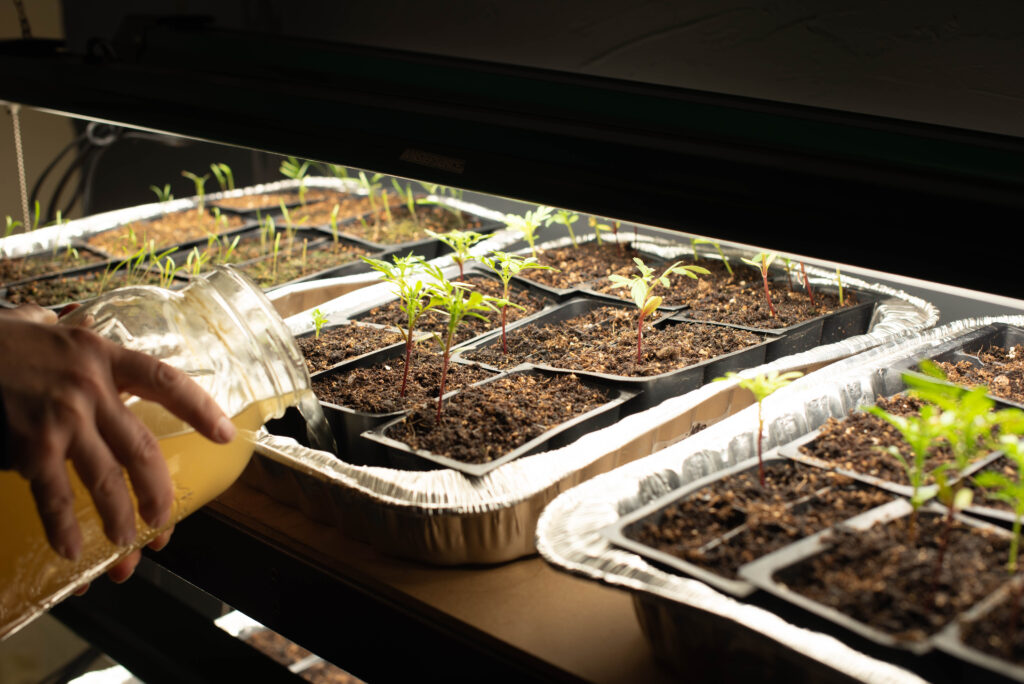
When the seedlings are about two weeks old, water with fertilizer once every week to ten days.
Read the instructions on the package label and dilute liquid fertilizer accordingly. I use one tablespoon of fish fertilizer per half gallon of water.
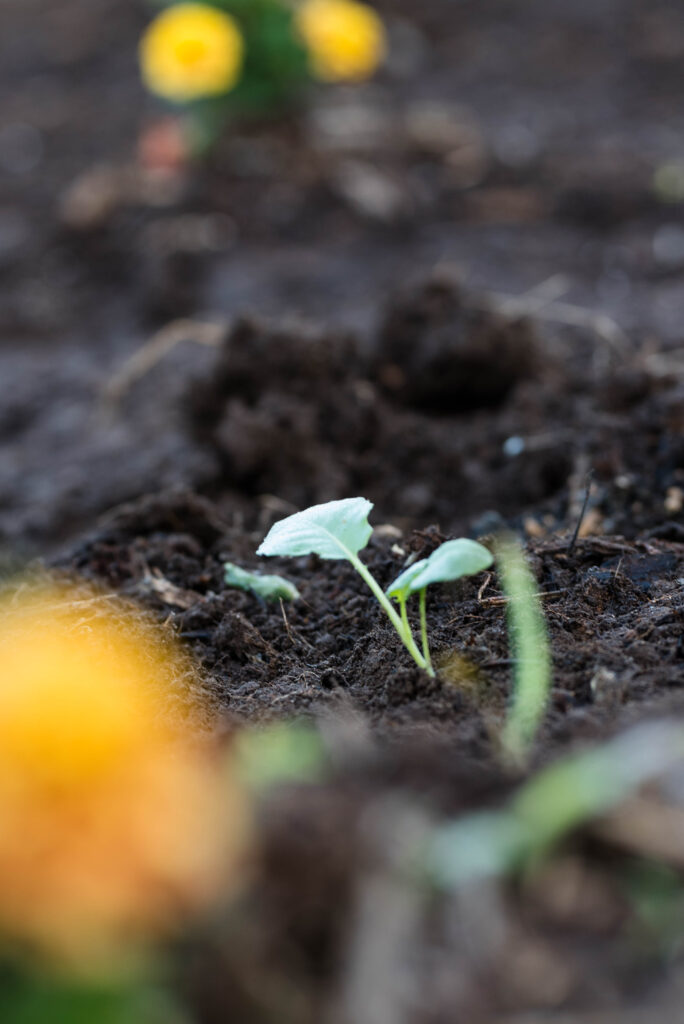
When the danger of frost is gone, it’s time to harden off the seedlings and plant them in the garden.
Hardening off seedlings means to get them used to an outdoor environment. They are tender going from a warm cozy space to the garden with wind and cold water from the hose.
Simply place seedlings outside in the sun for a handful of hours about one week before planting. Bring them in at night.
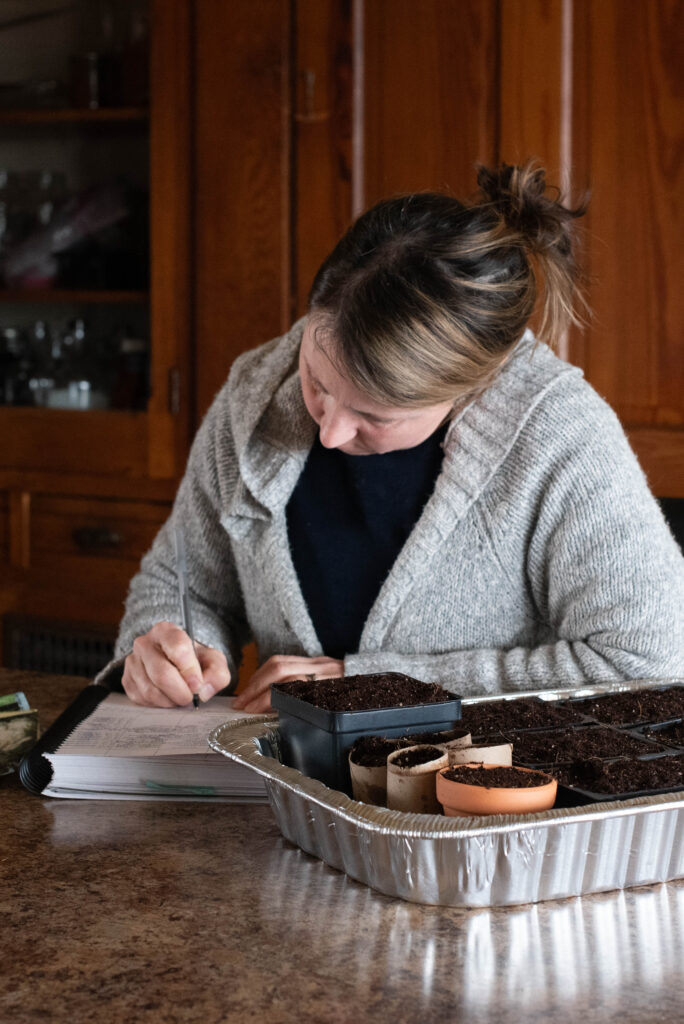
My biggest gardening advice is to keep a journal with detailed notes during the whole gardening season every year. It’s tempting to think you’ll remember everything, but I know from experience you won’t!
That journal begins with seed starting. Record plant type and variety, when you cold stratified, when you seed started and when you planted in the garden. Also record when you harvested the produce and how much and any other important details. When the seeds germinated and how many days in between planting and harvesting are examples.
Troubleshoot Indoor Seedlings
What happens if seeds are over watered?
If this happens, as soon as you notice standing water in the bottom of a pan, drain it out. If too much water causes mold or fungus issues, simply scrape off the top layer of soil and discard. Turn on a fan to help dry the soil and to mimic outdoor wind. If the seedlings turn brown and wither, that’s called “dampening off.” That seedling is no longer viable to plant.
Why won’t the seeds germinate?
There’s many factors for seeds not germinating, but it could be that they were too old (although some people, including myself, don’t believe that’s true), they weren’t viable to begin with, they rotted with over watering or simply don’t have enough warmth to germinate. That’s why it’s important to keep a journal so you know how many days it’s been since starting the seeds and how many days have past when they should have germinated. Try again and re-start them.
Are leggy seedlings okay to plant?
This is a popular debatable topic amongst gardeners. Here is my take. There are some leggy seedlings that are probably too far gone to plant. In other words, too delicate for outdoor conditions. However, I look at it like this. What did our ancestors do to survive? Did they care about leggy seedlings? They didn’t have “ideal” growing conditions to start seedlings, yet they grew all their own food. I had a friend last year that told me to plant leggy seedlings sideways in the soil. The stem is supported as it grows and gets stronger. Experiment and see for yourself!
FAQ’s for Seed Starting
How many weeks before the last frost should seeds be started?
In the spring, start seeds 6-8 weeks before the last frost. In the fall, plant starts in the ground 12 weeks before the first frost of winter.
What soil is used for seed starting?
A lightweight, fine textured mix should be used to seed start indoors. It’s best for delicate seeds. Avoid potting soil and regular soil straight from the garden since the texture isn’t conducive for seed starting.
Are lights necessary for successful seed starting?
Yes, unless you’re confident in the space you use like a greenhouse. Most indoor situations do not provide enough light to germinate and grow seedlings.
Is hardening off seedlings necessary before planting in the garden?
Yes, it ensures that seedlings adapt to an outdoor environment from the warm, delicate conditions they’re used to and it increases their odds of success in the garden.
More Advice From Becky’s Garden
How to Design A Yearly Garden Plan
How To Make Biochar For The Garden
New Gardener’s Guide with Five Questions to Ask Before Planting
5 Easy Homemade Gift Ideas from the Garden
5 Easy Ways to Repurpose a Whole Fresh Pumpkin
“Don’t be misled-you cannot mock the justice of God. You will always harvest what you plant. Those who live only to satisfy their own sinful nature will harvest decay and death from that sinful nature. But those who live to please the Spirit will harvest everlasting life from the Spirit. So let’s not get tired of doing what is good. At just the right time we will reap a harvest of blessing if we don’t give up.” Galatians 6:7-9
If you give seed starting a try and have any questions, comments or advice to share, let me know in the comments below! Tag me with your photos on Instagram @beckybuttlesamericana
Thanks for stopping by my blog! –Becky
I’m a wife and homemaker inspiring old-fashioned skills for a homemade, self-sufficient lifestyle, always with a warm beverage in hand. Homemade Recipes. Gardening. Preserving. Healthy Living.
Want More Recipes from Becky?
Sign up to receive exclusive recipes only for subscribers! Plus you’ll get the latest blog posts straight to your inbox!