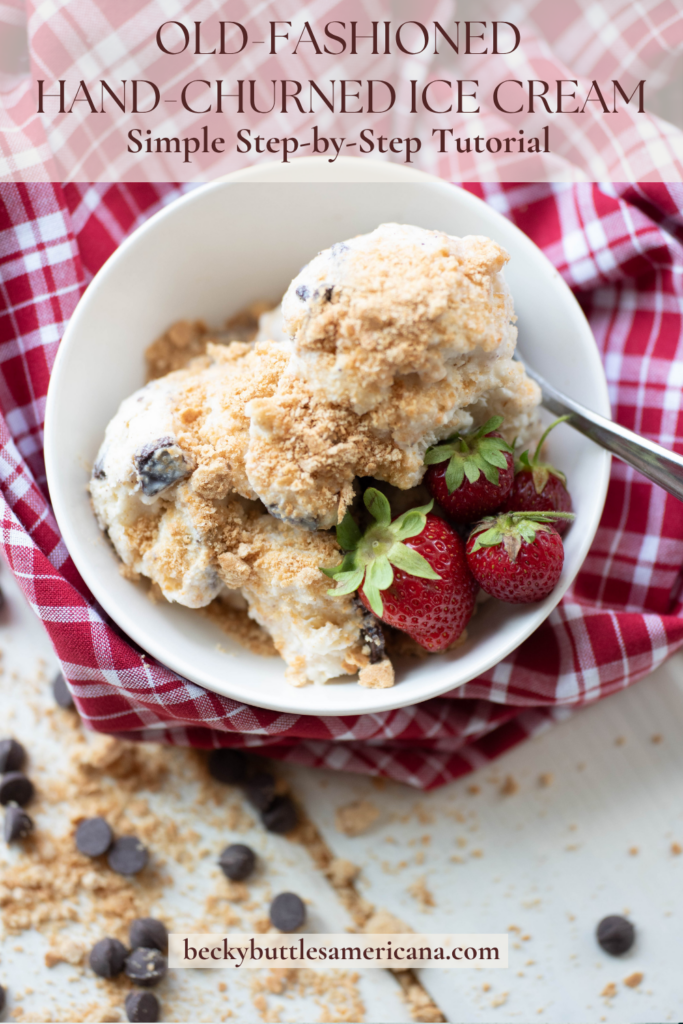
Hand-Churned Ice Cream: How to Use an Old-Fashioned Maker
The magical days of summer lend themselves perfectly to the nostalgia of homemade ice cream. Gather around the picnic table this summer and learn how to make old-fashioned hand-churned ice cream. You’ll reminisce about these sweet memories for a lifetime!
Luke walked in the house one day a few years ago with a smile on his face and said, “Here ya go!”
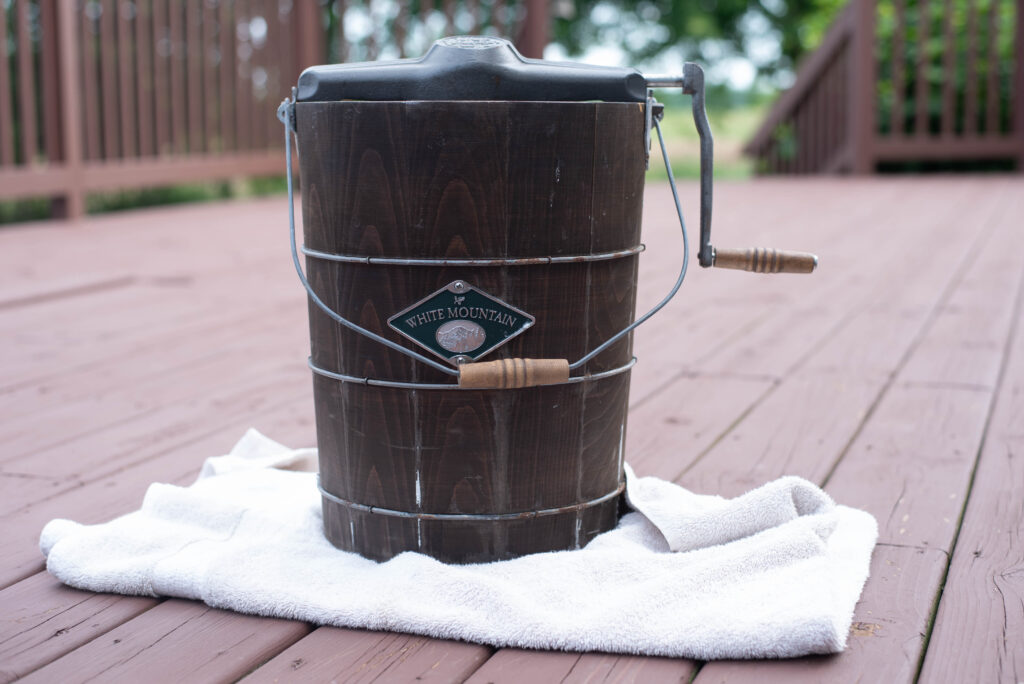
Suddenly, I found myself holding a brand new White Mountain manual ice cream maker. I smiled because I finally had the perfect tool needed for making homemade hand-churned ice cream.
Ice cream is a pretty big deal around our house especially for Luke. There’s a local chain quickly spreading nationwide where he likes to go for his favorite mint chocolate chip mixer. But being a stickler for healthier options, one day I decided he eats enough of it that it was time to make his ice cream homemade.
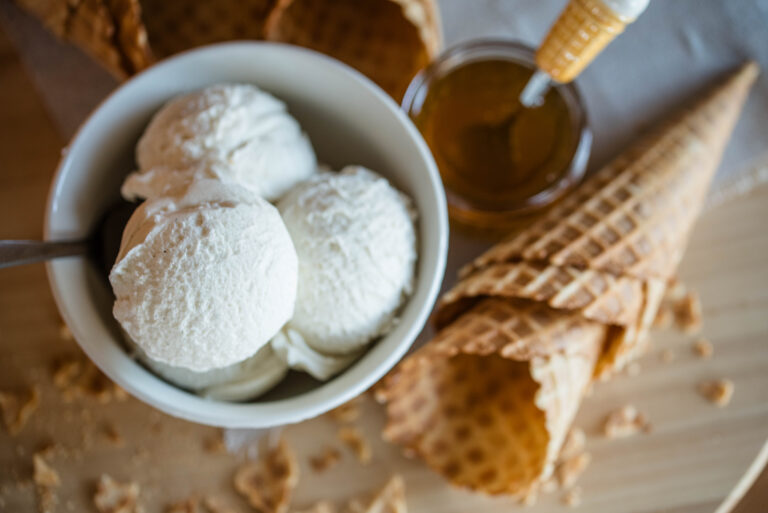
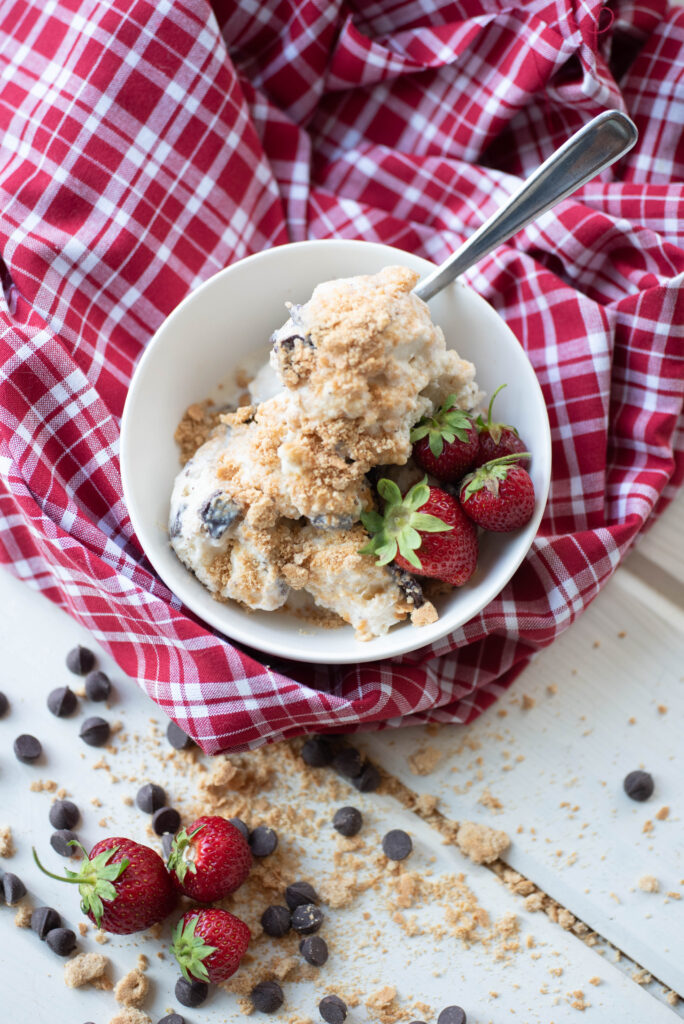
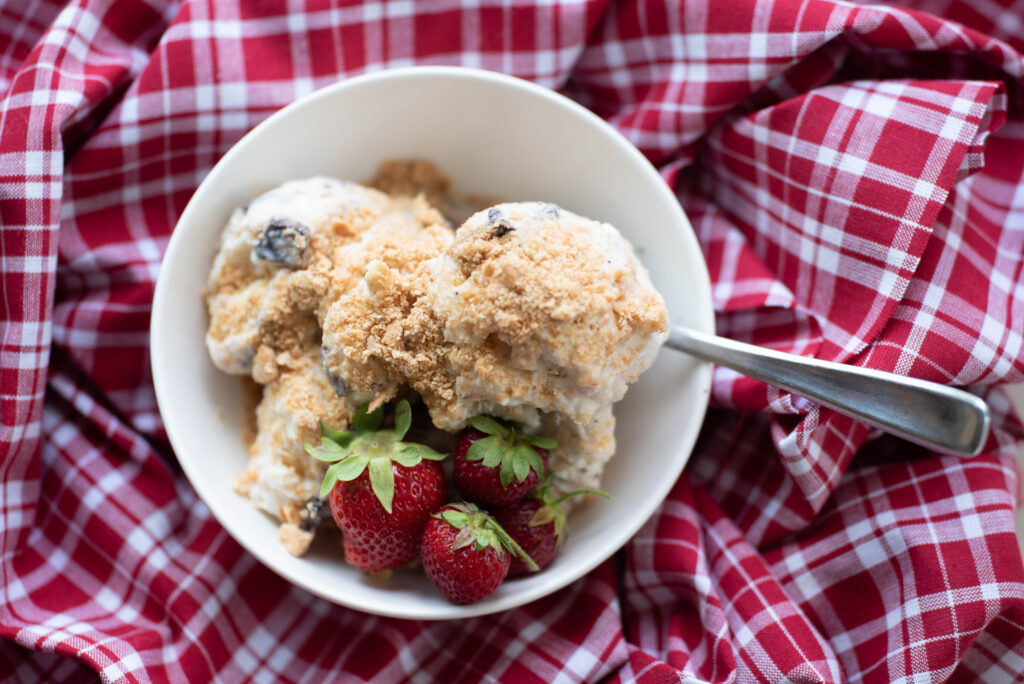
Within a few days of Luke bringing home our new kitchen gadget, he enjoyed his first scoops of homemade vanilla ice cream.
Turns out making your own is quite easy and delicious! It’s honestly one of my favorite things to do throughout the year.
It’s also been a favorite summertime activity of Americans for hundreds of years now.
Ice Cream Making Throughout History
Although it’s hard to pin point the specific details of its origin, ice cream has long been a beloved treat for Americans. The colonists were first introduced to this delectable dessert about 1744 and President Thomas Jefferson is credited with recording the first known ice cream recipe in America.
Ice cream remained a specialty to the wealthy who could afford ice houses, sugar and personal chefs until 1843.
On September 9th, 1843, Nancy M. Johnson of Philadelphia, Pennsylvania filed a patent for the “Artificial Freezer.” This was a hand cranked cylinder with a dasher on the inside with several openings for the ice cream to flow through. Between the outside of the cylinder and the holding container is where the ice and salt resided.
Nancy’s invention revolutionized ice cream into the creamy texture we enjoy today. The motion of the hand crank moving the ice cream through the inside dasher allowed a uniform freezing of the mixture, giving it its texture.
Since then, several companies emerged as manufacturers of the ice cream freezer. One of the best known is White Mountain beginning in 1853. White Mountain began in Nashua, New Hampshire near the pine forests, which provided the materials for the wooden buckets. The triple motion dasher is the most notable feature of a White Mountain ice cream maker.
Antique collectors today scoop up old White Mountain makers like hotcakes! They are selling for an average of $200 on Etsy depending on the size.
Hand-Churned Ice Cream: The Science
Why Is Rock Salt Used to Make Ice Cream?
It makes sense that ice by itself seems cold enough to freeze another substance, but that’s not exactly the case.
Water by itself freezes at 32 degrees Fahrenheit, which is ice. When a substance dissolves into water such as sugar or salt, the freezing temperature of that liquid is lower than 32 degrees.
Milk mostly consists of water mixed with proteins and fats; ice cream not only contains milk, but also sugar and other substances to create a certain flavor. This combination requires a lower freezing point than 32 degrees.
But how does rock salt lower the freezing point of water and melt ice?
Basically, making old-fashioned hand-churned ice cream means a saltwater brine forms in the wooden bucket with rock salt.
Ice forms when the air temperature lowers to 32 degrees or less, strengthing the hydrogen bonds between molecules. When salt is added to ice, the sodium chloride ions break apart into their separate particles and weaken the hydrogen bonds between the water molecules in ice.
Therefore, the ice melts, meaning it absorbs heat and the new saltwater brine will need a lower temperature to re-freeze. As a result, the temperature of the brine drops. The science seems counterintuitive, but it works!
Rock salt is specifically used to make ice cream and for icy winter roads due to its larger granule. The larger size dissolves more slowly, therefore sustaining a colder saltwater brine longer. The churning action prolongs due to the cold brine, which is key for a creamy ice cream texture.
Helpful Hints for Hand-Churned Ice Cream
- Chill the ice cream mixture before its added to the canister. Leave enough time before churning to cool the mixture or make it ahead the day before. The mixture stores well in the refrigerator, but keep it tightly covered. Otherwise it will absorb the odors and flavors of other items.
- When choosing a location to place your bucket for churning, it’s very important to consider the surface. The saltwater that leaks from the bottom of the bucket damages surfaces. A gravel driveway, a sandy surface or a patch of grass you don’t mind having a little damage to are all good options. Otherwise, place several layers of towels underneath the bucket and monitor how much brine is leaking out while churning the ice cream. Add more towels if needed.
- Use rock salt instead of regular fine granule salt. The larger granules freeze the ice cream more evenly and slowly, providing the creamy texture. Regular salt freezes too fast and creates a crystallized texture.
- The more rock salt used, the faster the ice cream will freeze. Two cups of salt is enough for a typical hand-churned ice cream maker. No need to use more, but don’t skimp either!
- If using the saltwater brine method instead of a steady churning, it’s important to occasionally turn the crank a few times. The ice cream achieves an even, creamy texture and all flavorings are properly mixed in.
- The steady hand-churned method or saltwater brine method both create the same result of the perfect ice cream texture. However, the saltwater brine method allows the busy man or woman to walk away and let Mother Nature do the job.
How to Make Old-Fashioned Hand-Churned Ice Cream
What You’ll Need
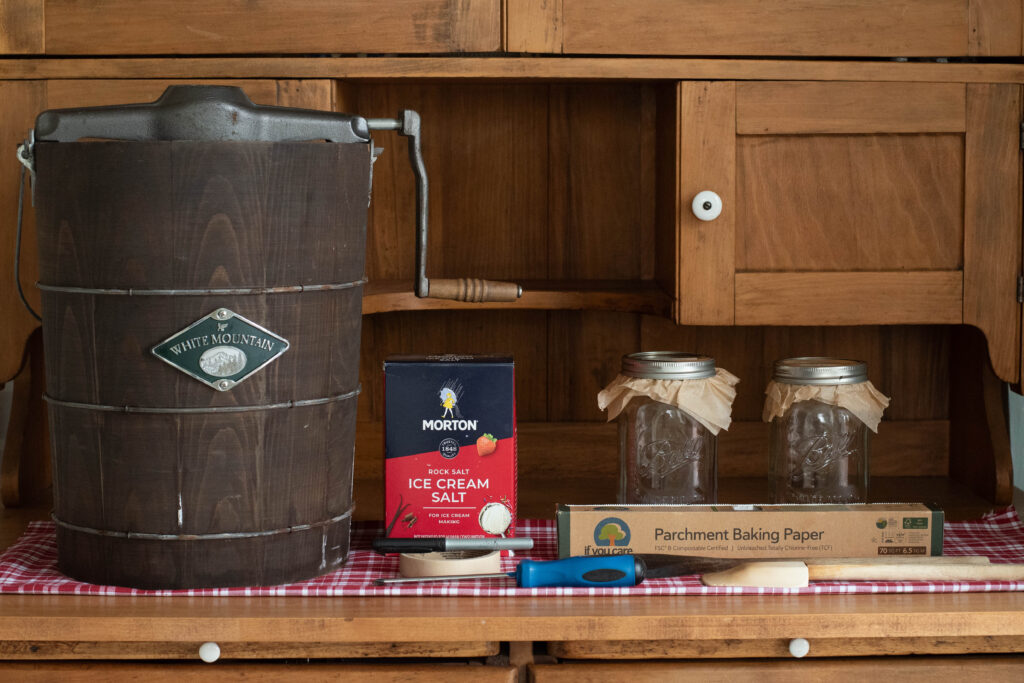
- A completed batch of ice cream mix, cooled
- Ice cream maker with canister, dasher and handle crank
- Ice
- Rock salt
- Wooden spoon
- Towel(s)
- Screwdriver
- Container for storing ice cream
- Spatula
- Parchment paper
- Marker and tape for labeling
Step-by-Step Instructions
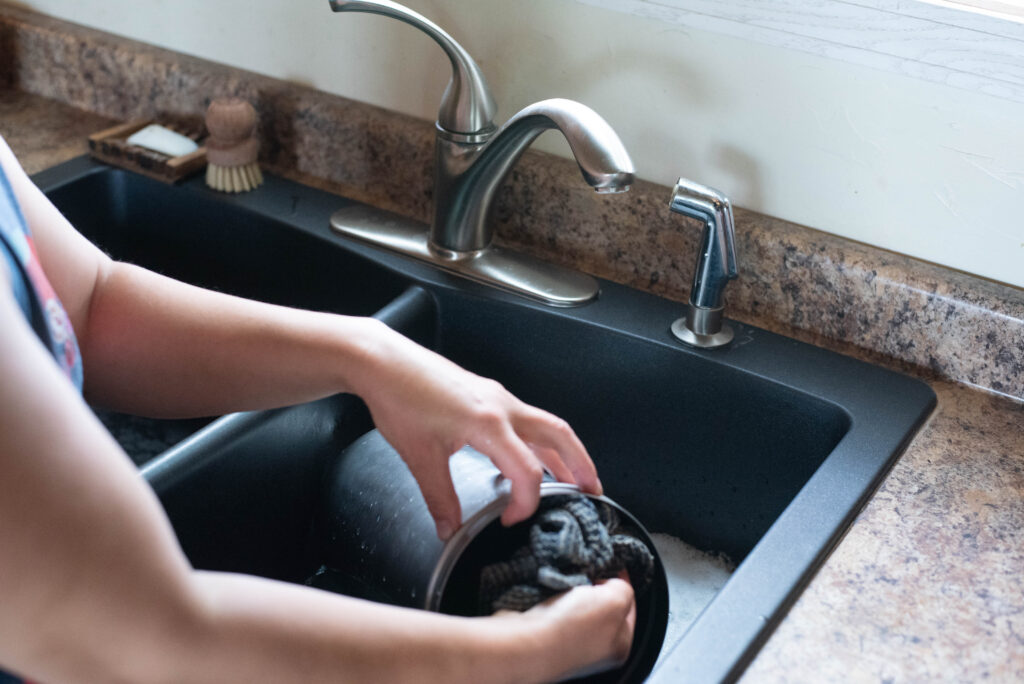
Begin by washing the components of your ice cream maker. This is especially important if it’s been awhile since you’ve used it.
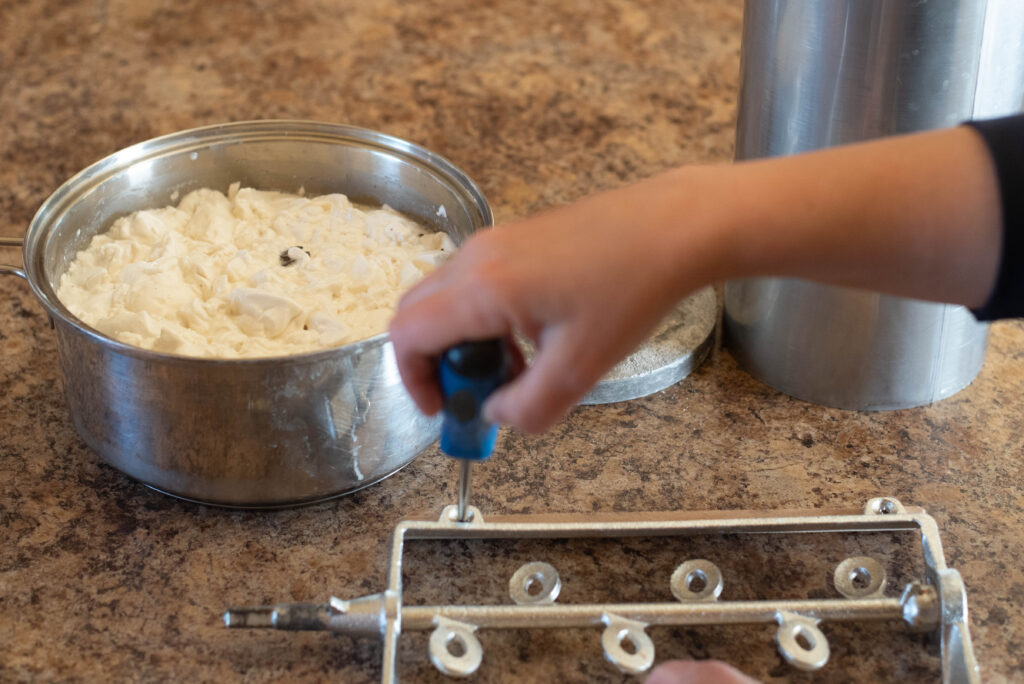
Next, take a screwdriver and tighten the screws of your dasher to 1/8th of an inch so the wooden panels are evenly spaced inside the cylinder. This is optional if they are okay from the previous use.
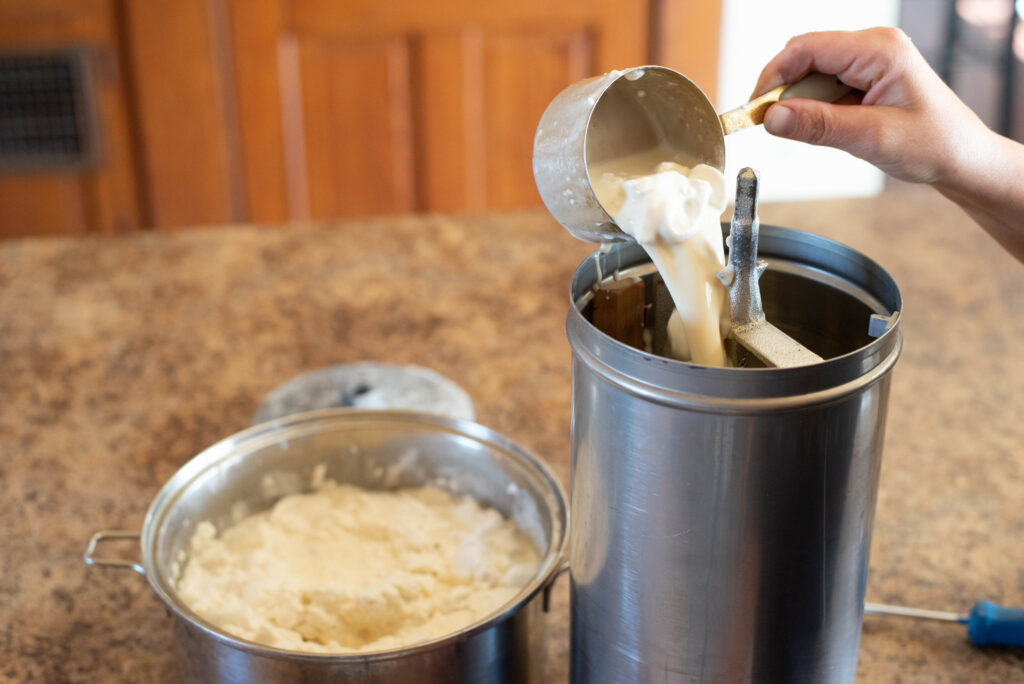
Carefully scoop ice cream mixture into the canister. Thread the top of the dasher through the opening in the lid and tightly secure the lid down.
Find a good location for your bucket before placing the full canister inside. This is an important step so that no surfaces are damaged by the leaking saltwater brine. **Please see Helpful Hints for additional information.**
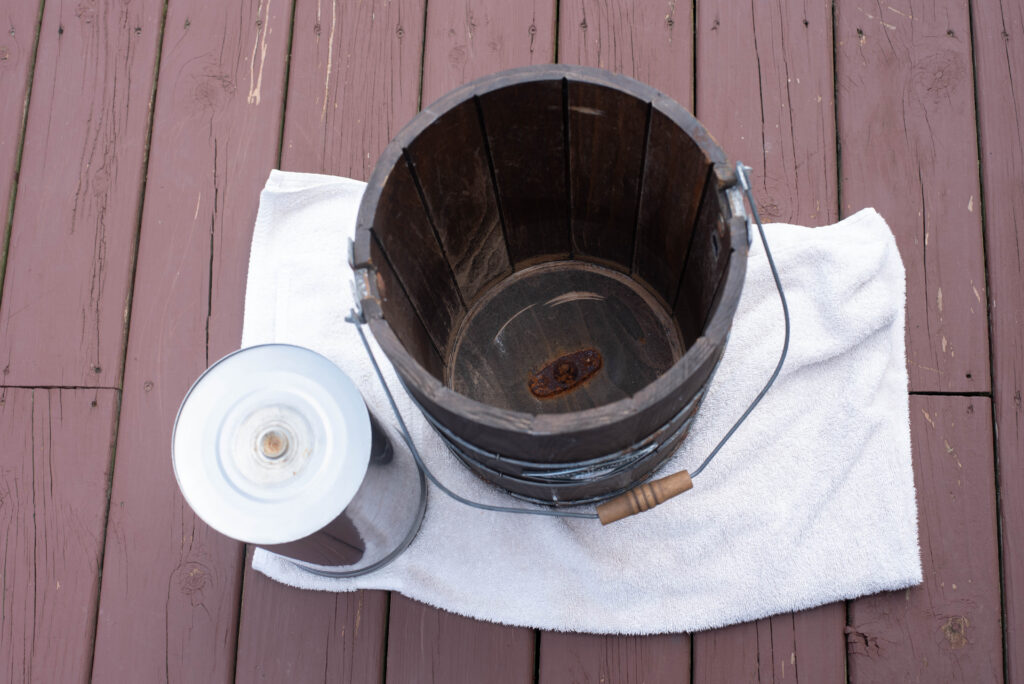
When placing the canister inside the bucket, be sure to match the indented groove on the bottom of the canister to the metal notch on the bottom of the bucket.
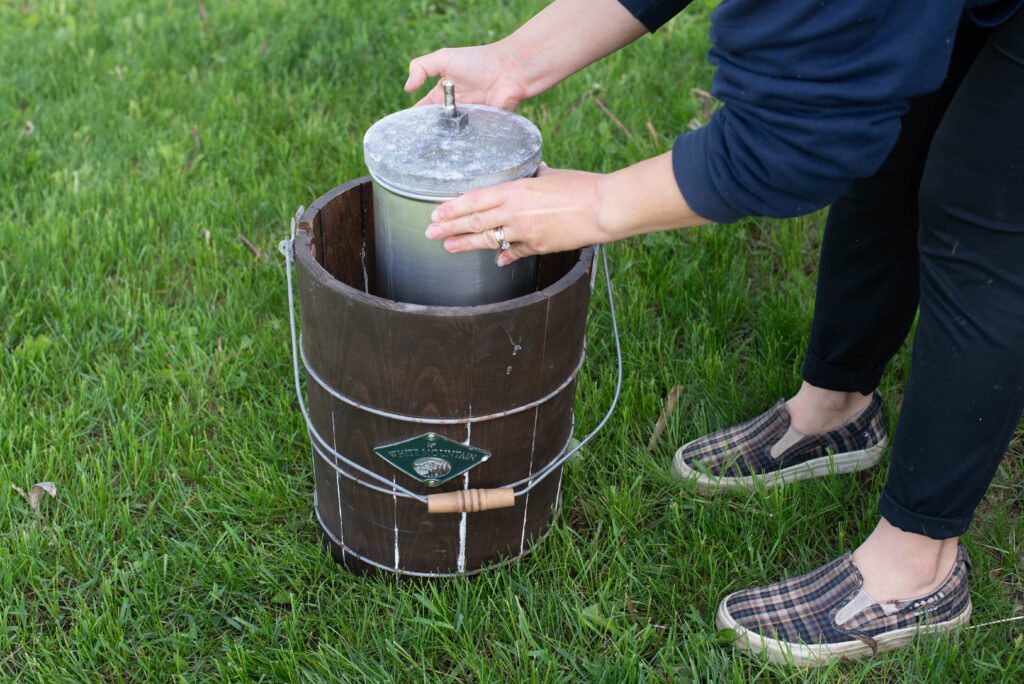
Once you choose a location, place the full canister inside your bucket. At this point I also recommend putting the crank in place to hold the canister before adding ice and salt.

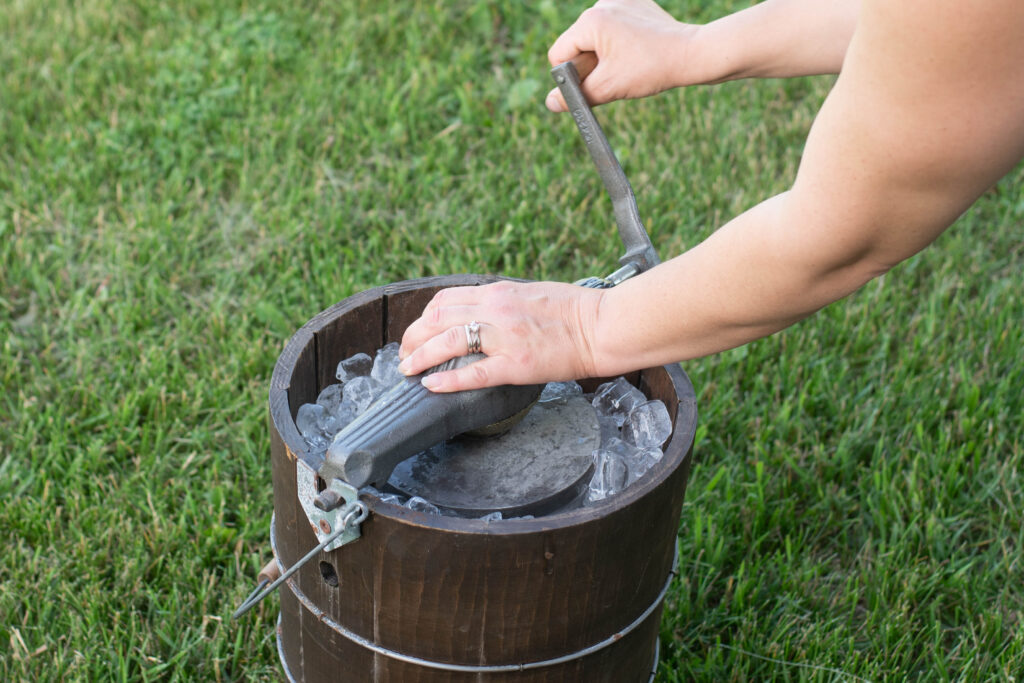
Next, pour a layer of crushed ice into the bucket. Add 1 cup of rock salt on top of ice. With a wooden spoon, mix the salt with the ice.
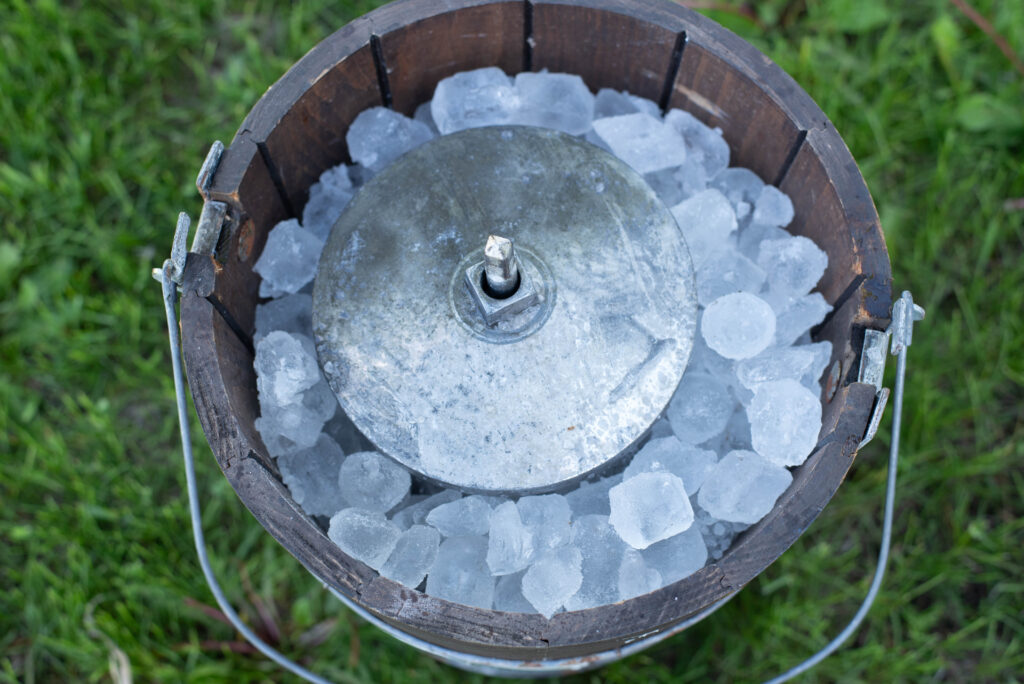
Repeat ice and salt layers until they reach the top of the canister. Be sure to mix the salt and ice together.
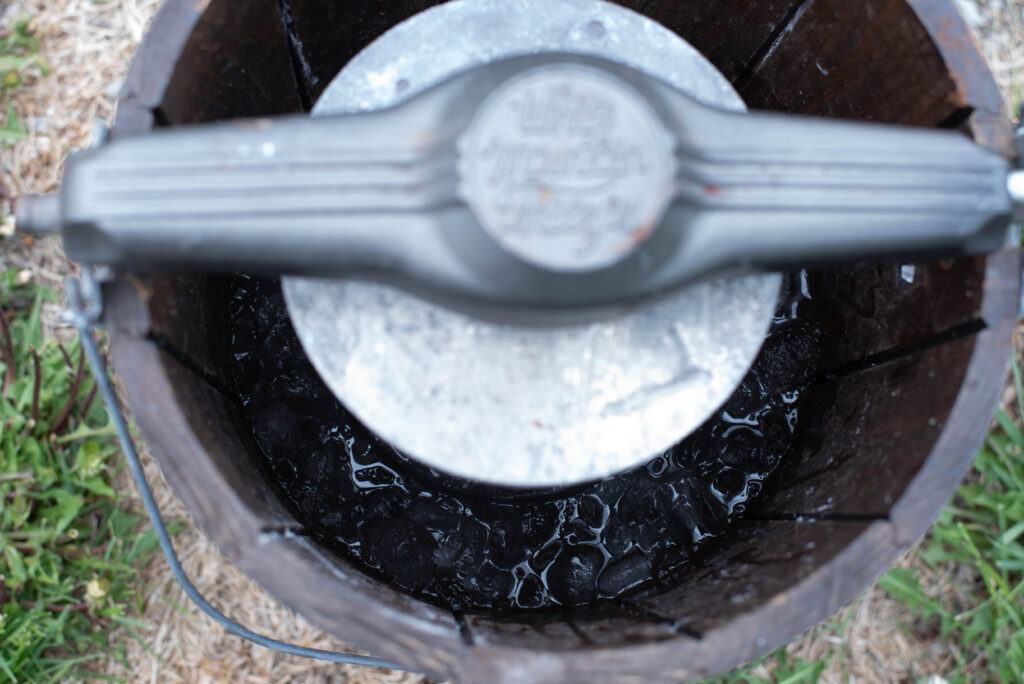
At this point, there are two options to choose from. You can churn by hand, which is a lot of fun especially if children help. Everyone can take a turn! Otherwise, walk away and let the ice and salt melt into a brine. As the brine forms, turn the hand crank a few times to ensure the ice cream stays mixed together.
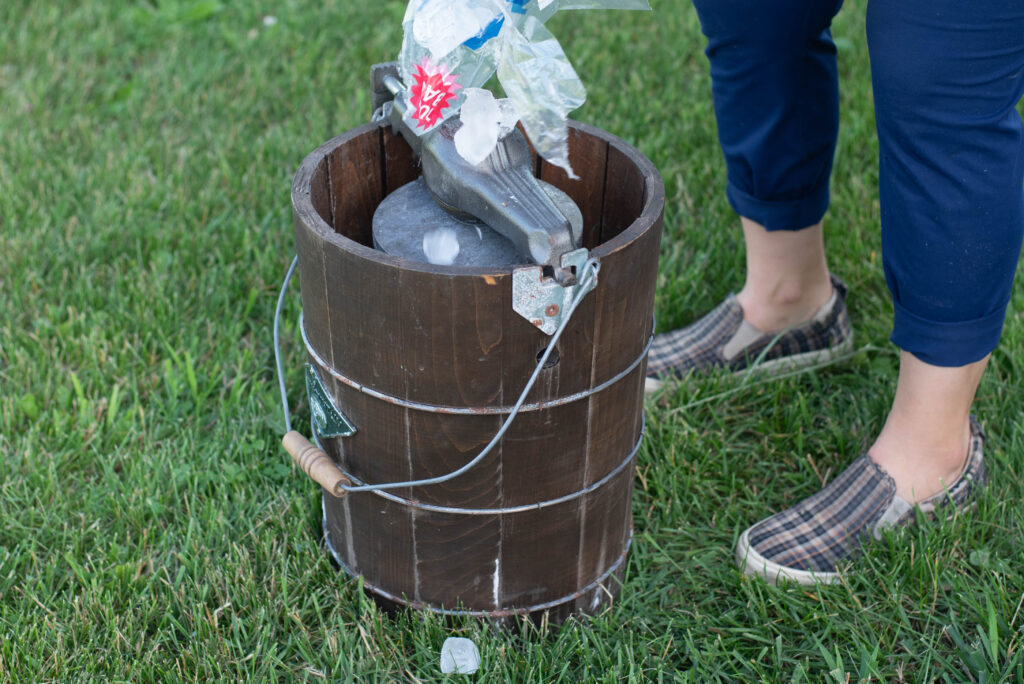
Once the initial layers of ice and salt turn to brine and melt down, add more layers of ice and salt. How fast this process happens depends on the ambient air temperature. On average the whole process is 2-4 hours.
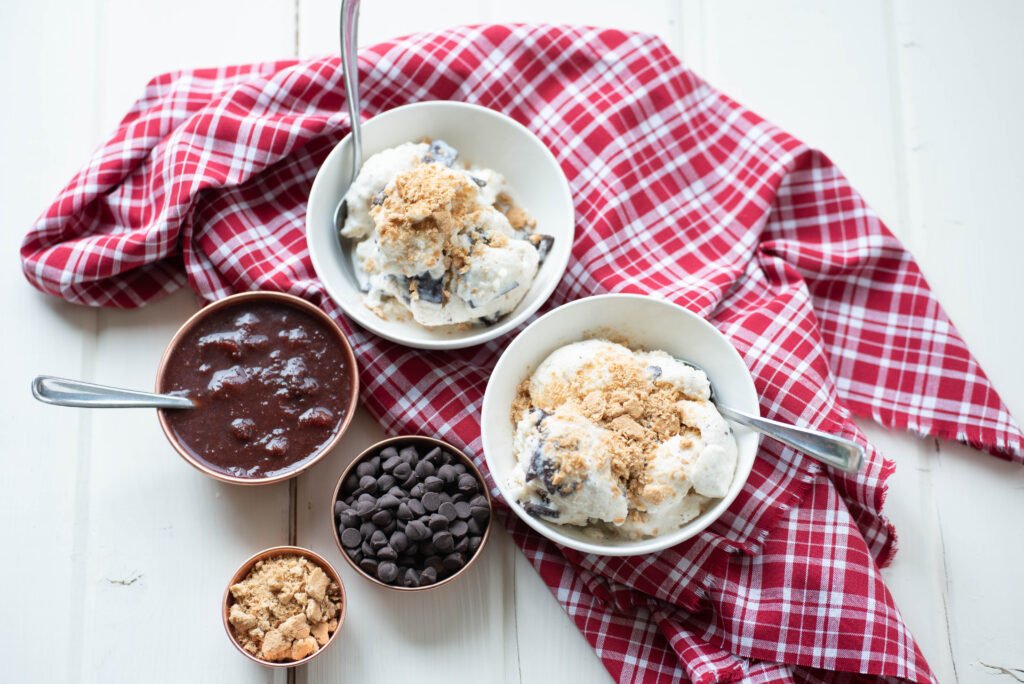
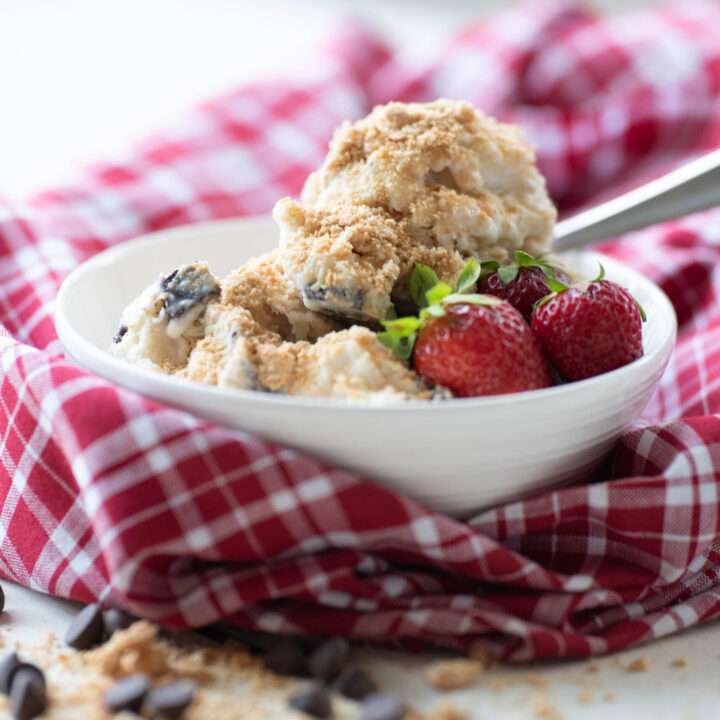
Again, during this whole process, make sure to turn the crank a few times to ensure even mixing and freezing. While the brine is still melting and freezing ice cream, prepare bowls and toppings for serving or containers for storing.
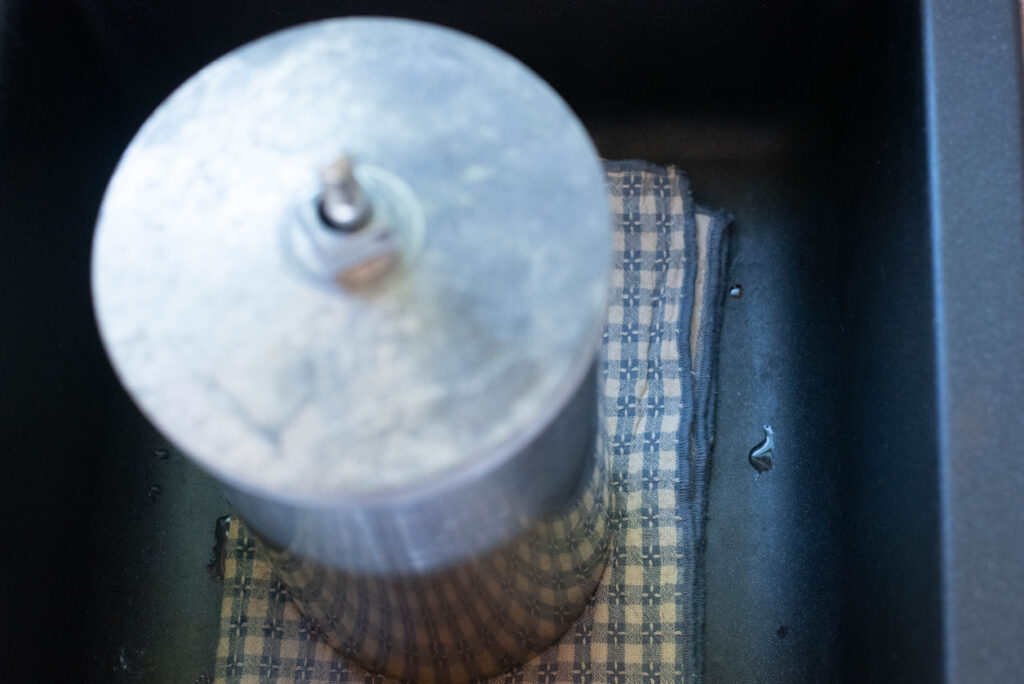
Monitor how fast your ice cream is freezing. The next steps depend on your plan for serving your ice cream. If serving right away, pull the dasher out when ice cream is frozen but still soft. Let the mixture continue to freeze until solid. Then scoop straight from canister. Otherwise, if you’re storing right away, pull the entire canister out and place on a safe surface. Remember, the canister is covered with the brine and it damages surfaces. Place on a towel inside a sink and wipe canister down.
Storing Homemade Ice Cream
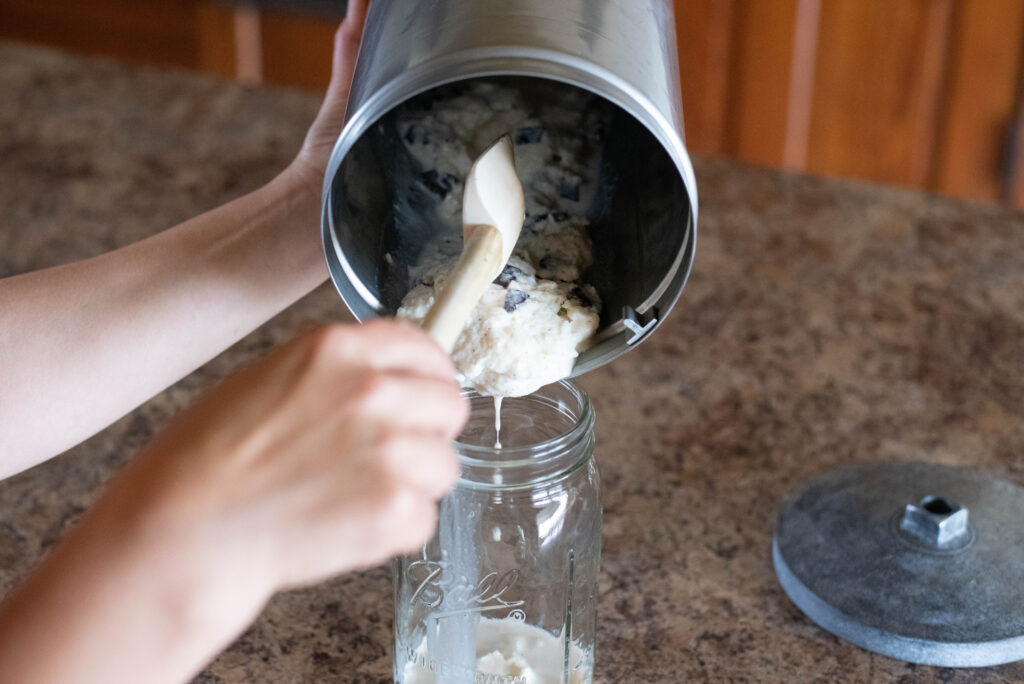
Take a spatula and scrape into storage containers.
use 1 quart wide mouth Mason jars, but any freezer
safe container will work. Before placing lids on,
cover with parchment paper. Label and date and place in freezer.
If properly stored in the freezer, ice cream retains the
best flavor and texture within the first six months.
However, we tend to store it longer than that without any loss of quality.
FAQ’s
Can this method of ice cream making be used with other ice cream machines?
For this old-fashioned way to make ice cream, only use a wooden bucket and metal container ice cream maker. While White Mountain is the most popular brand, there are other old-fashioned models and brands available to use. Do not attempt this method in any other type of maker. The salt will ruin any modern electrical makers if used since salt damages certain metals.
Can this method use an electrical White Mountain ice cream maker?
Yes, because all the components are the same except the crank. Use all safety precautions and make sure the electrical cord stays out of any melting saltwater. If you can safely use the electrical crank while the saltwater brine melts, be sure to turn it on for a minute or two to ensure even mixing.
Can any salt be used or is rock salt preferred?
The saltwater brine needs rock salt due to its large granule size. Finer grain salt freezes ice cream too fast resulting in a more crystallized texture verses a creamy texture. Rock salt slows down the freezing process ensuring a nice even mixture that’s smooth and creamy.
Hand-Churned Ice Cream: How to Use an Old-Fashioned Maker
The magical days of summer lend themselves perfectly to the nostalgia of homemade ice cream. Gather around the picnic table this summer and learn how to make hand-churned ice cream. You'll reminisce about these sweet memories for a lifetime!
Instructions
- Begin by washing the components of your ice cream maker. This is especially important if it's been awhile since you've used it.
- Next, take a screwdriver and tighten the screws of your dasher to 1/8th of an inch so that the wooden panels are evenly spaced inside the cylinder. This is optional if they are okay from the previous use.
- Carefully scoop ice cream mixture into the canister. Thread the top of the dasher through the opening in the lid and tightly secure the lid down.
- Find a good location for your bucket before placing the full canister inside. This is an especially important step so that no surfaces are damaged by the leaking saltwater brine. **Please see Notes for additional information.**
- When placing the canister inside the bucket, be sure to match the indented groove on the bottom of the canister to the metal notch on the bottom of the bucket.
- Once a location is chosen, place the full canister inside your bucket. At this point I also recommend putting the crank in place to hold the canister before adding ice and salt.
- Next, pour a layer of crushed ice into the bucket. Add 1 cup of rock salt on top of ice. With a wooden spoon, mix the salt with the ice.
- Repeat ice and salt layers until they reach the top of the canister. Be sure to mix the salt and ice together.
- At this point, there are two options to choose from. You can churn by hand, which is a lot of fun especially if children help. Everyone can take a turn! Otherwise, walk away and let the ice and salt melt into a brine. As the brine forms, turn the hand crank a few times to ensure the ice cream stays mixed together especially if flavorings were added.
- Once the initial layers of ice and salt turn to brine and melt down, add more layers of ice and salt. How fast this process happens depends on the ambient air temperature. On average the whole process is 2-4 hours.
- Again, during this whole process, make sure to turn the crank a few times to ensure even mixing and freezing. While the brine is still melting and freezing ice cream, prepare bowls and toppings for serving or containers for storing.
- Monitor how fast your ice cream is freezing. The next steps depend on your plan for serving your ice cream. If you want to serve right away, pull the dasher out when ice cream is mostly frozen but still soft. Let the mixture continue to freeze until solid. Then scoop straight from canister. Otherwise, if you're storing right away, pull the entire canister out and place on a safe surface. Remember, the canister will still be covered with the brine and it will damage surfaces. Place on a towel inside a sink and wipe canister down.
- Take a spatula and scrape into storage containers. I use 1 quart wide mouth Mason jars, but any freezer safe container will work. Before placing lids on, cover with parchment paper. Label and date and place in freezer.
- If properly stored in the freezer, ice cream retains the best flavor and texture within the first six months. However, we tend to store it longer than that without any loss of quality.
Notes
- The ice cream mixture that is used needs to be chilled before it's added to the canister. Leave enough time before churning to cool the mixture or make it ahead the day before. The mixture stores well in the refrigerator, but keep it tightly covered. Otherwise it will absorb the odors and flavors of other items.
- When choosing a location to place your bucket for churning, it's very important to consider the surface. The saltwater that leaks from the bottom of the bucket damages surfaces. A gravel driveway or sidewalk, a sandy surface or a patch of grass you don't mind having a little damage to are all good options. Otherwise, place several layers of towels underneath the bucket and monitor how much brine is leaking out while churning the ice cream. Add more towels if needed.
- Rock salt should be used instead of regular fine granule table salt. The larger granules freeze the ice cream more evenly providing the creamy texture. Regular salt freezes too fast and creates a crystallized texture.
- The more rock salt used, the faster the ice cream will freeze. Two cups of salt is enough for a typical hand-churned ice cream maker. No need to use more, but don't skimp either!
- If using the saltwater brine method instead of a steady churning, it's important to occasionally turn the crank a few times. Your ice cream will achieve a more even, creamy texture and all added flavorings will be properly mixed in.
- The steady hand-churned method or saltwater brine method both create the same result of the perfect ice cream texture. However, the saltwater brine method allows the busy man or woman to walk away and let Mother Nature do the job. Other tasks may be done in the meantime while achieving a tasty homemade treat.
I’m a wife and homemaker inspiring old-fashioned skills always with a cup of coffee in hand. Homemade Recipes. Gardening. Preserving. Healthy Living.
Never Miss a Post