Simple and Frugal No Sugar Applesauce Recipe
Simple no sugar applesauce is naturally sweet and full of flavor. Made with two simple ingredients, it’s a frugal pantry staple made every fall in my kitchen. This is my take on a classic favorite and I hope you love it as much as I do!
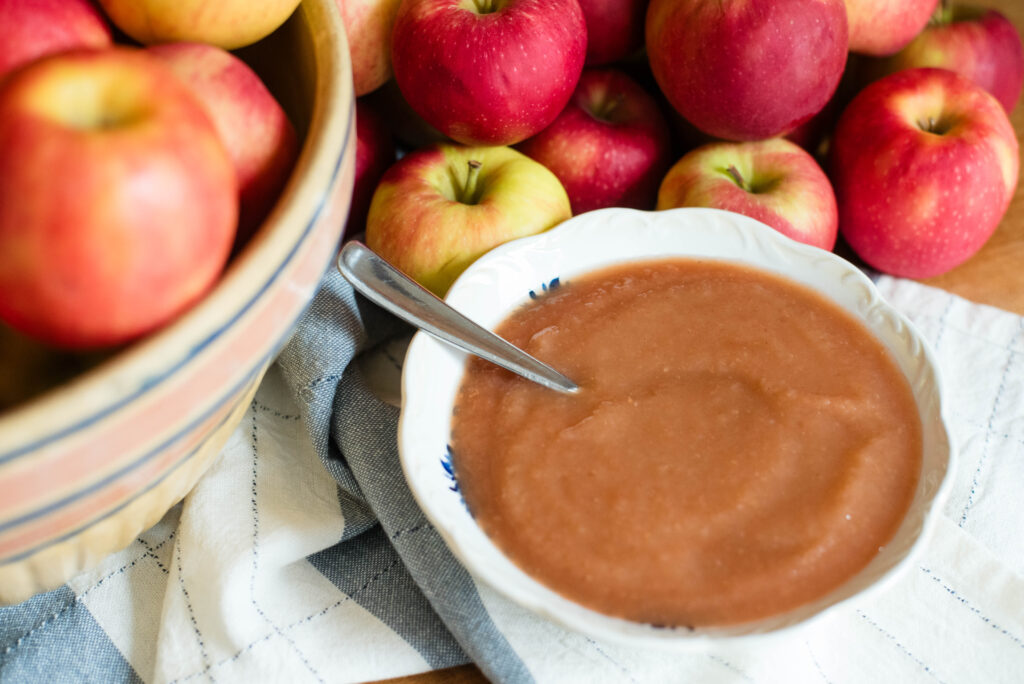
This time of year my kitchen is a flurry of harvest activity. From onions to pumpkins, tomatoes, sweet corn and anything else the garden brings my way, I stay busy. Apples are also added to the harvest when the local apple orchards open for the season.
Some years I get lucky and I find an abundant amount of apples for free from neighbors and friends. While I keep a lot for fresh eating, applesauce is my favorite way to preserve the harvest all year long.
There’s just something about the nostalgic homemade taste of applesauce. It tends to bring me back to a simpler time in my life. For most of us, that’s childhood, when the adult worries of the world weren’t even a thought.
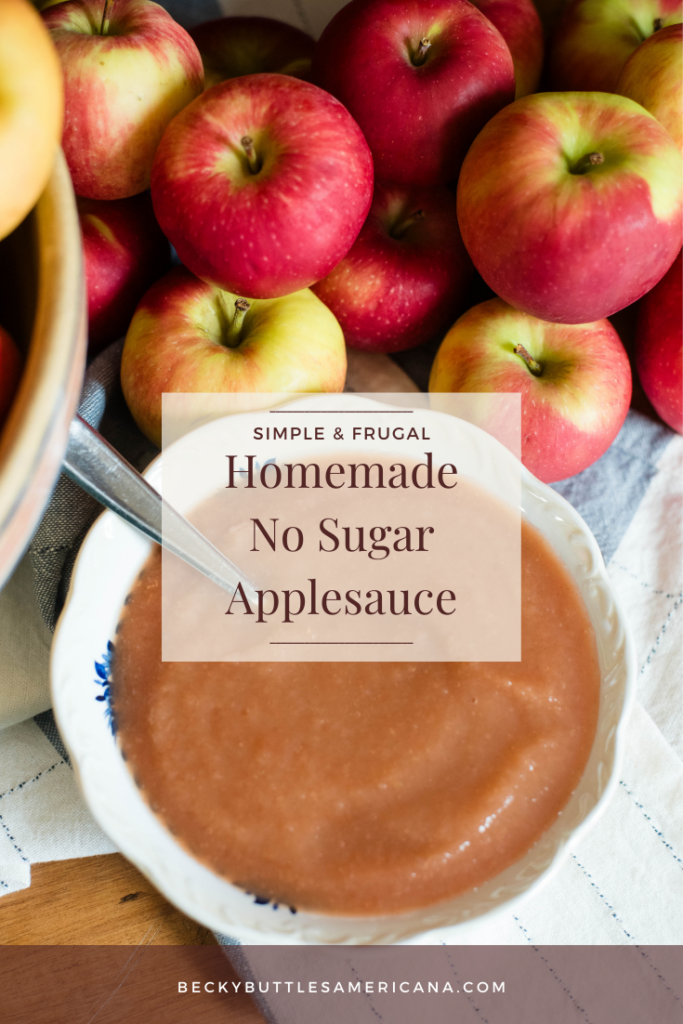
Besides the taste, I love jars of applesauce lined up on my shelves for all sorts of reasons. I hope my passion for a homemade pantry inspires you to line your shelves with jars of simple no sugar applesauce. Anyone can make this recipe, even if you’re new to scratch cooking and canning.
Why You’ll Love This Simple No Sugar Applesauce Recipe
- Homemade is Healthier – Honestly, I think this is my new motto and it certainly rings true for applesauce. Local or homegrown apples are generally organic or at least sprayed very little compared to commercially grown apples. For the eco-conscious, the carbon footprint of local apples is much less compared to apples in the grocery store. And my recipe is made with love and two simple ingredients: apples and a little water. No added sugar necessary!
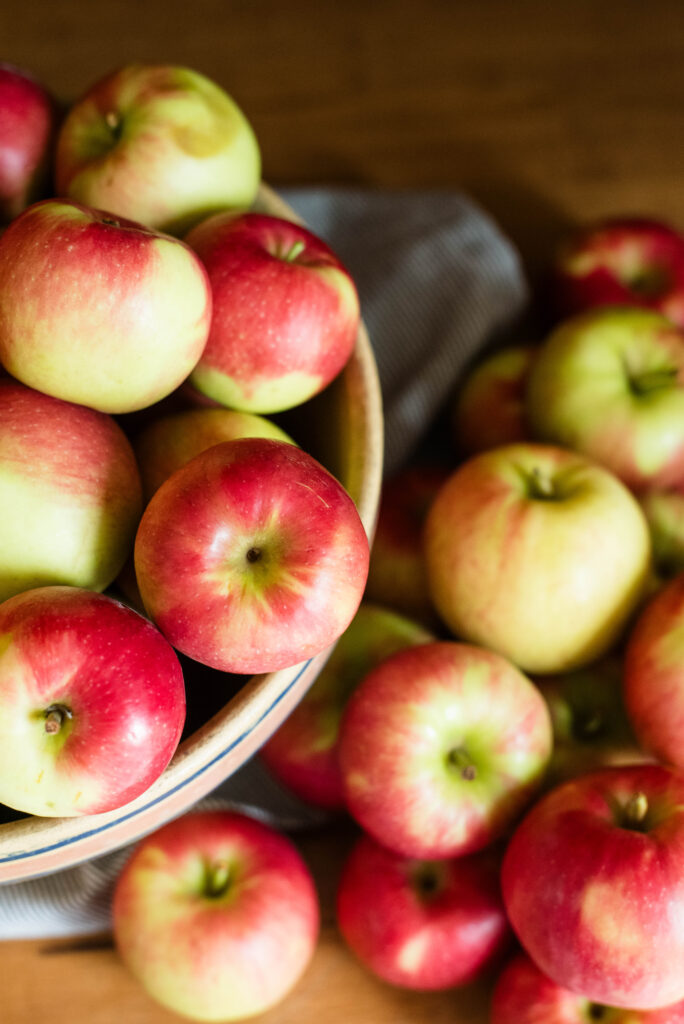
- Budget Friendly – A simple no sugar applesauce recipe is easy on the wallet, especially if you source local apples for free. And added sugar isn’t only just unhealthy, it’s also expensive. If you use local honey or maple syrup instead of cane sugar, you certainly know that price tag! Even jars for canning or freezing can be sourced for free or cheap at rummage sales.
- Versatile – Applesauce is perfect for both kids and adults. Mom’s and dad’s often feed applesauce as a first solid food to babies. It’s also used as a substitute for sugar and fat source in baking, which makes it healthier, budget-friendly and versatile! So what’s not to love about having homemade applesauce on hand?!
Helpful Hints for the Best Applesauce
- While some apples are considered a cooking variety, any one will do for applesauce. A common practice though amongst home cooks is to use a few different varieties per batch.
- There are many different recipes and techniques for making applesauce. Find one that works for you! This recipe happens to be what I use and it’s perfect for my kitchen needs. I’ll admit though, after a little digging around I might have to update some of my techniques. That’s the beauty of sharing on the Internet! Let’s inspire one another 🙂
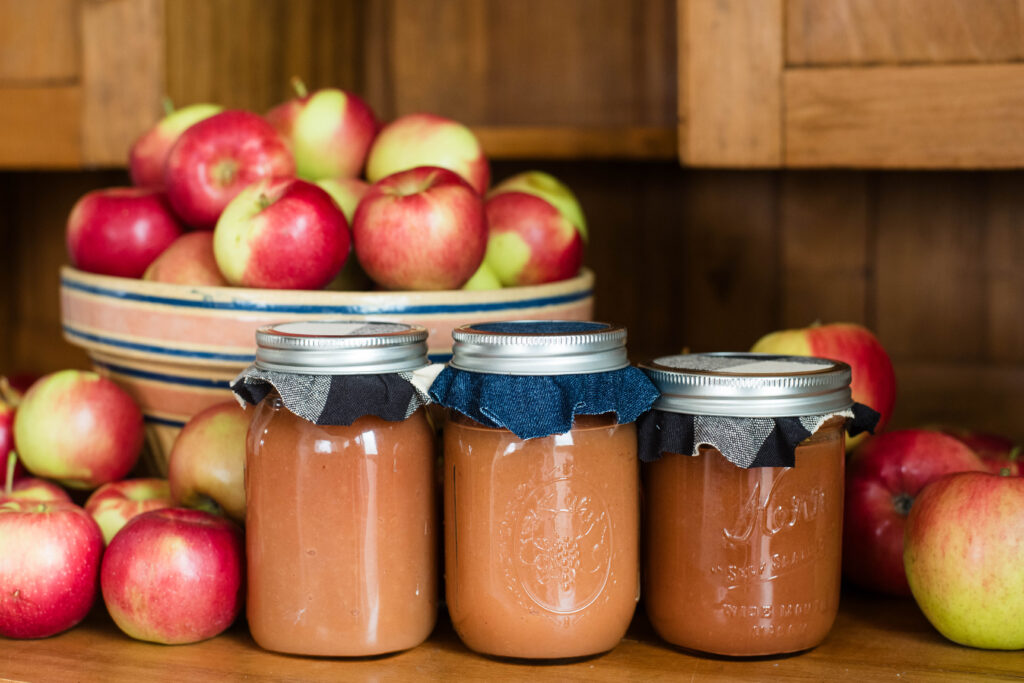
- While it’s common to water bath can applesauce, it can be frozen instead. I always cover the jars with plastic wrap or parchment paper before placing the lids on. That protects the flavor.
- This is a no sugar recipe, but it can absolutely be sweetened to taste. To be budget-friendly and conscious of individual tastes in your family, I suggest leaving the full batch unsweetened. As needed, add sugar to individual servings per taste. That way you don’t need a large amount of sugar at one time.
- Prep time varies when making applesauce. My instructions call for peeling the apples, but your prep time is shorter if you chop with the skins on. Whether you peel or not, either method is okay.
Save those apple scraps for apple cider vinegar or homemade pectin. Check out my recipes below!
Homemade Apple Cider Vinegar | Healthy, Simple and Frugal
Ingredients for Simple No Sugar Applesauce
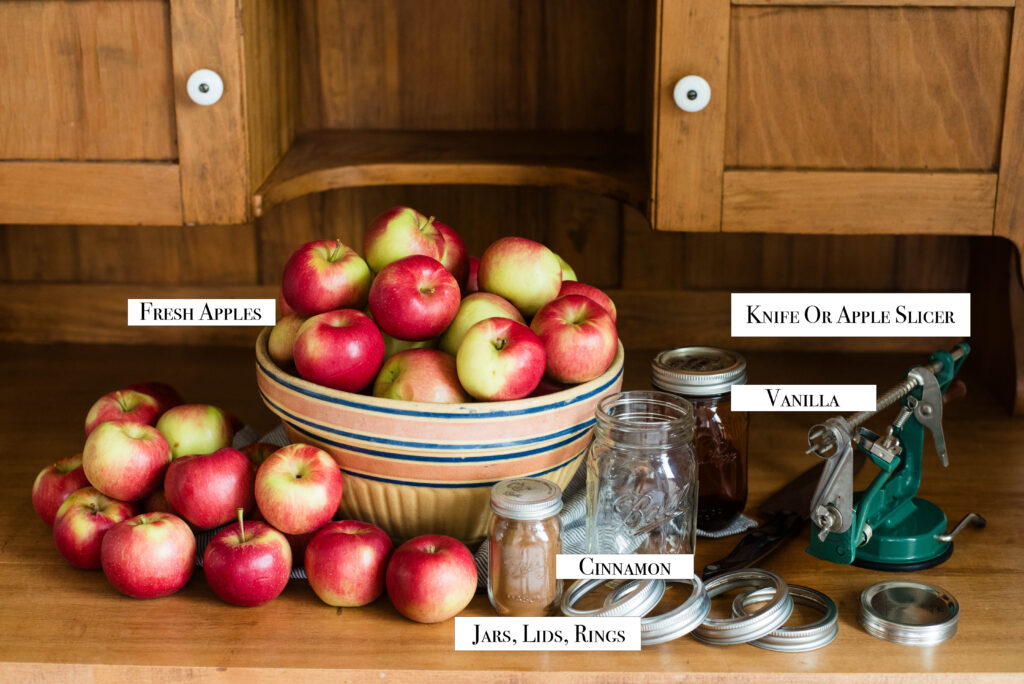
- Fresh Apples – Any variety works (especially the free kind!), but some such as Pink Lady are sweeter than others, which are perfect for no sugar applesauce. Some varieties have more moisture, also making them good for applesauce. It’s good to use a mix of varieties.
- Water – It’s not shown here, but a little water prevents burning on the bottom of the pot. You’ll also want enough water to create the desired consistency once apples are pureed.
- Cinnamon and vanilla- optional
- Salt or lemon juice – Optional unless you’re concerned about the apples turning brown while you slice them. Stir either one into water in a bowl and toss apples in there until you’re ready to cook them.
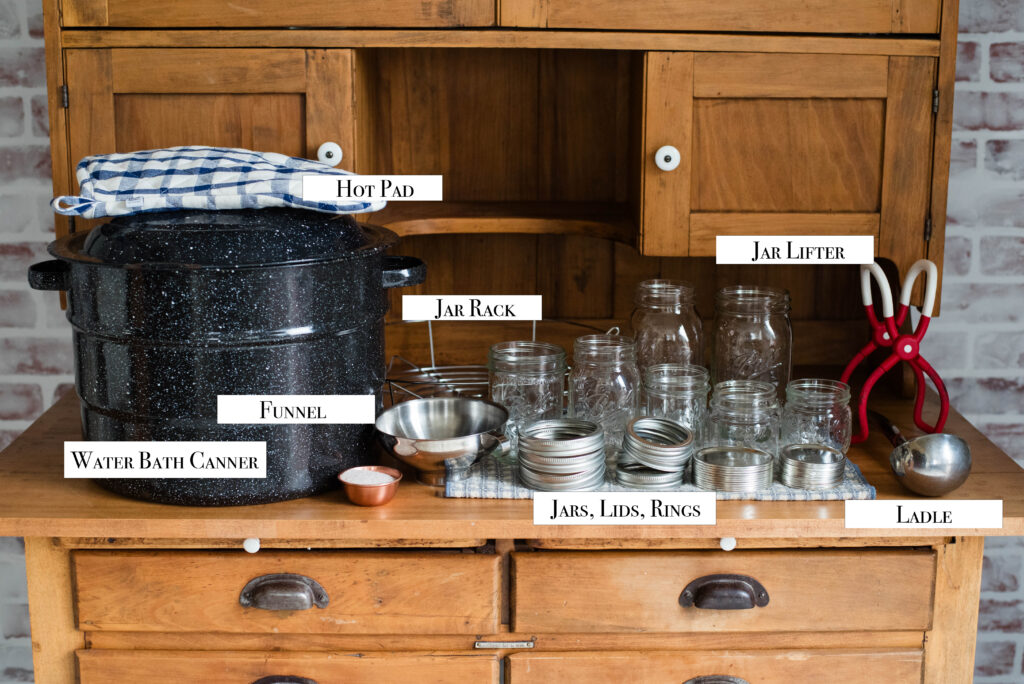
Equipment Needed
- Jars, lids and rings – All are needed whether you’re canning or freezing.
- Knife or apple slicer – An apple peeler corer slicer device isn’t necessary, but saved me hours of work. It’s worth the small investment for the time saved.
- Water bath canner – This and the following equipment are necessary if you’re canning your applesauce.
- Jar rack – It sits in the bottom of the canner and prevents jars from breaking.
- Funnel, jar lifter, ladle, hot pad, towel and extra bowls
- Scale – Handy for measuring the number of pounds of apples you have.
- Large pot – You’ll need a large enough pot to cook the apples in. If you’re pureeing with an immersion blender, don’t use a pot that easily scratches like enamel cast iron or copper (like I did here).
- Immersion or regular blender or food processor – Necessary for pureeing the apples.
How to Make Simple No Sugar Applesauce
Step-by-Step Instructions
Before Canning or Freezing
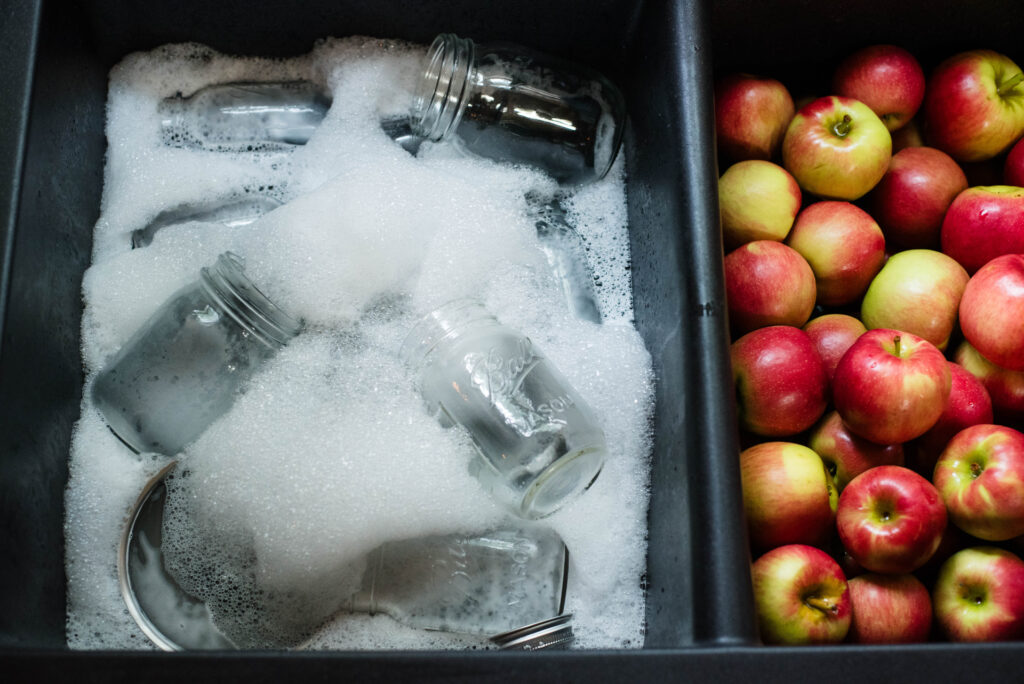
1.) Start by washing all jars, lids and rings in hot, soapy water. This can also be done in the dishwasher. Wash all other equipment as well.
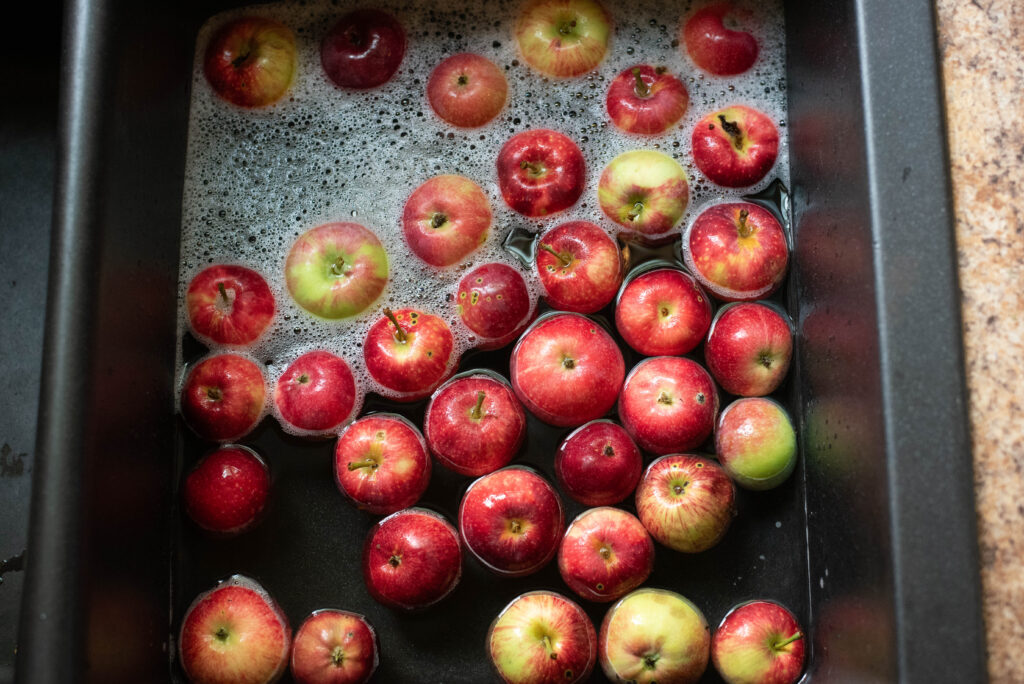
2.) Next, wash apples in warm water using an all natural soap like Dr. Bronner’s or Branch Basics concentrate.
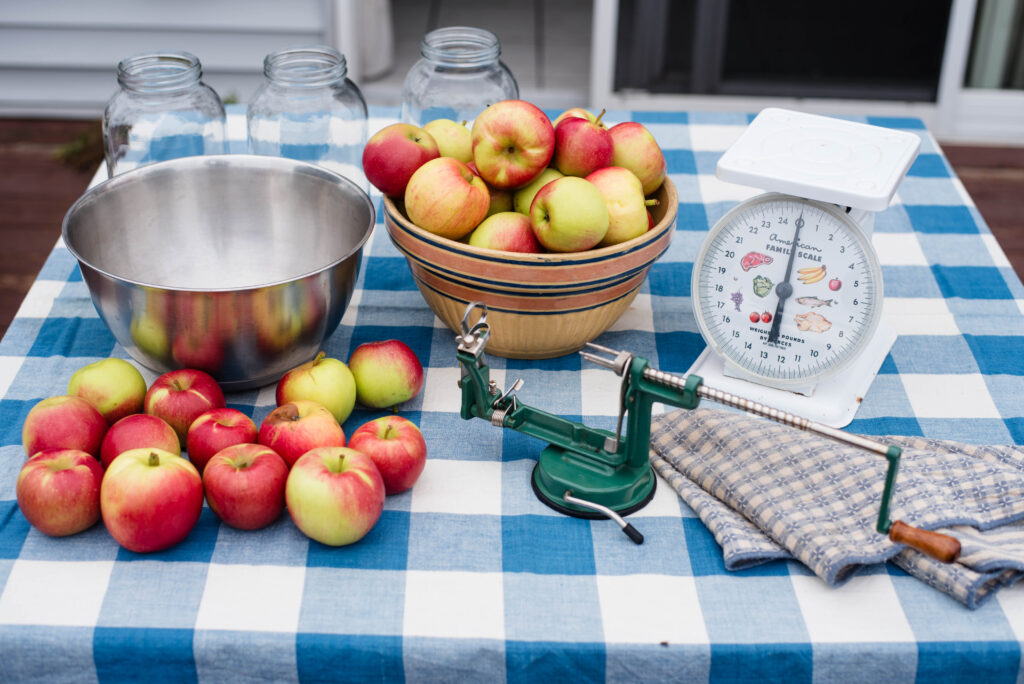
3.) Gather all supplies necessary to work quickly and efficiently.
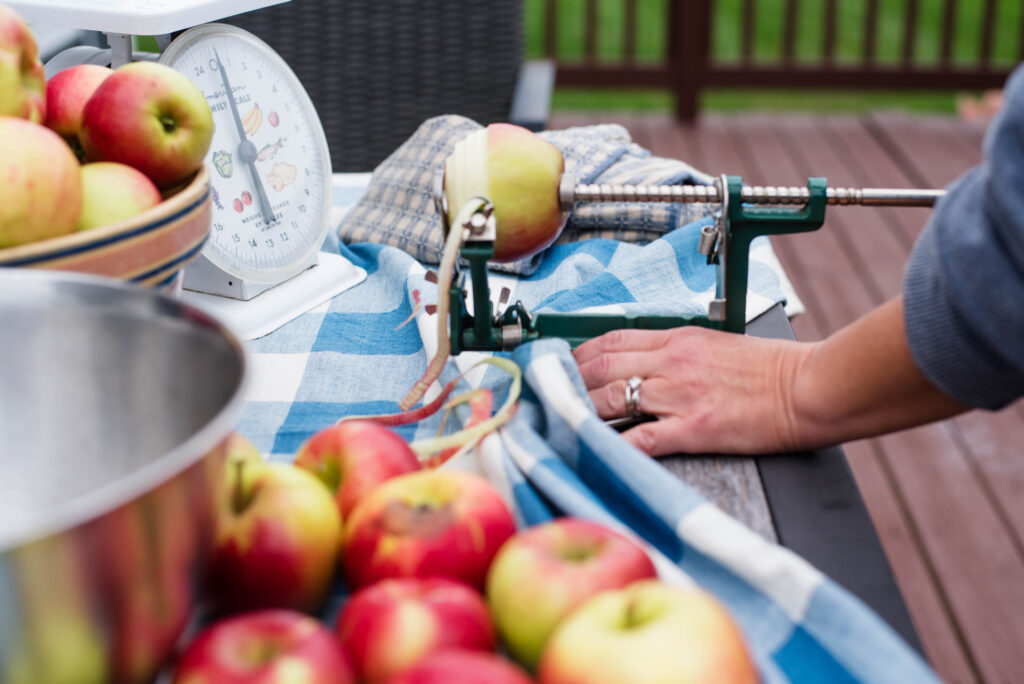
4.) Peel and core all apples either by hand with a knife or with an apple peeler corer slicer device.
Place apples in a bowl with water and salt or lemon juice to prevent them from turning brown.
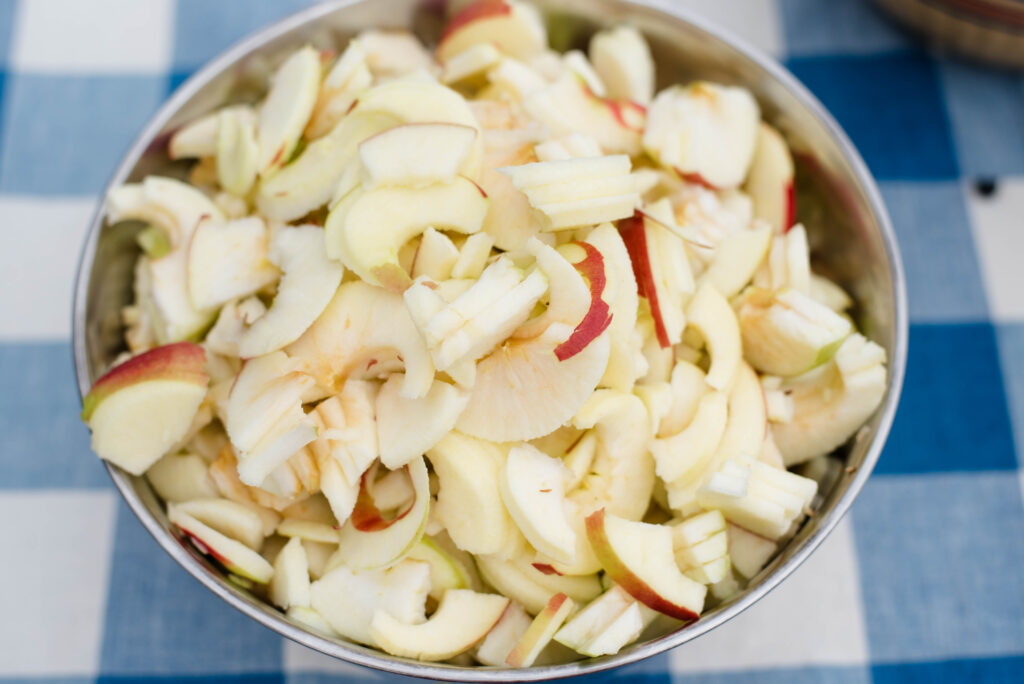
5.) Cut apples into similar size pieces to guarantee even cooking.
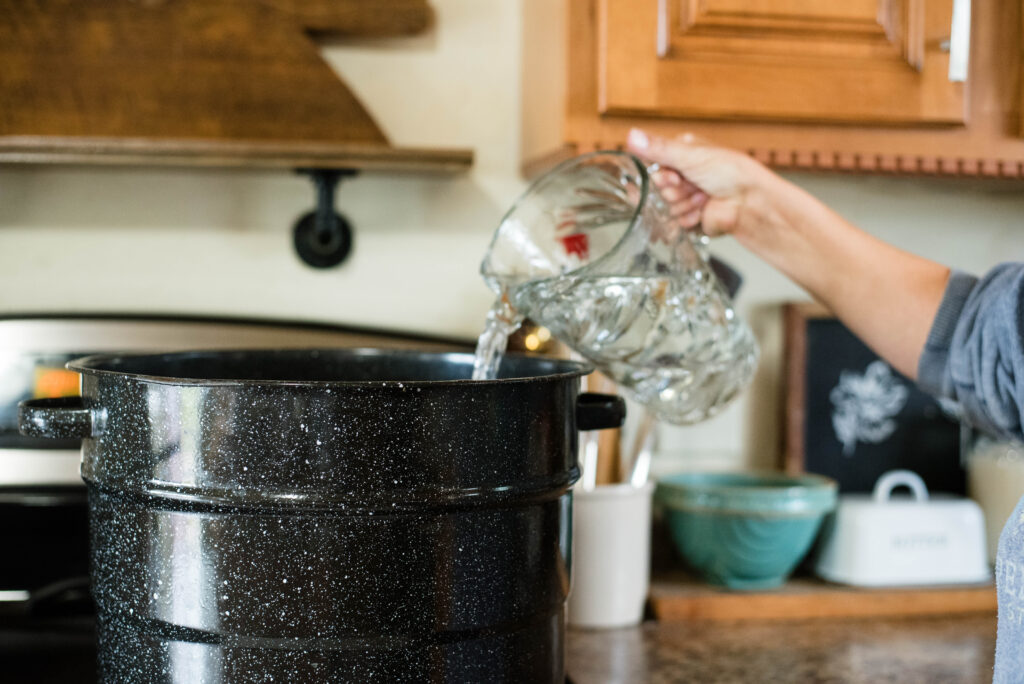
6.) If canning your applesauce, start the water boiling in the canner.
Place the jar rack on the bottom of the canner. Add enough water to cover the jars when set inside.
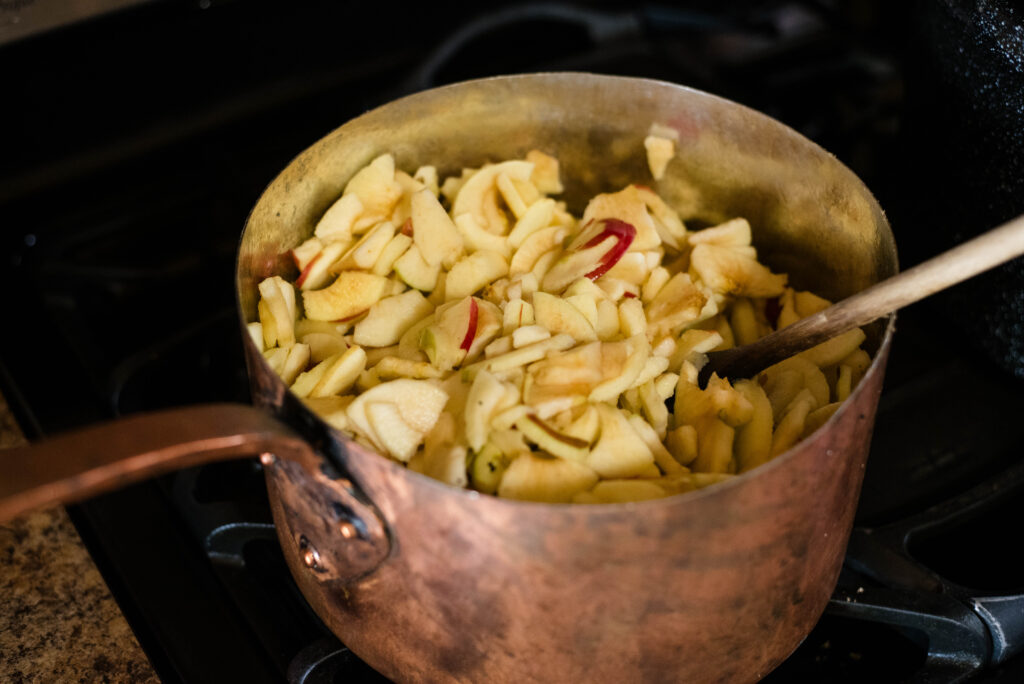
7.) Once there’s enough apples sliced, transfer to a large cooking pot. Cook on medium to low heat.
Add about a half cup of water to prevent the apples from burning. Stir constantly.
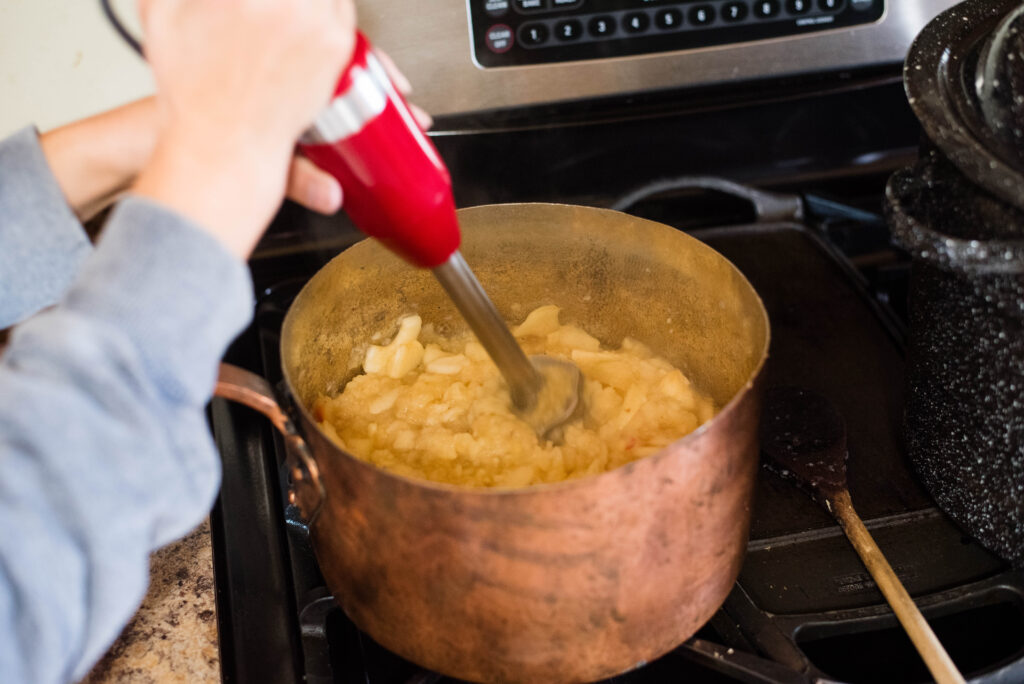
8.) When the apples cook down and soften enough, puree with an immersion blender or transfer to a regular blender.
Be careful not to scratch your pot.
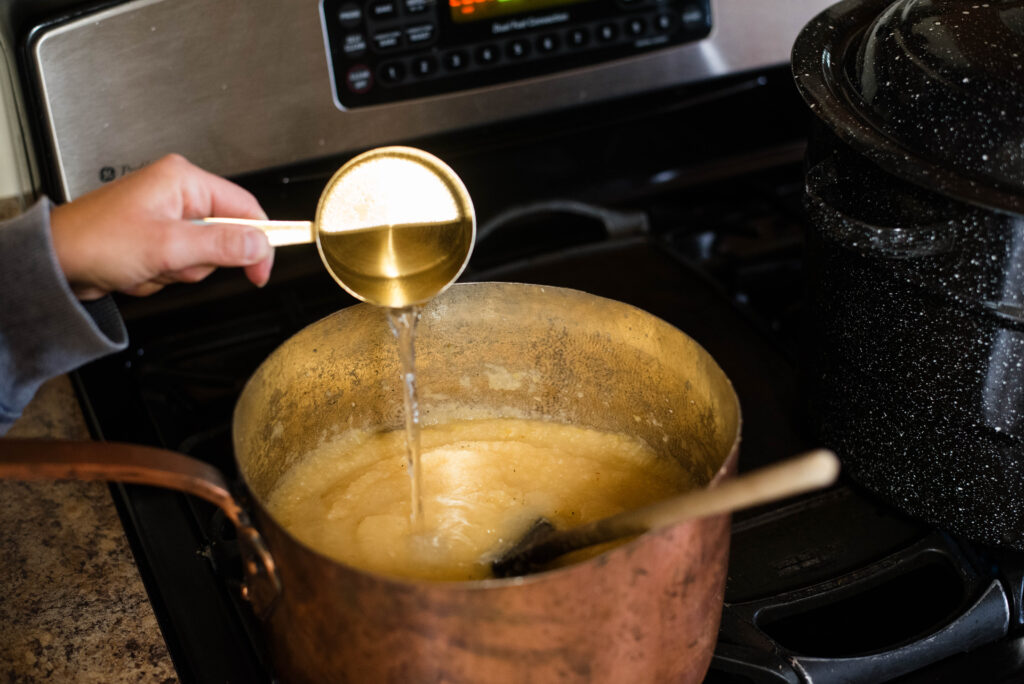
9.) Once pureed, add more water if necessary to obtain the desired consistency.
Turn off the burner and remove from the heat.
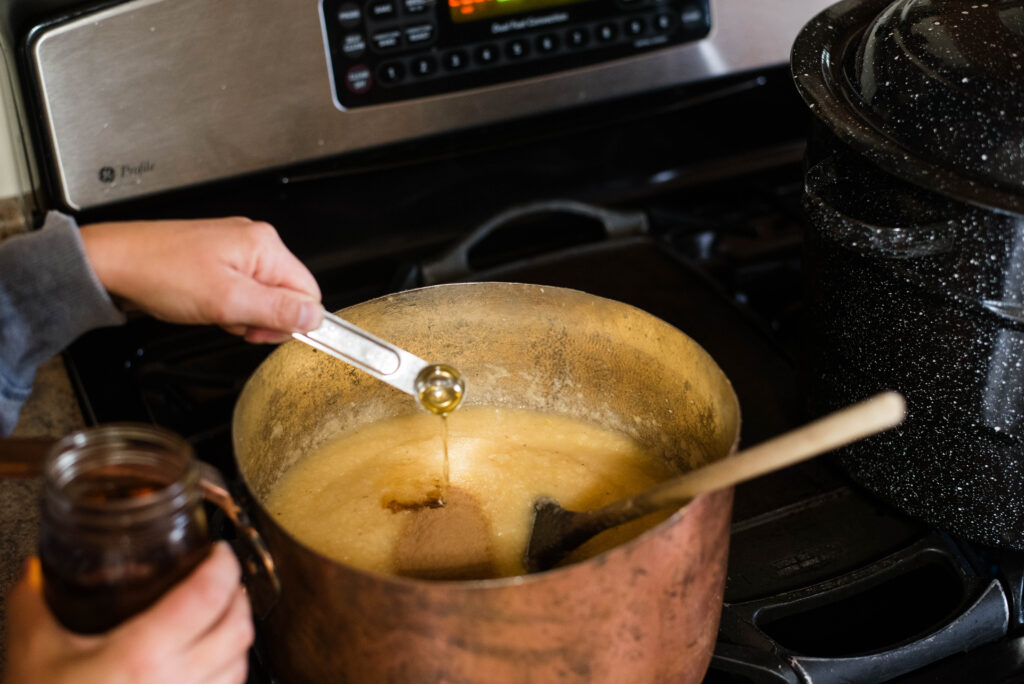
10.) Stir in vanilla and cinnamon if using. These two ingredients are optional, but tasty!
Canning Phase
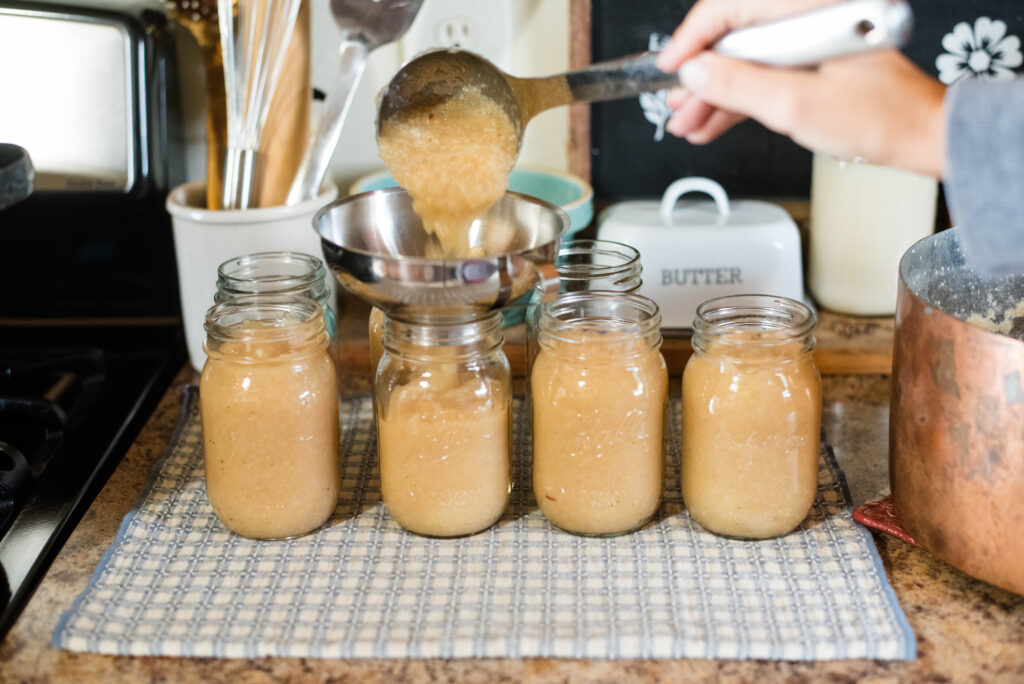
1.) Next, using a funnel, ladle applesauce into the jars.
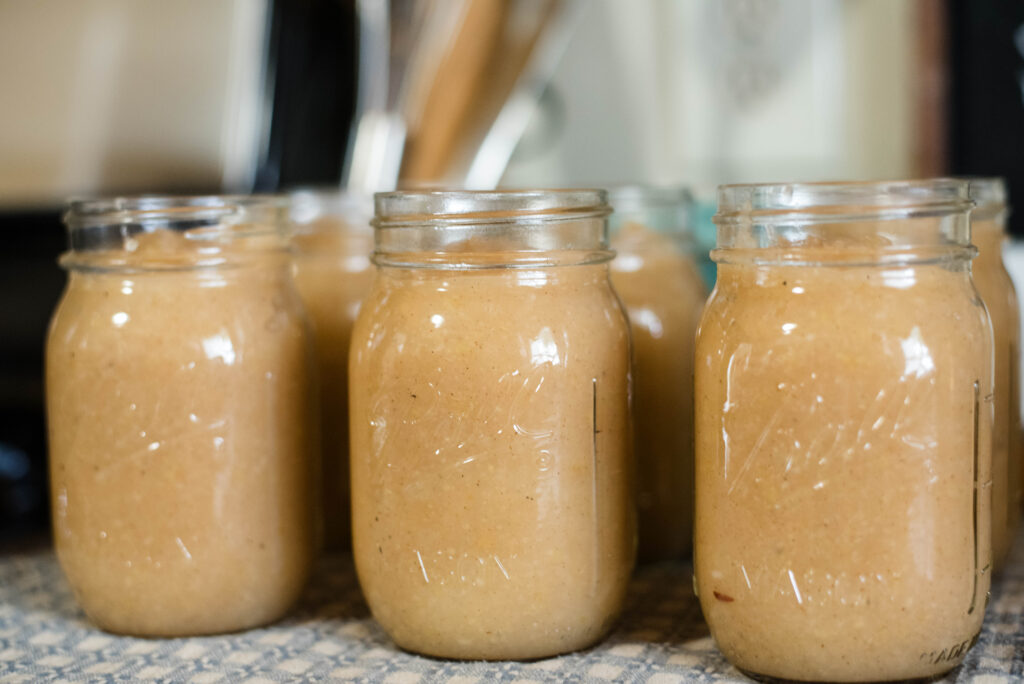
2.) Leave about an inch of head space just below the rim of the jar.
If you’re freezing the applesauce, leave two inches of head space to allow for expansion.
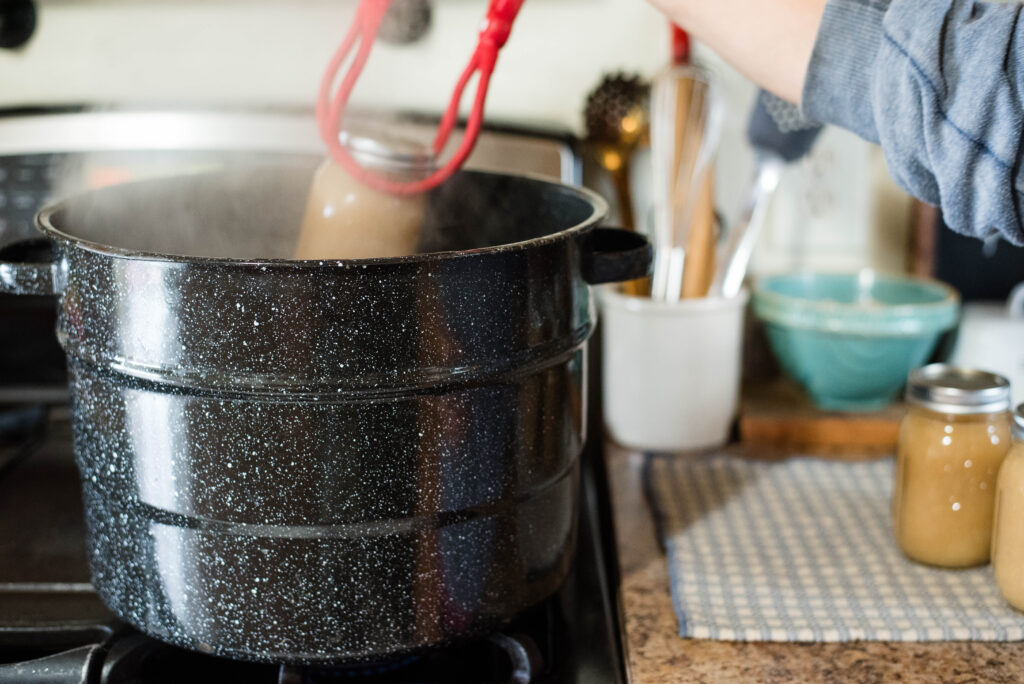
3.) Wipe rims clean and add lids and rings. Carefully set jars inside the canner and process for 15 minutes for pints and 20 minutes for quarts.
This also depends on the altitude of your location. You can find that on the Internet with a simple search.
Do not start the timer until the water comes to a full rolling boil.
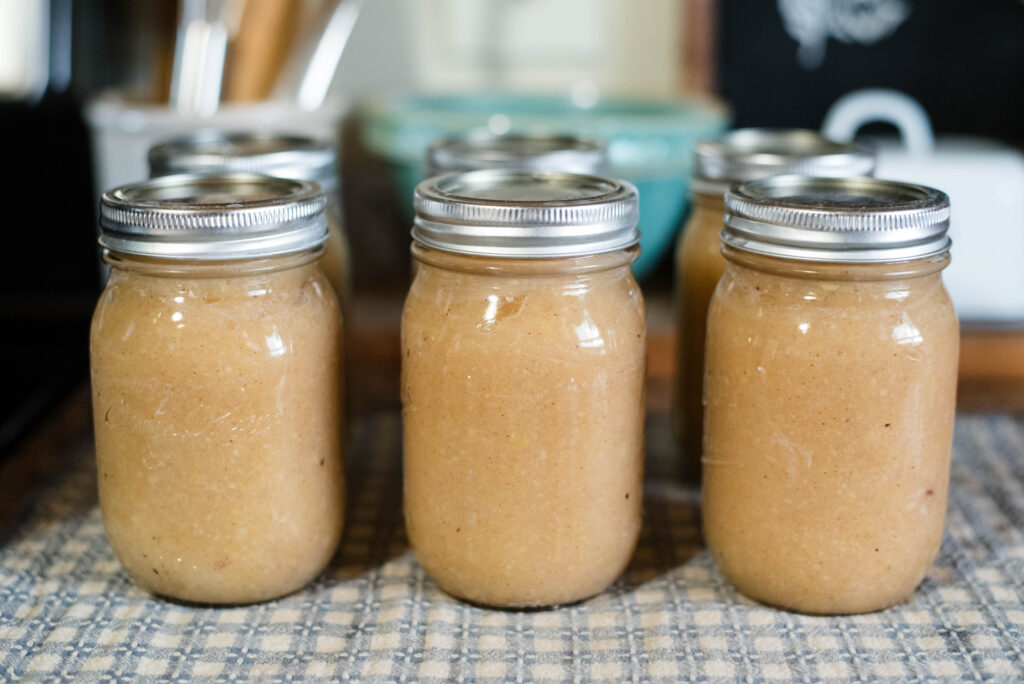
4.) When the jars finish processing, remove and place on a towel.
Leave them rest for 12-24 hours. As the jars seal, you’ll hear a popping sound from each lid.
Storing Your Applesauce
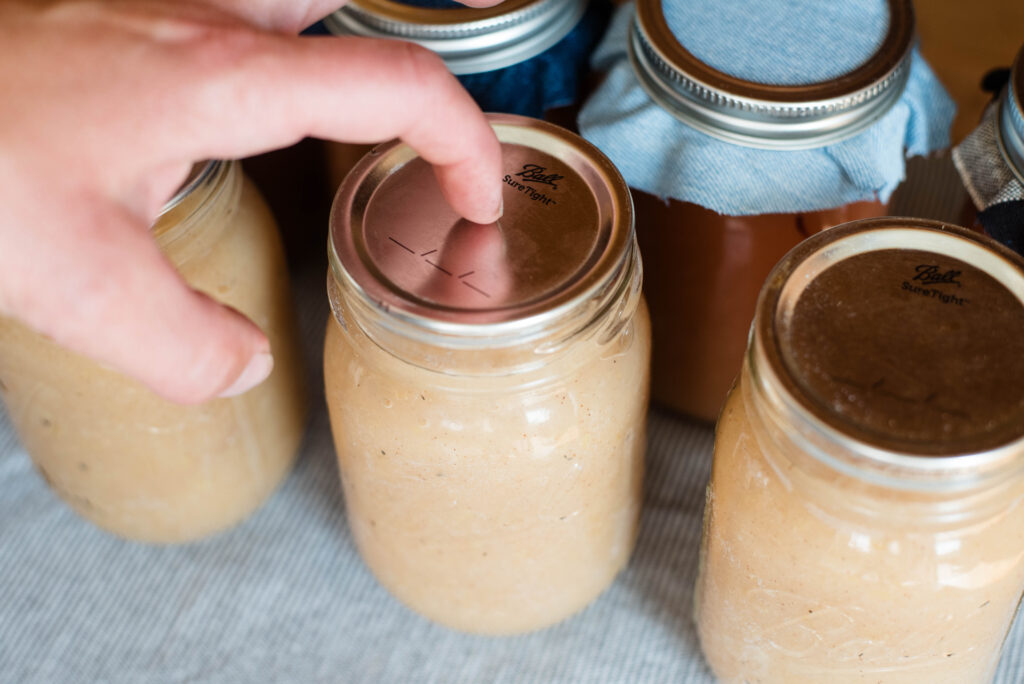
1.) After 12-24 hours, remove the rings and check the seal of each jar.
If the lid feels firm and doesn’t flex, the jar is properly sealed.
If the lid didn’t seal, you’ll need to either re-process it, freeze it or eat right away.
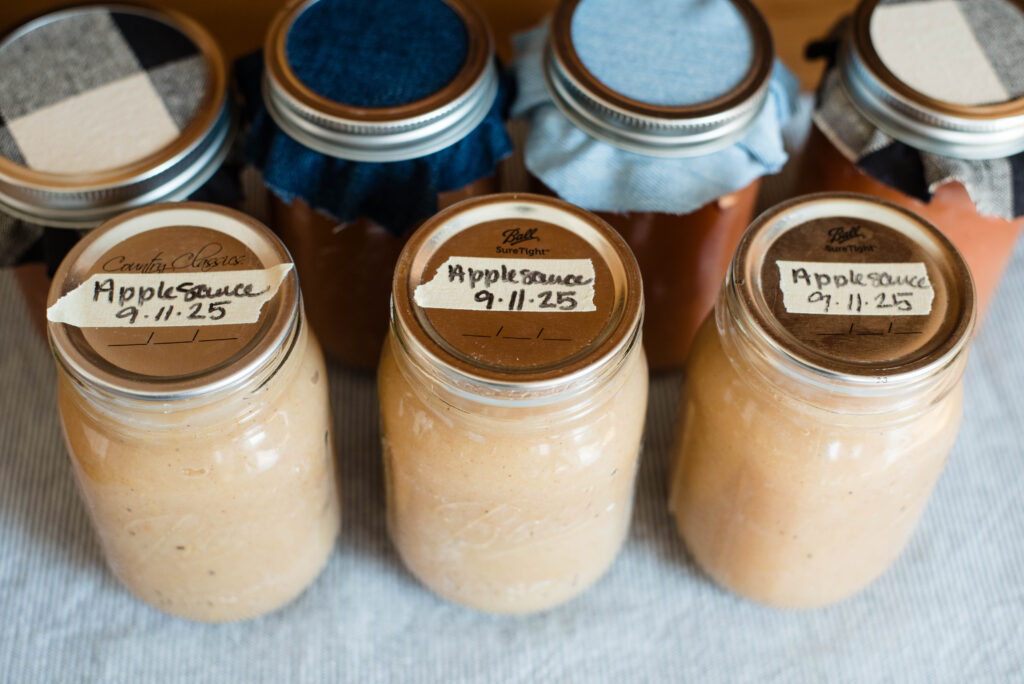
2.) It’s important to label each jar when they’re ready for storage. You can write directly on the lid or on a label.
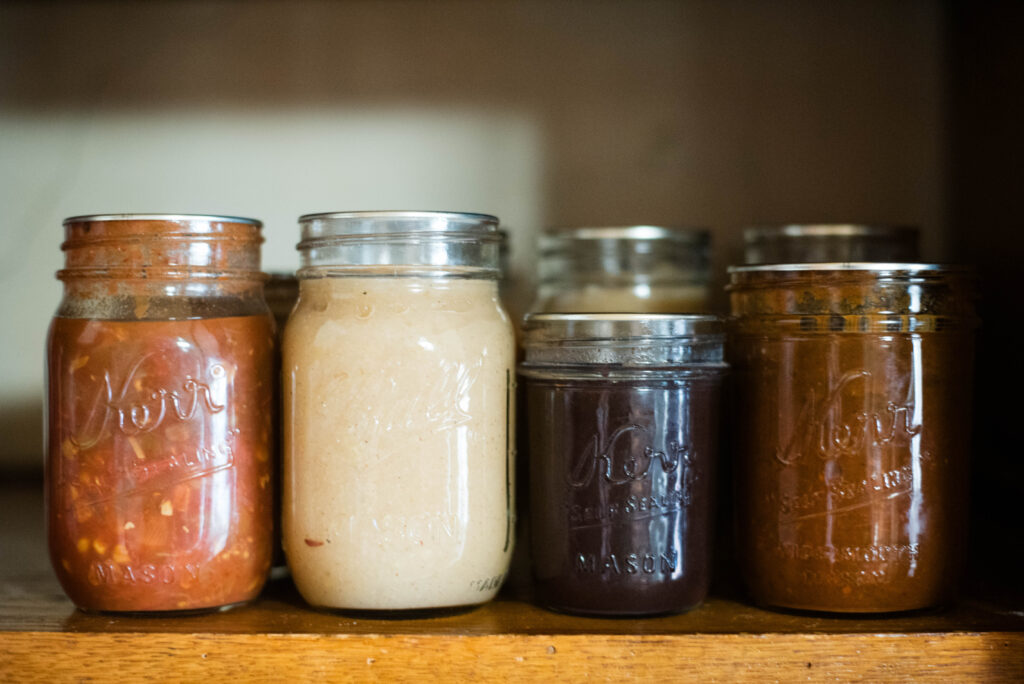
3.) Wherever you keep your jars, store them side-by-side in a single layer.
Stacking them could present a false seal, therefore concealing a jar that’s spoiled.
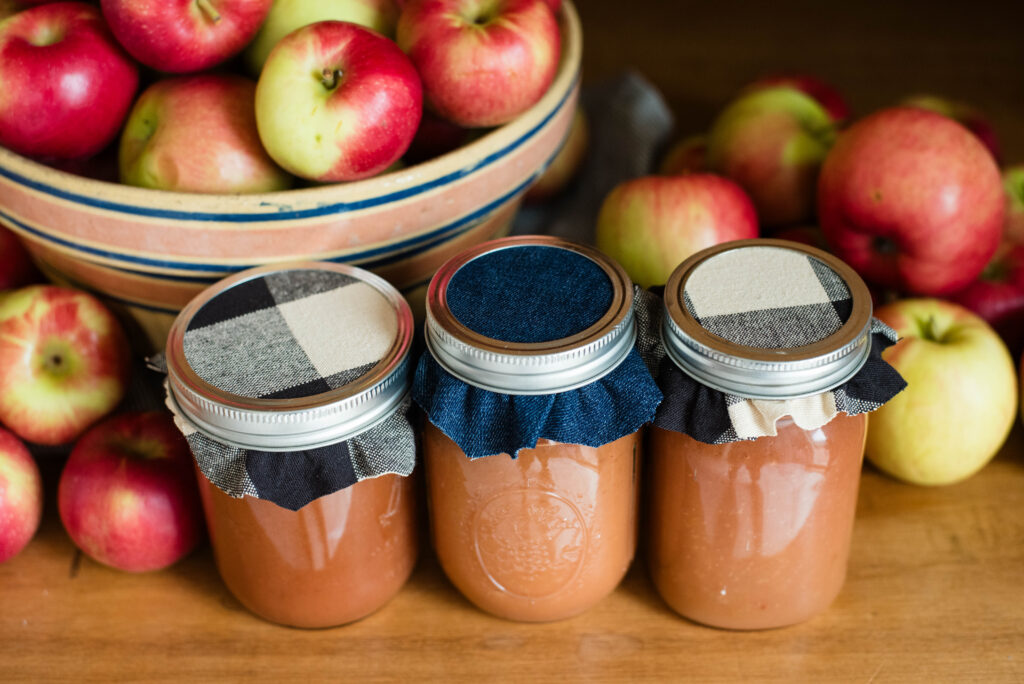
4.) Jars of homemade canned food often make wonderful gifts to those who don’t can their own food.
Hostess gifts or Christmas time are perfect examples.
When sharing, cover the lid with cute scrap fabric for a cozy presentation.
For troubleshooting tips when canning applesauce, visit this website. Safe canning is a must!!
Troubleshooting Problems When Canning Applesauce
FAQ’s for Simple No-Sugar Applesauce
Is there a certain apple variety for making applesauce?
No, any variety of apples are good to use for applesauce. But, use a mix of varieties so your applesauce is a balance of naturally sweet and tart.
Do apples need to be peeled to make applesauce?
No, this is a personal preference. I peel mine, but the peels carry a lot of nutrition. It’s beneficial to cook and puree them together for maximum nutrient density.
Is it necessary to add water to the applesauce?
Yes, while cooking it’s important to add about a half cup of water to prevent the apples from burning to the bottom of the pan. But, if you use an apple variety with high moisture content, additional water may not be necessary. You’ll need to use your best judgement after pureeing.
How should applesauce with a watery consistency be fixed?
Either continue cooking until the moisture content simmers off or add cornstarch to thicken.
How long should applesauce be stored?
It depends on your method of storage. Canned applesauce lasts about 18 months and frozen lasts three months for best flavor. Fresh is good for approximately ten days in the fridge.
More Recipes from Becky’s Kitchen
How to Make Easy Homemade Pectin for Jam
How to Make Homemade Shrub | A Dye-Free Beverage Flavoring
Homemade Apple Cider Vinegar | Healthy, Simple and Frugal
The Best Homemade Pumpkin Sausage Soup for Fall
How to Make Homemade Pumpkin Hand Pies with Honey Icing
If you make this recipe and love it, I’d appreciate it if you left a 5-star review! Tag me with your photos on Instagram @beckybuttlesamericana.
With Love, Becky
Simple and Frugal No Sugar Applesauce
Simple no sugar applesauce is naturally sweet and full of flavor. Made with two simple ingredients, it's a frugal pantry staple made every fall in my kitchen. This is my take on a classic favorite and I hope you love it as much as I do!
Ingredients
- 6 lbs. peeled and chopped apples, cores and seeds removed
- 1/2 cup water for cooking, more for desired consistency of pureed sauce
- 1 teaspoon cinnamon (optional)
- 2 teaspoons vanilla (optional)
- Lemon juice or salt (optional - keeps apples from browning while chopping)
Instructions
Before Canning or Freezing
1.) Start by washing all jars, lids and rings in hot, soapy water. This can also be done in the dishwasher. Wash all other equipment as well.
2.) Next, wash apples in warm water using an all natural soap like Dr. Bronner's or Branch Basics concentrate.
3.) Gather all supplies necessary to work quickly and efficiently.
4.) Peel and core all apples either by hand with a knife or with an apple peeler corer slicer device. Place apples in a bowl with water and salt or lemon juice to prevent them from turning brown.
5.) Cut apples into similar size pieces to guarantee even cooking.
6.) If canning your applesauce, start the water boiling in the canner. Place the jar rack on the bottom of the canner. Add enough water to cover the jars when set inside.
7.) Once there's enough apples sliced, transfer to a large cooking pot. Cook on medium to low heat. Add about a half cup of water to prevent the apples from burning. Stir constantly.
8.) When the apples cook down and soften enough, puree with an immersion blender or transfer to a regular blender. Be careful not to scratch your pot.
9.) Once pureed, add more water if necessary to obtain the desired consistency. Turn off the burner and remove from the heat.
10.) Stir in vanilla and cinnamon if using. These two ingredients are optional, but tasty.
Canning Phase
1.) Next, using a funnel, ladle applesauce into the jars.
2.) Leave about an inch of head space just below the rim of the jar. If you're freezing the applesauce, leave two inches of head space to allow for expansion.
3.) Wipe rims clean and add lids and rings. Carefully set jars inside the canner and process for 15 minutes for pints and 20 minutes for quarts.
This also depends on the altitude of your location. You can find that on the Internet with a simple search. Do not start the timer until the water comes to a full rolling boil.
4.) When the jars finish processing, remove and place on a towel. Leave them rest for 12-24 hours. As the jars seal, you'll hear a popping sound from each lid.
Storing Your Applesauce
1.) After 12-24 hours, remove the rings and check the seal of each jar. If the lid feels firm and doesn't flex, the jar is properly sealed. If the lid didn't seal, you'll need to either re-process it, freeze it or eat right away.
2.) It's important to label each jar when they're ready for storage. You can write directly on the lid or on a label.
3.) Wherever you keep your jars, store them side-by-side in a single layer. Stacking them could present a false seal, therefore concealing a jar that's spoiled.
4.) Jars of homemade canned food often make wonderful gifts to those who don't can their own food. Hostess gifts or Christmas time are perfect examples. When sharing, cover the lid with cute scrap fabric for a cozy presentation.
Notes
- While some apples are considered a cooking variety, any one will do for applesauce. A common practice though amongst home cooks is to use a few different varieties per batch.
- There are many different recipes and techniques for making applesauce. Find one that works for you! This recipe happens to be what I use and it's perfect for my kitchen needs. I'll admit though, after a little digging around I might have to update some of my methods. That's the beauty of sharing on the Internet! Let's inspire one another 🙂
- While it's common to water bath can applesauce, it can be frozen instead. I always cover the jars with plastic wrap or parchment paper before placing the lids on. That protects the flavor.
- This is a no sugar recipe, but it can absolutely be sweetened to taste! To be budget-friendly and conscious of individual tastes in your family, I suggest leaving the full batch unsweetened. As needed, add sugar to individual servings per taste. That way you don't need a large amount of sugar at one time.
- Prep time varies when making applesauce. My instructions call for peeling the apples, but your prep time will be shorter if you chop with the skins on. Whether you peel or not, either method is okay.
FAQ's for Simple No-Sugar Applesauce
Is there a certain apple variety for making applesauce?
No, any variety of apples are good to use for applesauce. But, use a mix of varieties so your applesauce is a balance of naturally sweet and tart.
Do apples need to be peeled to make applesauce?
No, this is a personal preference. I peel mine, but the peels carry a lot of nutrition. It's beneficial to cook and puree them together for maximum nutrient density.
Is it necessary to add water to the applesauce?
Yes, while cooking it's important to add about a half cup of water to prevent the apples from burning to the bottom of the pan. But, if you use an apple variety with high moisture content, additional water may not be necessary. You'll need to use your best judgement after pureeing.
How should applesauce with a watery consistency be fixed?
Either continue cooking until the moisture content simmers off or add cornstarch to thicken.
How long should applesauce be stored?
It depends on your method of storage. Canned applesauce lasts about 18 months and frozen lasts three months for best flavor. Fresh is good for approximately ten days in the fridge.
About Becky
I’m a wife and homemaker inspiring old-fashioned skills always with a warm beverage in hand. Homemade Recipes. Gardening. Preserving. Healthy Living.
Never Miss a Post