How to Use a Pressure Canner | Canning Dry Beans 101
Pressure canning confidently fills your pantry shelves with healthy homemade food and reduces reliance on the grocery store. This step-by-step tutorial takes you through the process of using a pressure canner, safety protocols and how to can dried beans. Leave behind the steep price tag of ultra-processed, unhealthy store-bought food and create self-sufficiency today!
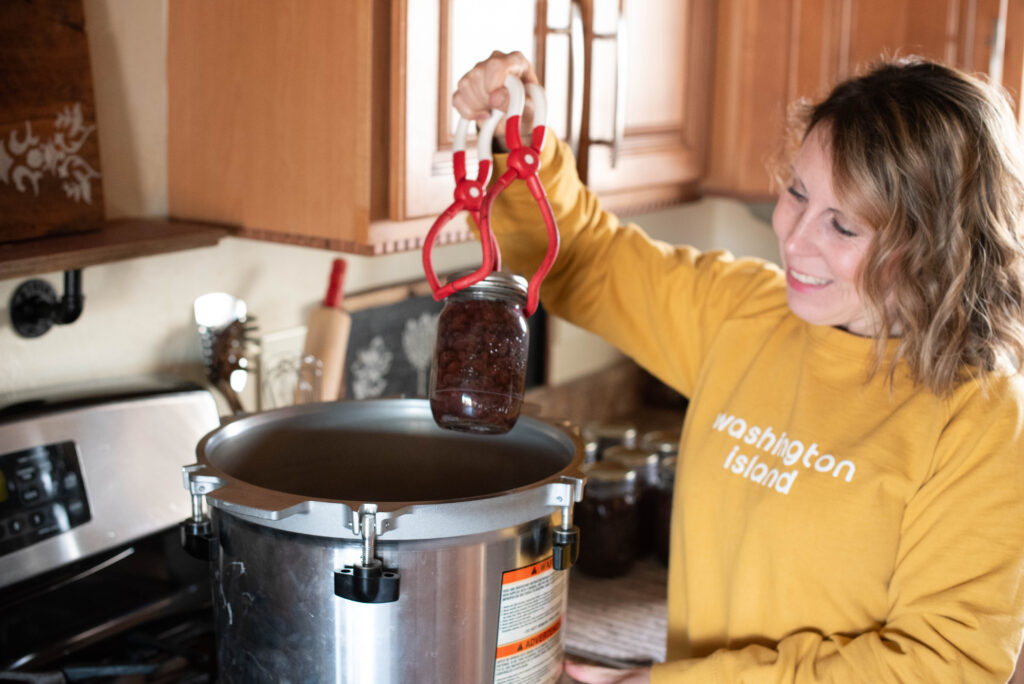
When Luke and I first got married, pressure canning was one of the first self-sufficiency skills I learned. It kind of happened on a whim really.
I started following fellow gardeners online early in the spring since I would be planting my first garden in a few short weeks. A video about pressure canning green beans popped up and I was immediately intrigued. I didn’t know I could do that on my own!
Without finishing the video, I got on Amazon right away and ordered my All-American pressure canner without even talking to Luke about it first. While we do talk more seriously about purchases today, I knew back then this canner would quickly pay itself back and it has!
When summer finally arrived, I had my first garden and my first batch of canned food. Green beans of course. Since then, I’ve canned much more than that, and I hope to spread my love of canning onto you! There’s nothing more satisfying than pulling jars of homemade food out of a home canner.
Pressure canning is safe to do when proper protocols are used. Canners today are safer than in years past and following my guidelines ensures canned food is safe for you and your family to eat.
Why You’ll Love Pressure Canning Your Own Food
Pressure canning is easy to do – It really is! Pressure canners in the past didn’t have safety measures built in so moms and grandmas today are often fearful of them and never learned how to can their own food. But with safer models and lots of helpful instructions and information available, it’s an old-fashioned skill that’s easy to learn. I walk you through it step-by-step below.
Healthier than store-bought – Home canned food is made and preserved without synthetic preservatives and disease causing chemicals. Metal cans leach aluminum and other heavy metals into the bloodstream. And those lined with plastic leak toxic BPA’s, which interrupt the endocrine system amongst other issues. Simply put, you’ll experience better health now and in the future!
Build your own at-home grocery store – Pantry shelves full of your own canned goods make mealtime easy. Vegetables make perfect side dishes or easy dump-n-go soups that quickly come together. You can even pressure can your own broth, which is good for soups or sauces for pasta dishes. You can also stock jars of your own homemade chili or soups for easy convenient meals. Our favorite is Zuppa Toscana.
Eco-friendly – Canning reuses jars and rings, creating less waste going to landfills. Recycle used lids for craft projects or storing leftovers in Mason jars. Never re-use lids for canning (do as the USDA says for safe canning, not as I do!)
The Pros and Cons of Pressure Canning
By now you know I favorably support pressure canning as a means to create a healthy, self-sufficient pantry. But there are some drawbacks to consider when you write out your food preservation plan.
The Pros of Pressure Canning
- Pressure canning allows the every day person to expand their home pantry to include low-acid produce and convenience foods (like homemade soup). Water bath canning limits the home canner to pickled or high-acid foods like fruits.
- A pressure canner gives people the power to produce their own food instead of relying on the grocery store. The food system is often riddled with steep prices, shortages, recalls due to food borne illnesses and pesticide and chemically-laden products. Pressure canning creates self-reliance and confidence in the ability to preserve your own food.
- You’ll save money now and in the future. A pressure canner is an investment, especially an All-American, but it quickly pays itself back. By canning your own food, you’ll save money on your monthly grocery budget. And eating your own food that you produce without preservatives and toxic chemicals reduces health care costs in the future. You’ll stay healthier and have a higher quality of life. Sounds like a double bonus to me!
- Save freezer space and reduce reliance on the electrical grid with shelf-stable food. Pressure canning gives you the ability to do both. This is especially helpful if you buy a lot of meat in bulk or the garden is extra abundant one year.
The Cons of Pressure Canning
- Nutrient loss is the biggest con of pressure canning. Freezing and fermenting retain the most nutrients in fresh food. However, when designing your food preservation plan, it’s important to weigh nutrient loss versus the pros listed above. Tip: My preservation plan includes a mix of all methods based on the pros listed above.
- We often have power outages in our area and I like knowing I have shelf-stable food that won’t spoil.
- My freezer space is often limited towards the end of the garden season as well as refrigerator space (from fermented produce) and pressure canning is my only remaining option.
- We sometimes prefer the taste of pressure canned produce depending on the item. Green beans are my best example.
- Depending on what you’re pressure canning, it’s more time consuming than water bath canning. That’s a general assumption though, that sometimes doesn’t factor in the preparation time. Pressure canning dry black beans versus water bathing tomato sauce is much less time consuming. Tomatoes require a lot more prep than dry beans particularly if you’re making pasta or pizza sauce. Beans are more hands off than tomatoes. However, pressure canning cubed pumpkin is another story.
- Storage space is another factor to consider. A pressure canner isn’t a small item and if you live in an apartment with limited space already, it might not be for you. Or instead, consider borrowing or sharing ownership with a friend who has a bigger home.
- There’s a bit of a learning curve with a pressure canner, but like anything in today’s modern world, the Internet and the local library are full of helpful resources. Truthfully, before I pressure canned my first batch of jars, I never watched a video or read a book. I simply read the instruction manual that came with my All-American canner and that was six years ago. We eat my pressure canned food all the time and we’re still here! I promise, it’s easier than you think. Today’s canners are much safer than in the past. Arm yourself with information and see past the fear.
Guidelines for Safe Pressure Canning
Botulism Prevention
Any high-acid food that can be safely water bath canned, may also be pressured canned. That said, it’s important to know what foods are considered high vs. low acid. Don’t worry, this science lesson is brief, but imperative. Proper canning techniques ensure safe eating and prevent botulism poisoning. For more information about proper canning, read the ultimate Complete Guide to Home Canning from the USDA.
Clostridium botulinum is a bacteria that naturally lives in soil and water. Yes, it’s ingested, but the spores need certain living conditions to multiply and become toxic to the human body. The naturally occurring spores generally don’t survive due to our immune systems and stomach acid.
However, if food and jars aren’t properly prepared before canning, and specific techniques are not used with the canner itself, the botulinum spores multiply and become toxic. But with safe canning guidelines in place, the Centers for Disease Control estimates about 110 cases of botulism per year with only 25% of those cases related to food borne illnesses. Of those cases, about 5% are fatal.
In other words, botulism poisoning is extremely rare and all cases are preventable with safe canning practices. That said, botulinum spores multiply when the following conditions exist:
- a low-acid food is in a moist environment
- the food is stored between 40 degrees to 120 degrees Fahrenheit
- there is less than 2% oxygen present
Keep this in mind wether you are water bathing or pressure canning.
List of Low-Acid Foods for Pressure Canning
It’s important to know the pH of the food you’re canning. The pH scale ranges from 0-15, with food in between 2.0-9.0. The lower the number, the more acidic a food’s pH rating is, thus it’s considered a high-acidic food. The higher the number, the less acidic a food is considered. Any food with a pH of 4.6 or higher, is considered low-acid and C. botulinum has the potential to thrive.
Please note, historically tomatoes and tomatillos were considered high-acid foods. But with new varieties being bred and different soil conditions than in the past, safe canning practices dictate that all tomato or tomatillo based products be pressure canned unless a specified amount of lemon juice or vinegar is added to the jar.
Also note, dairy products cannot be safely canned in a water bath or pressure canner. The fat molecules prevent proper, even heating to kill C. botulinum spores and the heat creates an undesirable texture. It’s best to freeze or dehydrate dairy products for food preservation.
The following is a list of low-acid foods that require pressure canning:
- Asparagus
- Beans (Green, Lima, Shell, Dried)
- Beets
- Carrots
- Corn (Whole kernel or cream style)
- Mushrooms
- Okra
- Peas
- Peppers
- Potatoes (White, sweet)
- Spinach and other greens
- Vegetable soups
- Tomatoes and tomatillos
- Beef and stew meat
- Chicken and poultry
- Fish (Salmon, tuna, etc.)
- Game meats (Venison, elk)
- Ground meats
- Seafood (Clams, crab)
- Broths and stocks
- Ready-to-eat meals: Chilis, stews, and canned sauces containing meat or low-acid veggies.
- White Peaches: Due to lower acidity than yellow peaches, these are sometimes considered low-acid.
Altitude, Temperature and Pressure Weight
Altitude
In relation to canning, altitude is the height of your location above ground or sea level. This is important to know because water boils at a lower temperature the higher the elevation or altitude. In other words, the atmospheric pressure is lower, which affects the pressure weight when canning.
To know the exact altitude of your location for canning, simply do a Google search by typing in the search bar, “Altitude of (your) city, state.”
Temperature and Pressure Weight
Safe pressure canning guidelines dictate that the internal temperature of the canner reach 240 degrees Fahrenheit (116 degrees Celsius) to effectively kill C. botulinum spores. Since altitude affects the boiling point of the water inside the canner, that’s why it’s important to know your elevation before canning. The higher the altitude, the higher the weighted or gauged pressure needed to increase internal temperature.
So how does a higher pressure weight increase the internal temperature of the canner? A higher pressure weight compresses the steam particles, thus creating a higher internal temperature needed to kill C. botulinum. If the weight is too low, the jars are not properly canned.
Proper venting is another important step to ensure the canner reaches 240 degrees. Boil the water and let the steam vent for 10 minutes before placing the weight on it. Without venting, cool air gets trapped in the canner, insulating the jars from the heat and preventing the internal temperature to reach 240 degrees.
Common Questions About Pressure Canning
The following are common questions often associated with pressure canning. With a little canning experience, you’ll understand some of these responses are general suggestions. You will eventually decide what works for you.
What Pressure Canner Model Should I Buy?
This is where you’ll need to do your research. There are many brands and models available to suit your personal canning needs. Here are some things to consider:
- How much canning do you plan to do? Do you have a large family?
- Do you grow a large garden and find a need for preserving other than the freezer?
- Do you want long lasting durability or is price more of a concern?
- What kind of safety features do you want?
- What kind of stove top do you have?
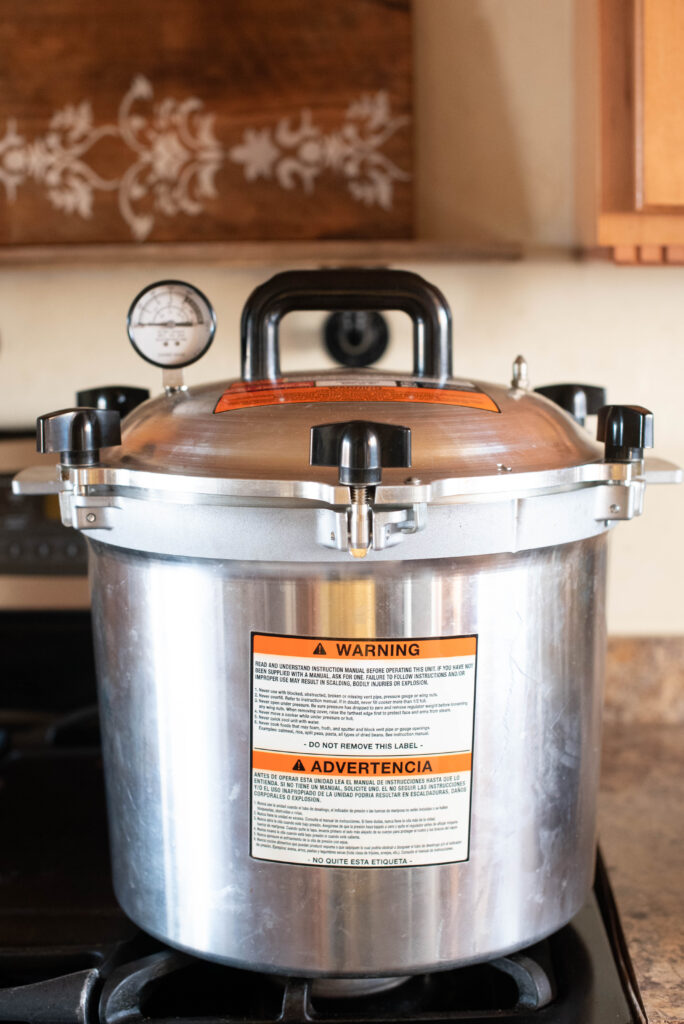
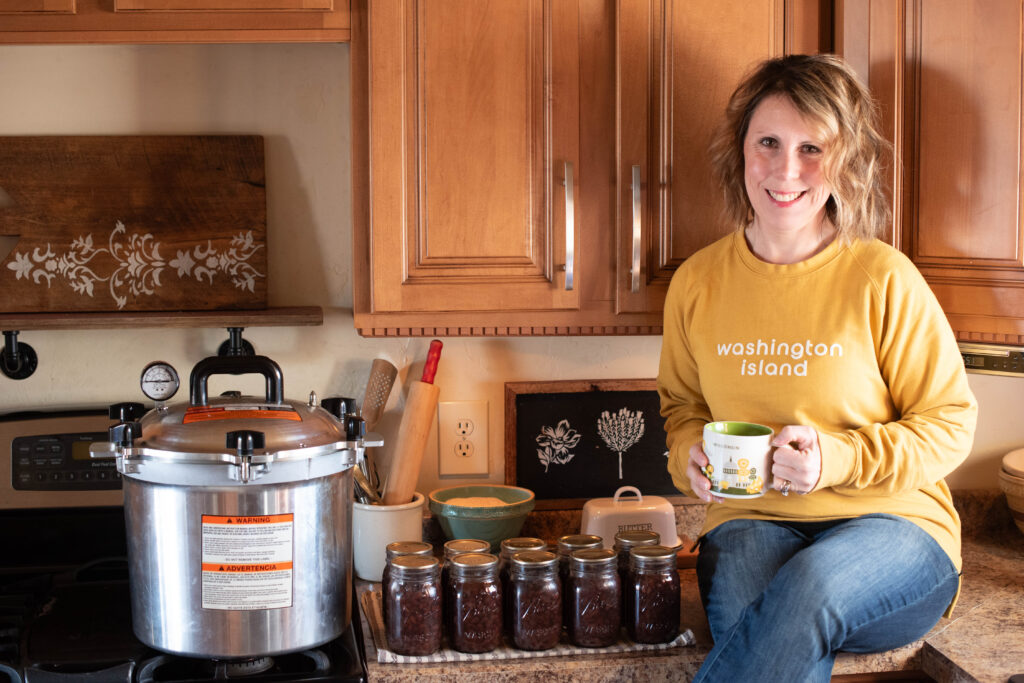
I have an All-American 921 21.5qt pressure canner. It’s the only pressure canner I’ve ever owned so I can’t speak about any other model. I absolutely love it and highly recommend it! It’s heavy duty and durable, it’s the perfect size and with the metal-to-metal sealing system, I never have to replace a gasket or worry about leaking pressure issues. It even has an emergency release valve in case too much pressure builds up.
Yes, it’s rather expensive, but it’s the only canner you’ll ever have to buy and with all the money you save by preserving your own food, it will quickly pay itself back. Smaller models are less expensive, you just won’t be able to can as much at once. You can even pressure cook food (like a roast or whole chicken) or water bath can high-acid foods like jam in it. It’s a purchase you won’t regret!
Can I pressure can on a glass stove top?
Yes, however you’ll need to use caution. Read the instruction manual that comes with the canner and follow all guidelines to avoid damaging your glass stove top. Oftentimes, there is a weight limit on the canner or a flat bottomed design required to avoid warping or damaging the glass. Never slide the canner to avoid scratches on the surface.
Do I need to have the gauge on my pressure canner inspected every year?
Yes, if your model is strictly a dial gauge, it’s important to inspect it every year. If it’s off more than 2 psi’s, food cannot be safely canned. Inspection can generally be done at your local county extension office. A weighted gauge doesn’t need to be inspected since its calibration can never be off.
If you have an All-American model with the dual dial and weighted gauges, it can still be inspected. The dial gauge indicates that the pressure is back to zero, which is an important safety feature. However, it can’t be inspected at the county extension office since they require different testing equipment. You’ll need to contact the manufacturer directly.
Do I need to add oil to the metal-to-metal seal on the All-American pressure canner?
Yes, according to the official instruction manual from the manufacturer. Not a thick, goopy layer, but a very thin layer that the eye can barely see. This helps lubricate the seal and prevent the lid from permanently sealing shut, especially if you have very hard water (like me).
What if the jars siphon off liquid during pressure canning?
Siphoning of liquid happens when there isn’t enough head space inside the jars or there is a rapid temperature change too soon after the pressure releases from the canner. It’s best to turn the burner off, leave the lid and weight on and let the pressure come down naturally. I personally recommend leaving the jars sit inside the canner for a minimum of two hours. If you’re doing a canning marathon, leave at minimum 45 minutes before opening the canner.
Can I use vinegar inside the canner to prevent hard water build up on the jars?
No, it’s not recommended to use vinegar inside the canner. While the vinegar does keep the hard water deposits off the jars, it corrodes metal including the lids, bands and the canner itself. It’s best to scrub the hard water off with a little elbow grease!
How do I clean my pressure canner?
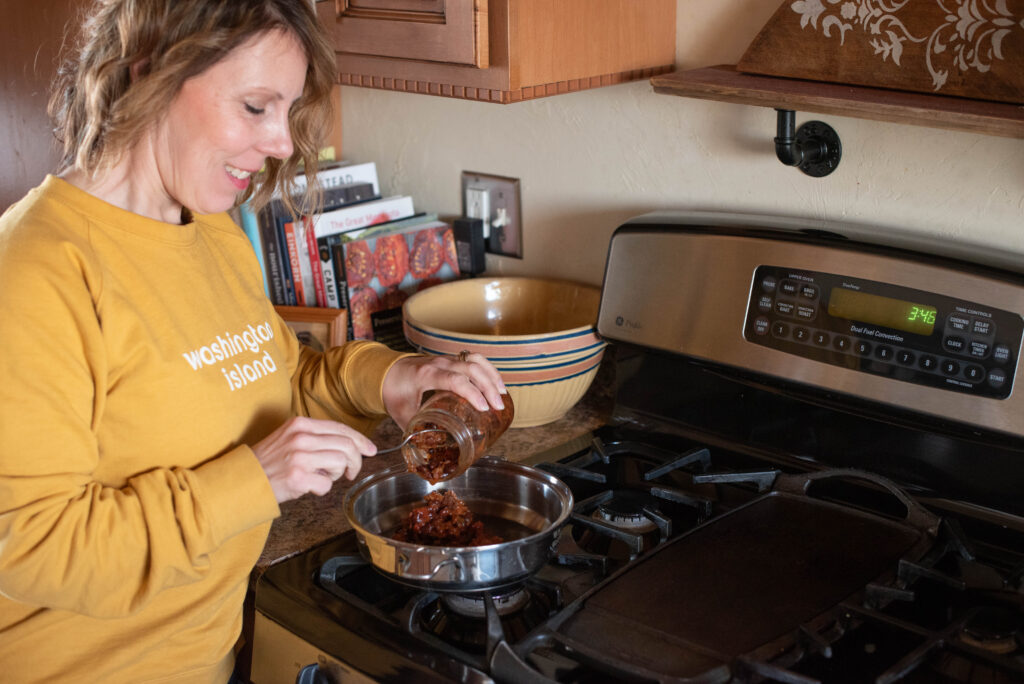
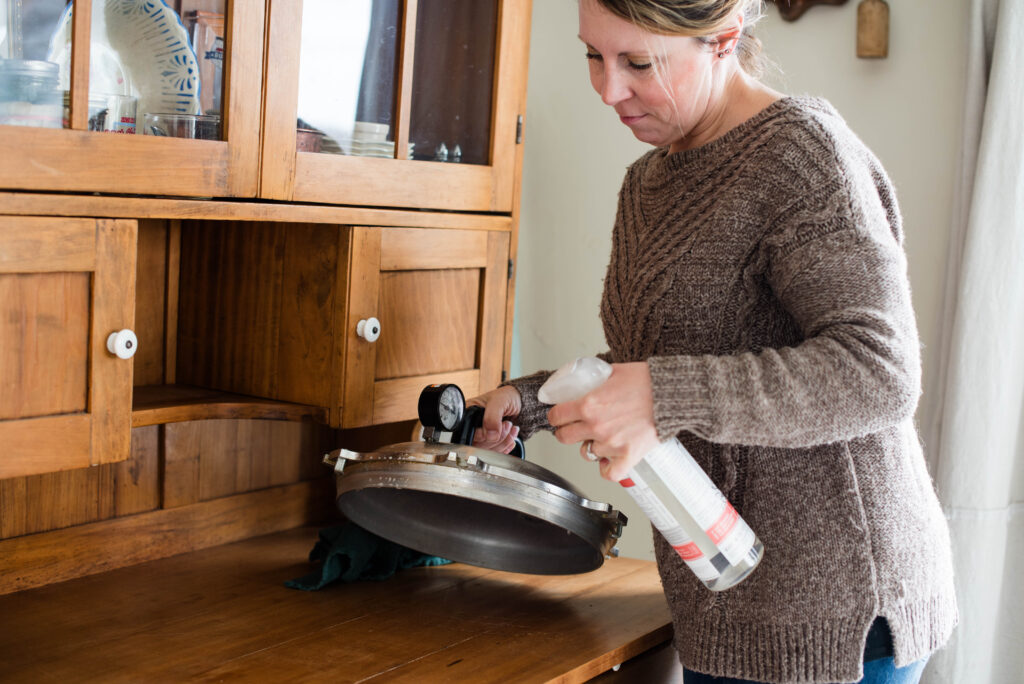
Be gentle and use care when handling your pressure canner. Do not submerge the dial gauge in water. Instead wipe down the cover with a damp washcloth or spray with an all-purpose cleaner like Branch Basics. If your sink is big enough, it’s okay to submerge the canner itself to wash.
Helpful Hints for Pressure Canning
- It’s important to place a rack on the bottom of the canner before adding jars. This prevents breakage. You’ll also need a second rack if you’re canning a double layer.
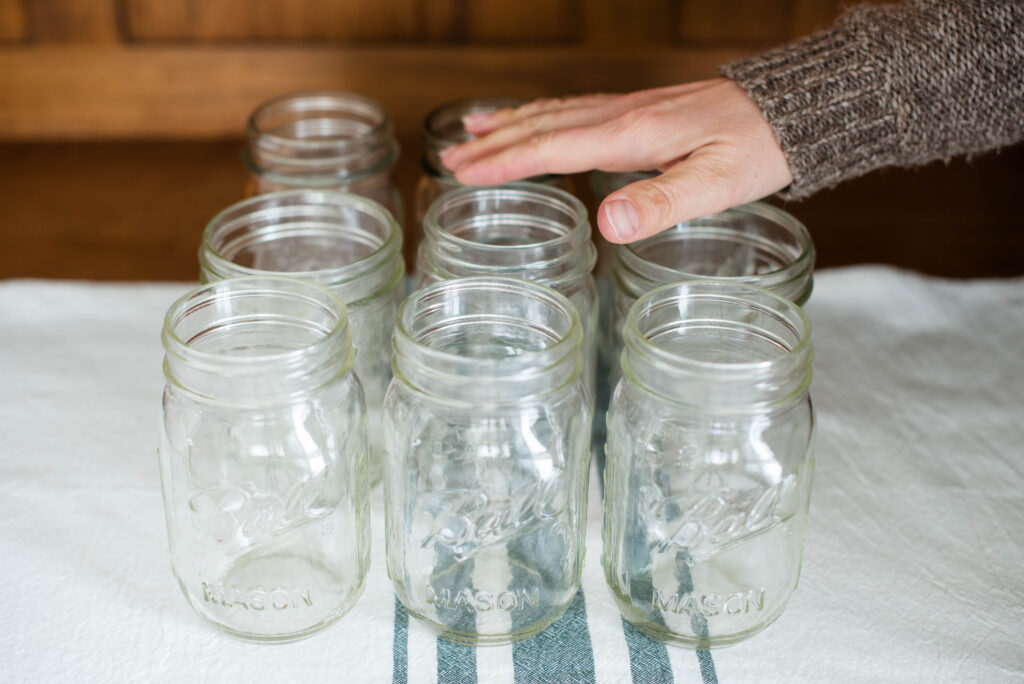
- Another way to prevent siphoning and spoilage is to run your fingers across the rims of the jars before using. This will help you check for chips that your eye may not readily see. Use those jars for storing leftovers or packing lunches.
- Only use about 3-4 inches of water in a pressure canner, unlike water bath canning. Pressure canning is about the pressure inside the canner and a large volume of water prevents proper steam circulation and venting, which is necessary for high temperatures and pressure. Without the correct environment, botulism is possible.
- Whether you are water bath or pressure canning, it’s imperative to use the correct jars. No matter the size, only use Mason jar styles where the lids and bands properly screw together. Brand name doesn’t matter, but do not use random leftover jars from store-bought condiments and other items. A proper seal is necessary to preserve and prevent botulism.
- If canning a double layer especially in an All-American canner, only use regular mouth jars on the top layer. If you use a mix of wide and regular mouth, you won’t be able to shut the lid.
- Tighten wing nuts in opposite pairs when closing the lid. I demonstrate in a photo below. This allows for an even seal and more likely to maintain the correct pressure level.
- Take in to consideration the time it takes the canner to get to pressure when planning. I find this is weather dependent, although scientifically that doesn’t seem to matter. My canner gets to pressure faster in the winter verses the humid summer. This is important because you cannot set the timer on the processing time, until the canner reaches pressure.
How to Pressure Can Dry Beans
What You’ll Need
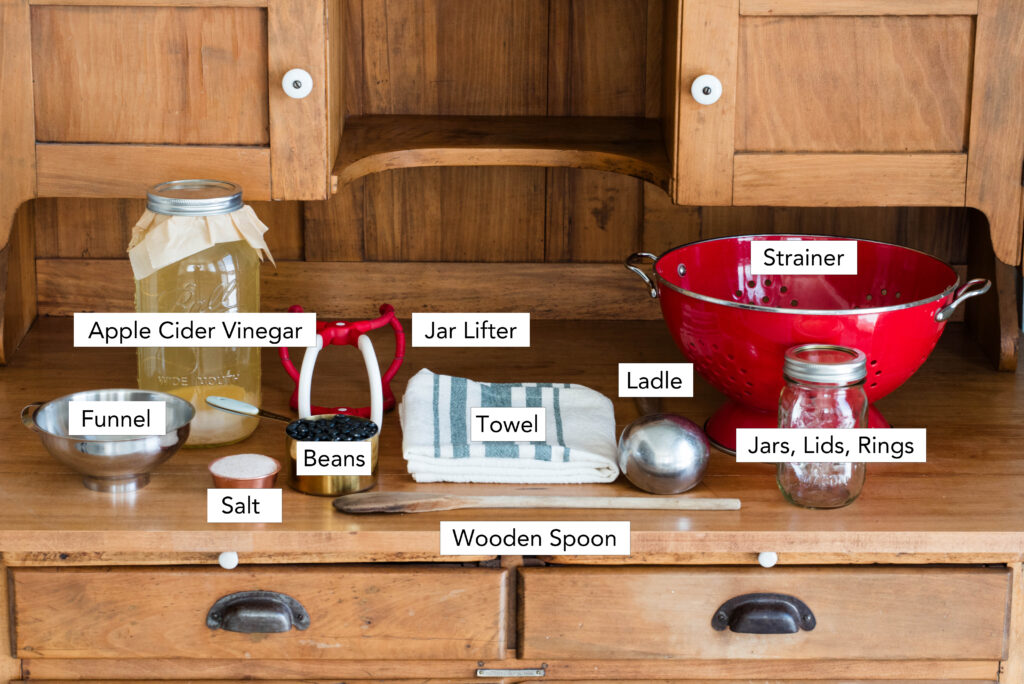
Dried beans – Any variety works well for canning. Here I canned black beans purchased in bulk from Azure Standard.
Apple cider vinegar – This helps break down the phytic acid in the beans while soaking. It makes the beans more digestible for human consumption. Learn more about phytic acid in my sourdough starter guide. Learn how to make your own apple cider vinegar here.
Salt – I use Redmond Real Salt for canning and every day use because it’s pure and unrefined. Specific brands with “canning salt” on the label is okay to use as well.
Pressure canner and large cooking pot
Tea towel, jar lifter, ladle and wooden spoon
Funnel, strainer, jars (half, pint or quart size), lids (new not used) and rings
Step-by-Step Instructions
Preparation
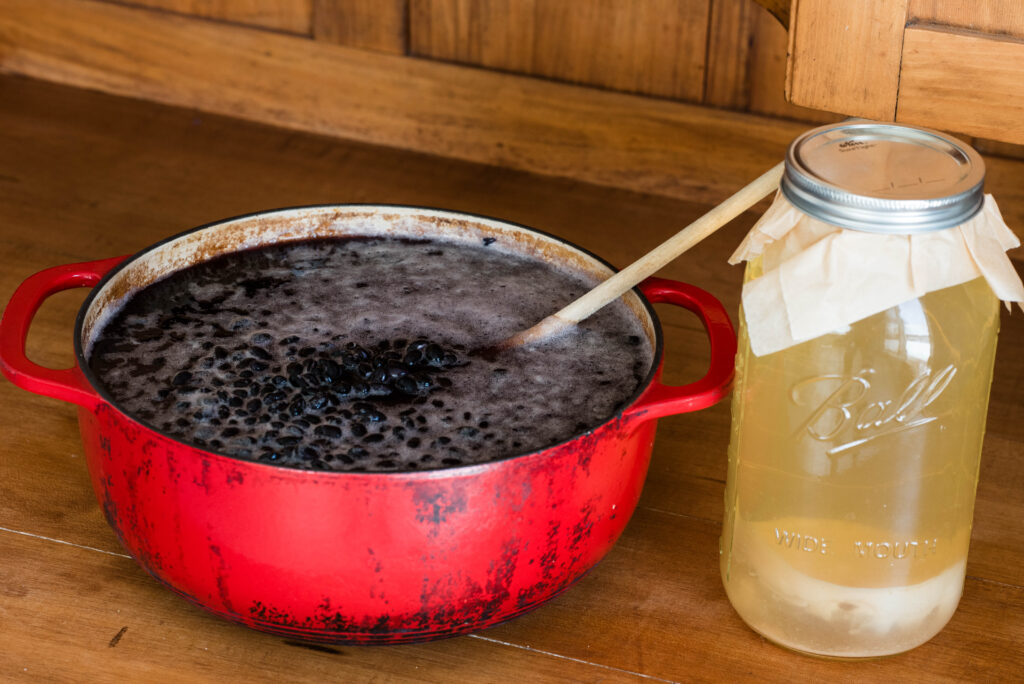
Begin by soaking the beans with the apple cider vinegar minimum overnight. If possible, 24-48 hours is ideal.
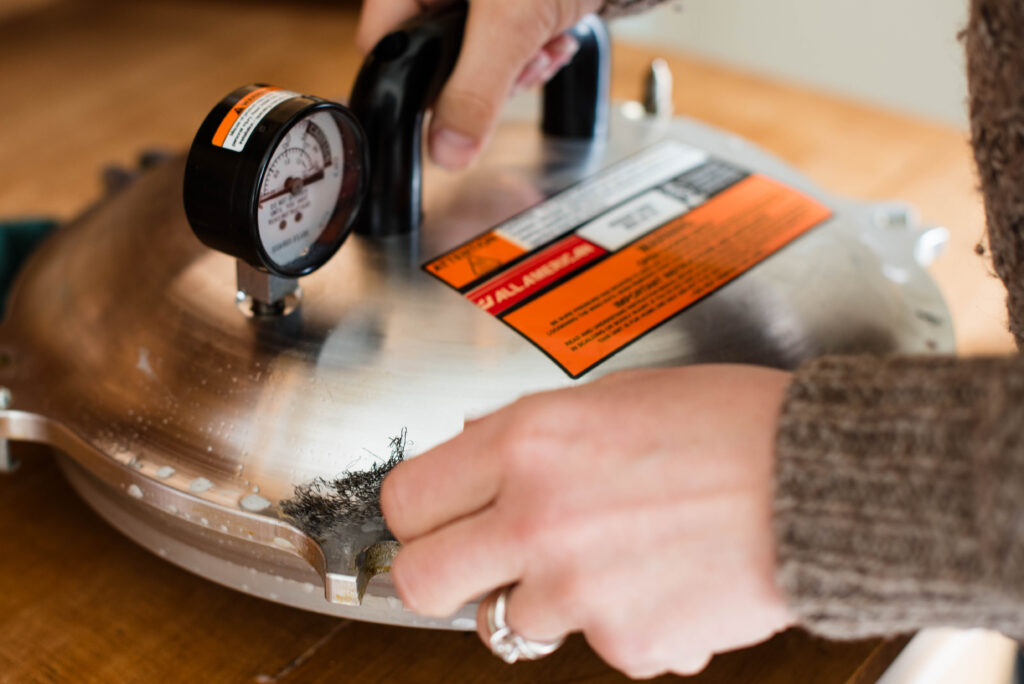
Before using, clean the canner with hot soap and water or a natural cleaner like Branch Basics. Make sure rubber gaskets are debris free.
For All-American models, clean the sticky oil residue off before using.
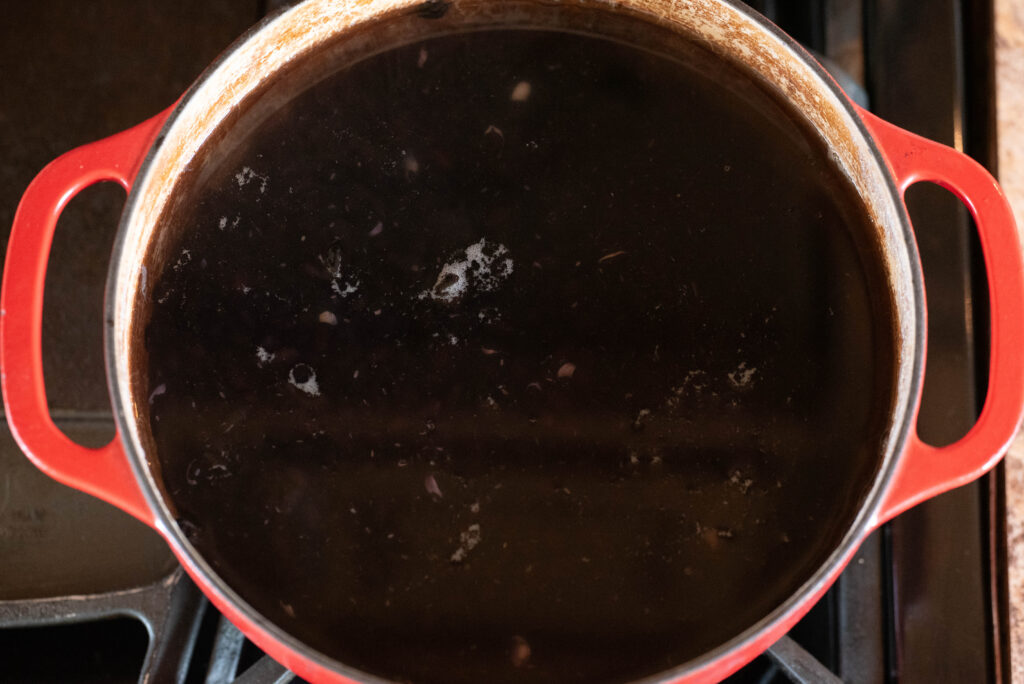
Next, rinse beans using the strainer.
Return to the pot, cover with water and bring to a boil. Boil for 30 minutes.
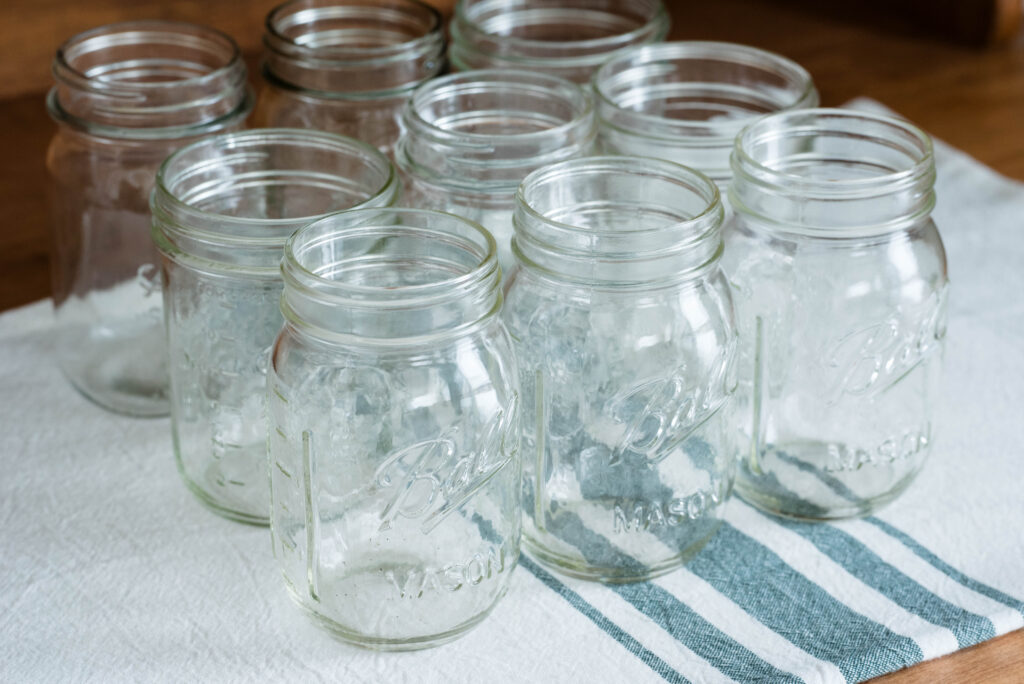
In the meantime, wash and sterilize jars, lids and rings.
Sterilize in a dishwasher or in a pot of boiling water.
The Canning Process
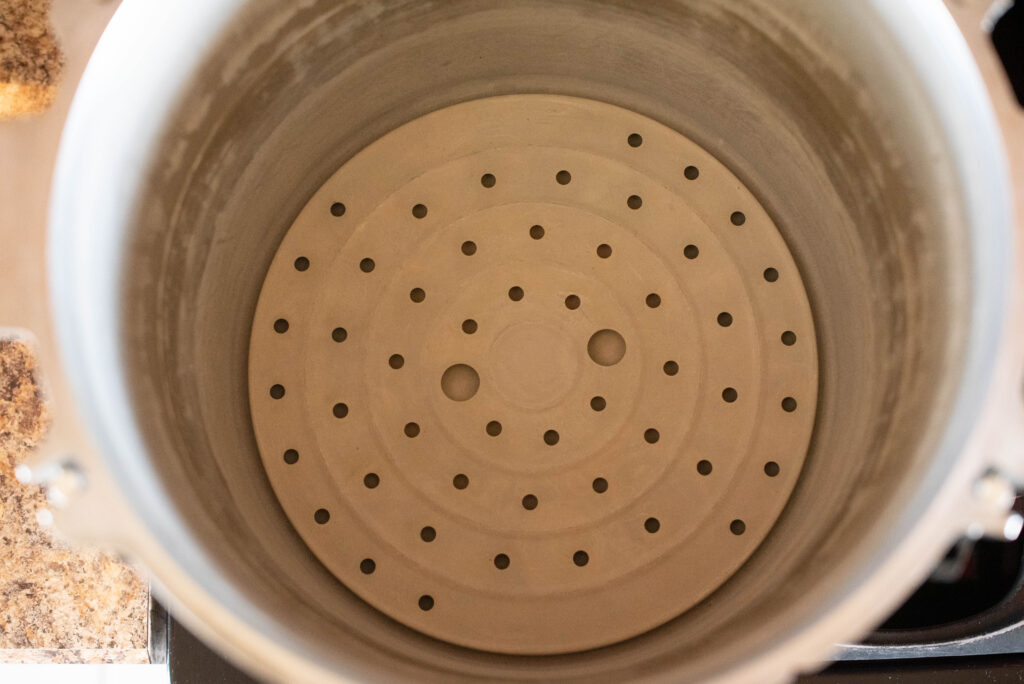
Before filling jars, place the rack in the bottom of the canner. Fill with 3-4 inches of water. Turn the burner on and begin to heat.
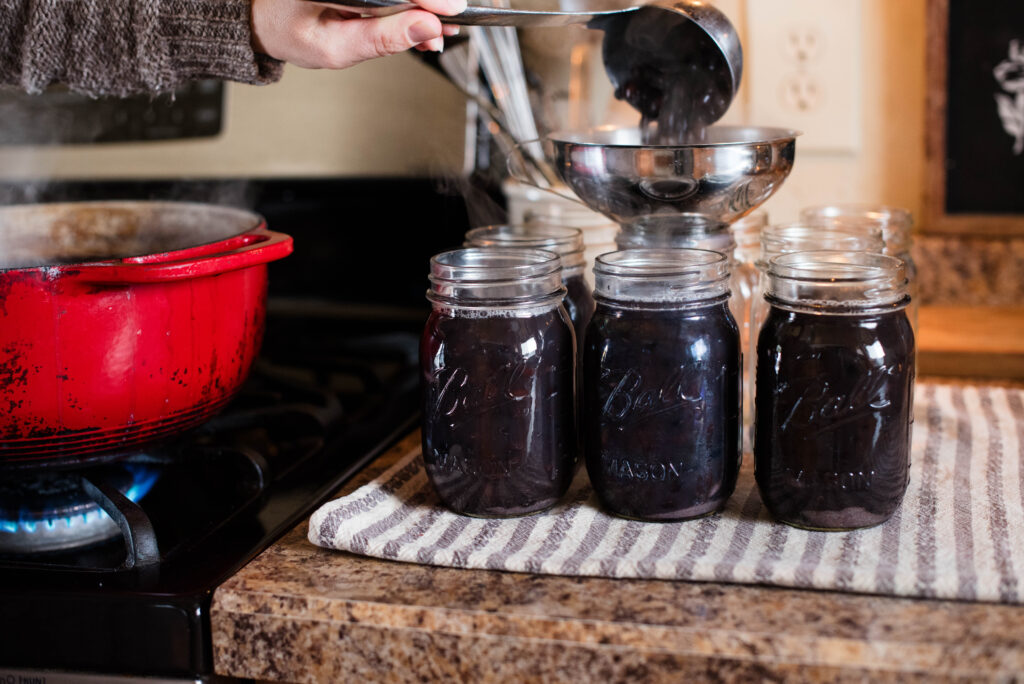
Once the beans finish boiling, add 1/2 teaspoon of salt to each pint jar (1 teaspoon per quart jar).
Ladle beans into the jars using the funnel up to the rim of the jar. The remaining space is the headspace, which prevents siphoning of liquid. Do not fill to the top of the jars.
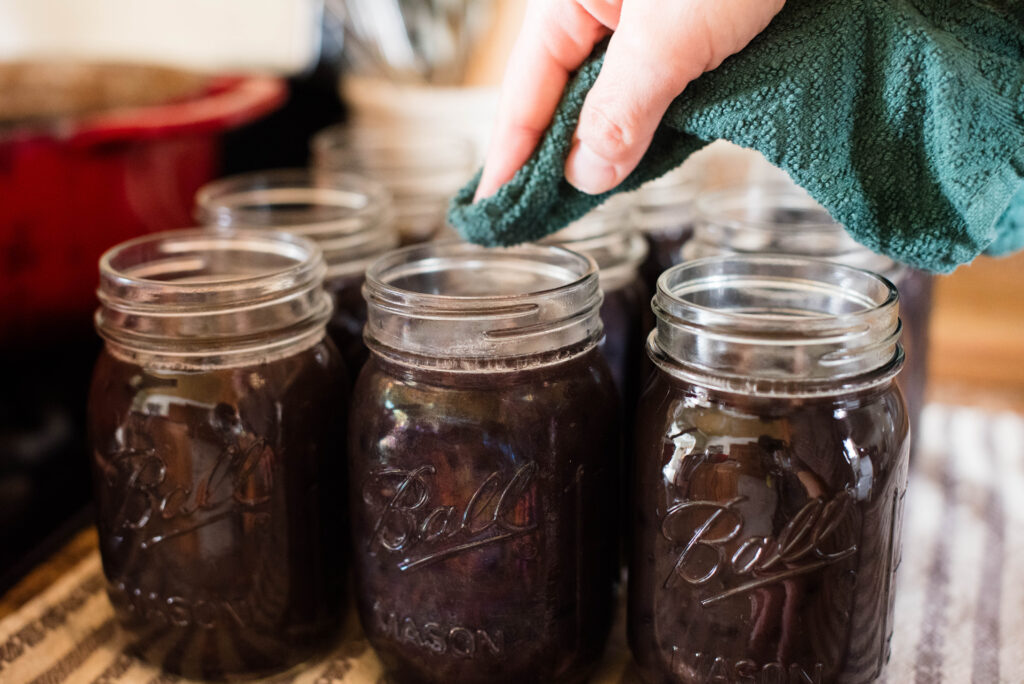
Wipe the rims clean of any liquid that spilled during filling with a clean cloth.
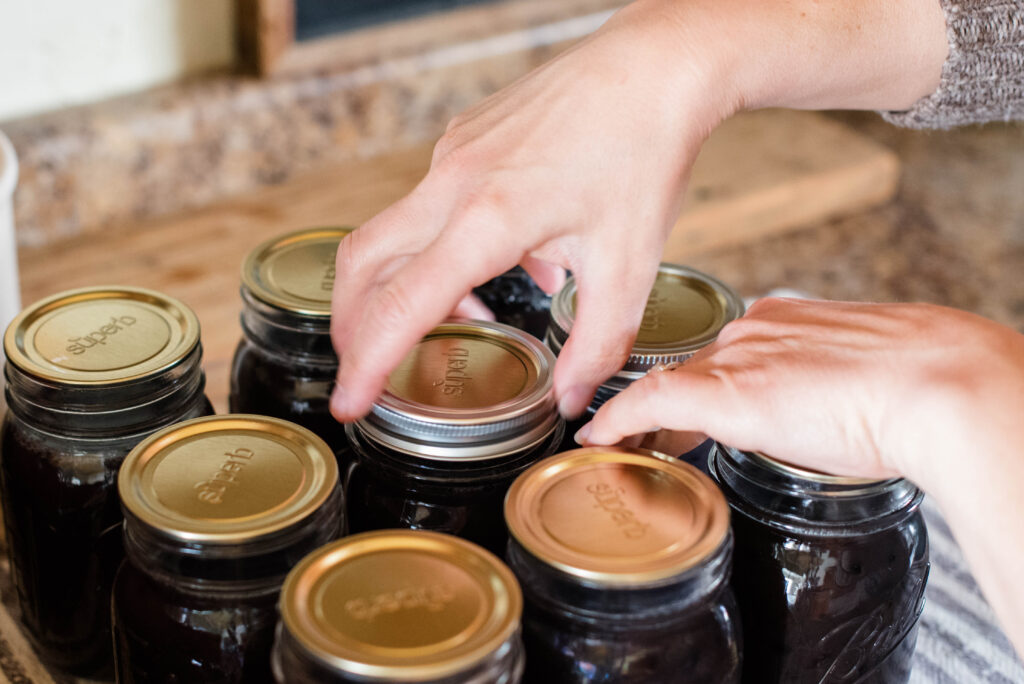
Screw on lids with your thumb and first two fingers. This three-finger method ensures the lids aren’t on too tight.
Do not wrench the rings on super tight or the lids won’t seal.
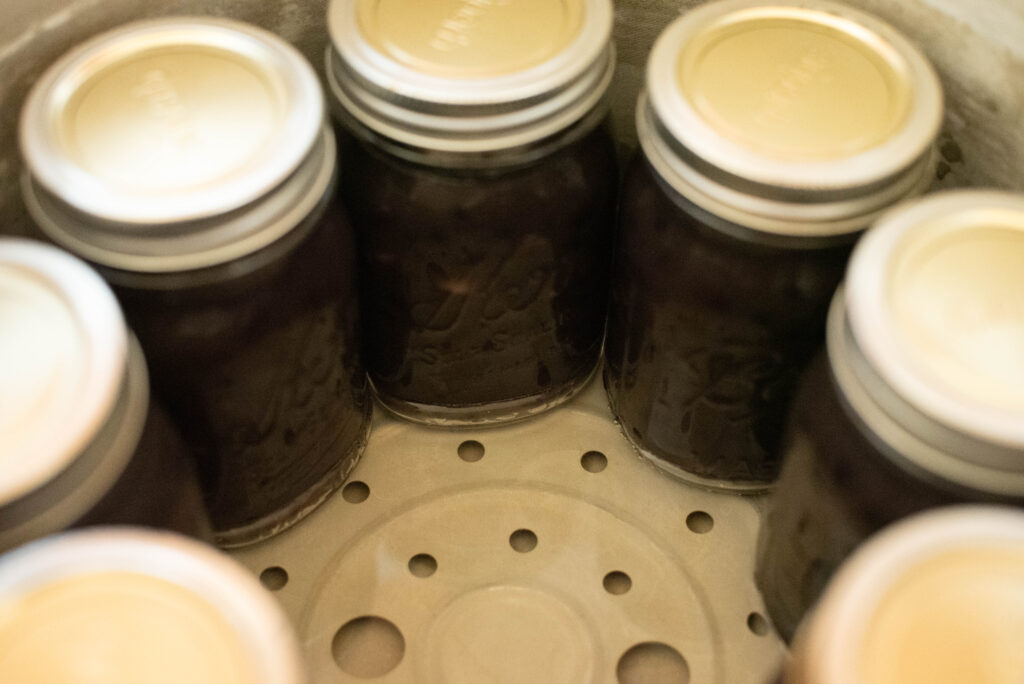
Using the jar lifter, place the jars on top of the rack inside the canner.
It’s difficult to see in this photo, but the water covers about 3 inches on the bottom of the jars.
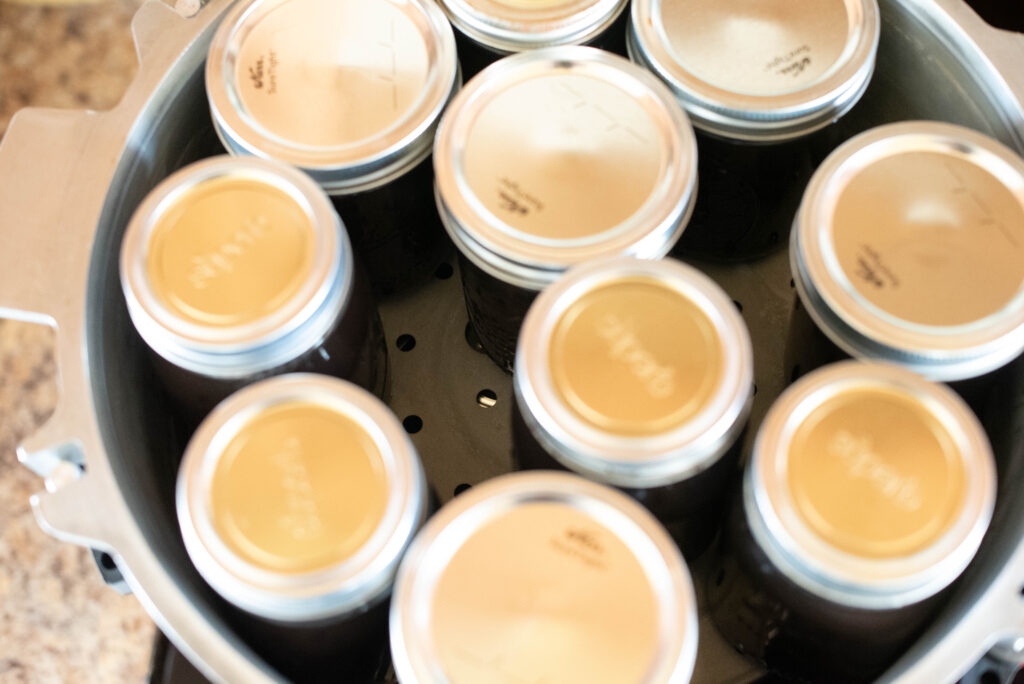
If you’re canning a double layer, place the second rack on top of the bottom jars and arrange the second layer.
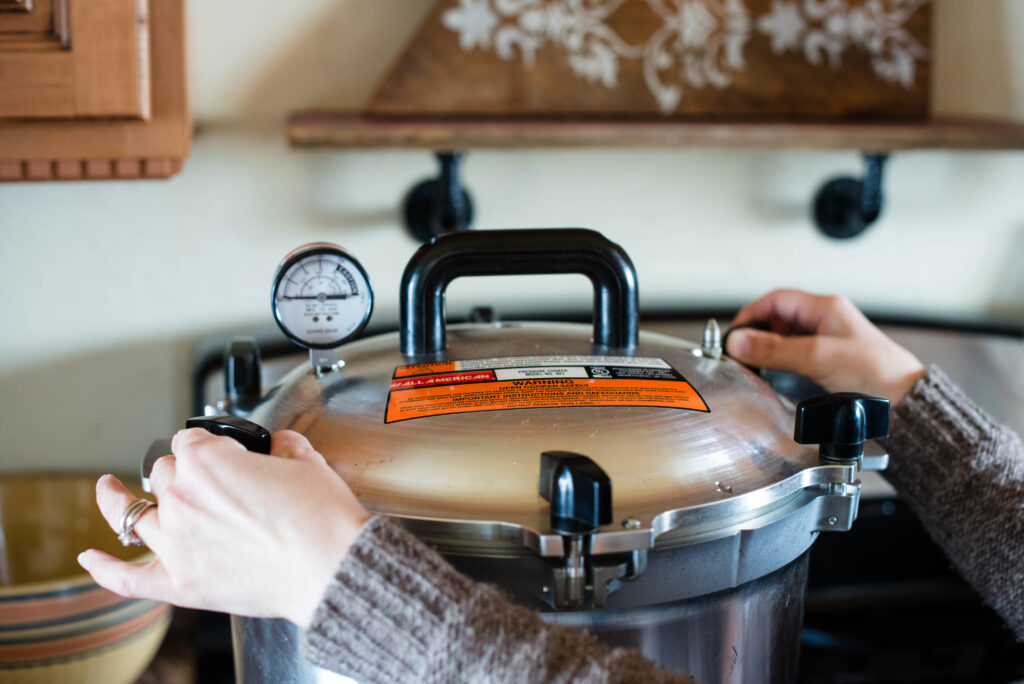
Line up the lid so that the arrow is even with the notch on the canner, indicating proper placement.
Tighten wing nuts in pairs by twisting opposite facing screws tight to the touch. Do this with all three pairs. Then go back and wrench them down as tight as you possibly can.
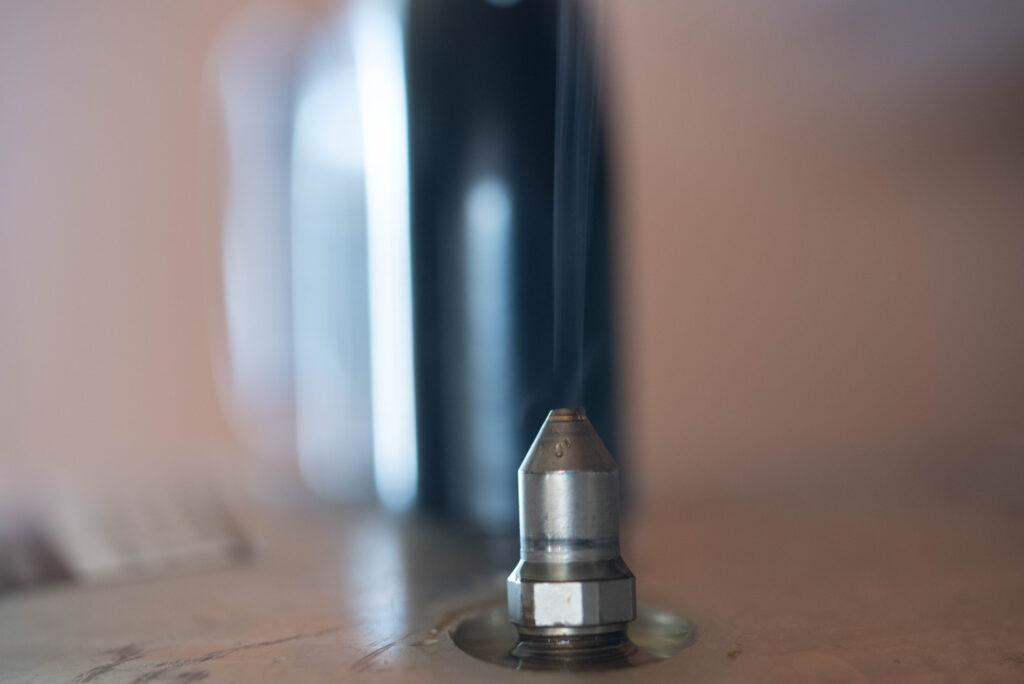
Once the cover is on, let the steam vent for 10 minutes.
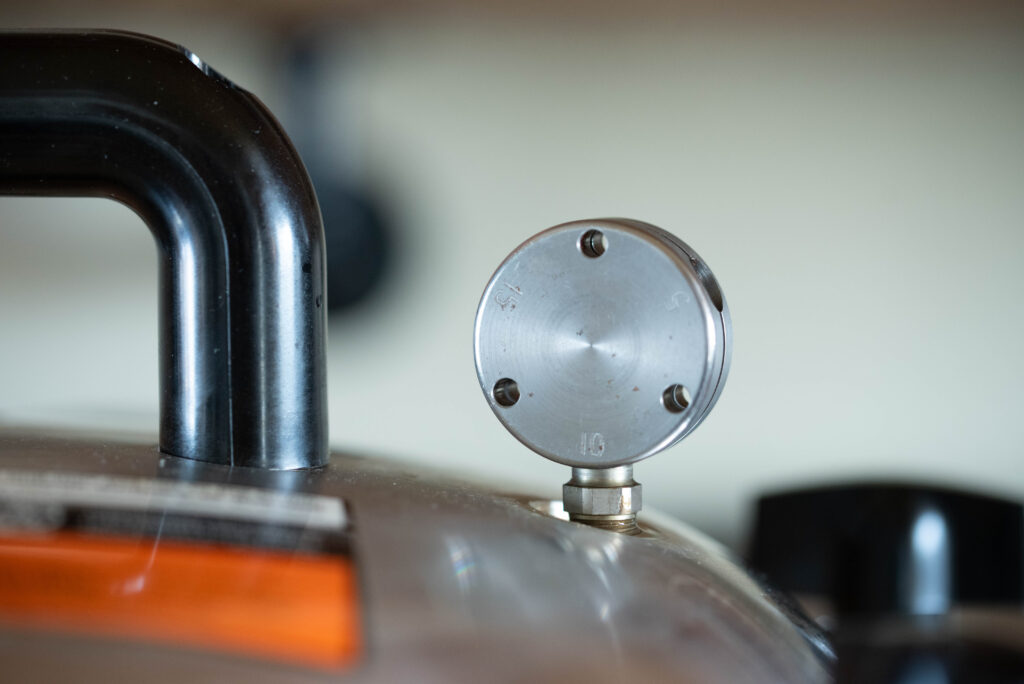
After venting, place the weighted gauge on according to the required weight for what you are canning.
At this point, I encourage you to find a video on YouTube that demonstrates the proper jiggling sounds of a weighted gauge. If it jiggles less than twice per minute, the pressure is not high enough and proper safe canning doesn’t happen.
Begin the timer for the required amount of time per product once the weight consistently jiggles. For dried beans, it’s 75 minutes for pints and 90 minutes for quarts.
Post Canning Process
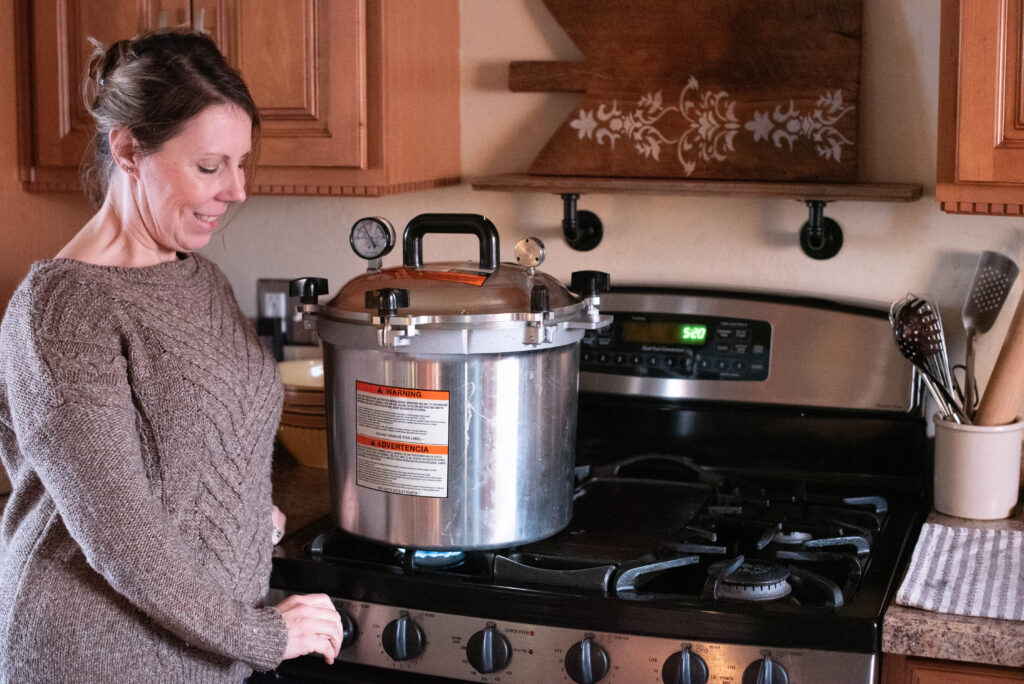
Once the jars finish processing, simply turn the burner off. DO NOT take the weighted gauge off. Let the pressure naturally come down. This prevents siphoning.
Several hours later or overnight, unscrew the wing nuts and remove the jars.
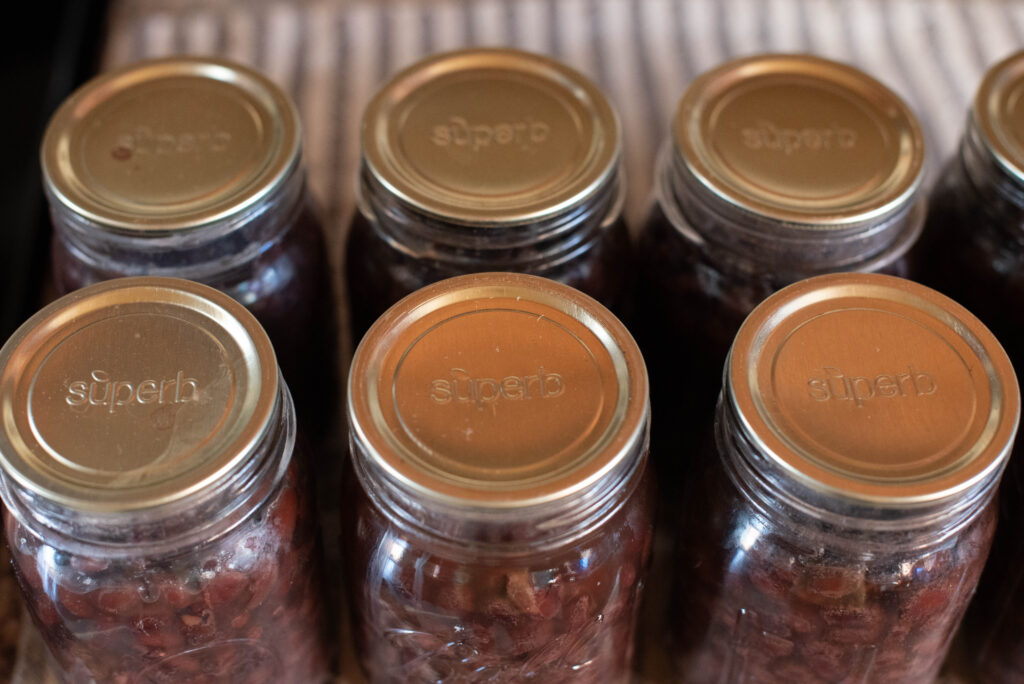
Rest jars on a tea towel for 12-24 hours before storing. Remove the rings to prevent a false seal.
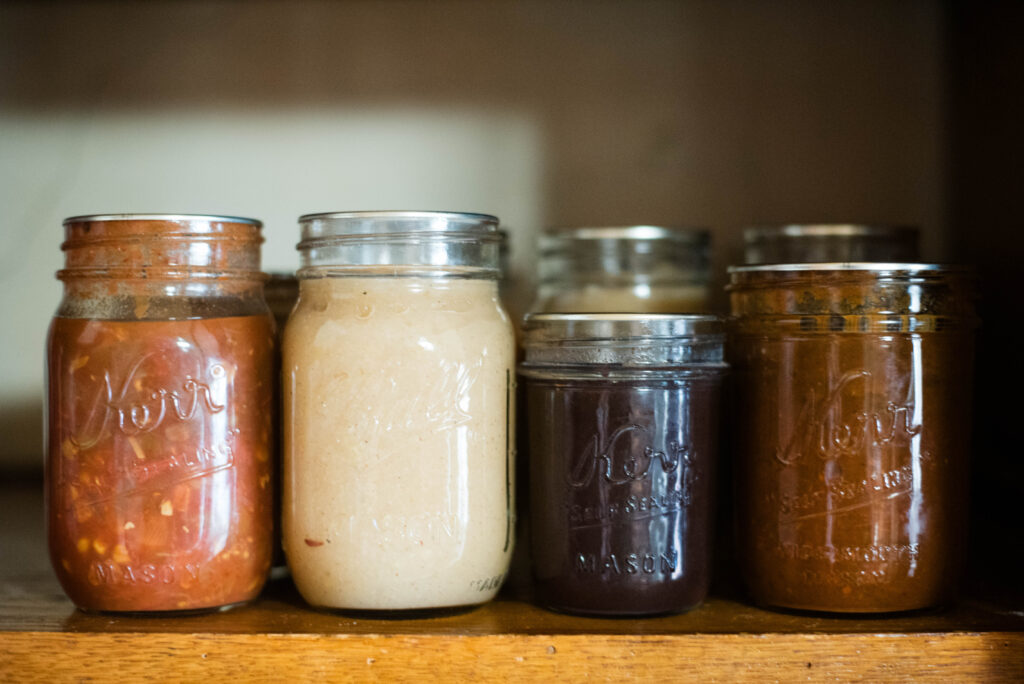
Store jars in a dark area like a root cellar or pantry, in a single layer. DO NOT stack jars or they may present a false seal.
This is for both pressure and water bathed canned jars.
Watch this video here for an expanded demonstration on how to use a pressure canner.
FAQ’s
Is it necessary to vent the steam for 10 minutes before placing the weighted gauge on?
Yes, because this ensures that all cool air escapes. Cool air that gets trapped inside prevents high enough temperatures needed for safe canning.
Is canning salt required for safe preservation?
No, I safely can with Redmond Real salt, but any brand of sea salt is okay to use.
Is fresh squeezed lemon juice okay for safe canning?
No, fresh squeezed lemon juice does not have the guaranteed pH of a store-bought concentrate. Use at your discretion though, because I’ve used fresh squeezed without any problems.
Are antique canning jars with glass tops, rubber gaskets and flip tops okay to use for safe canning?
No, they do not allow for a proper seal to prevent botulism. And while the old blue Ball canning jars seem to fit modern lids and rings, they are meant for the old zinc tops with porcelain. Their mouths are a little too small for a proper seal with modern lids. Reserve antique canning jars for decoration or storing herbs and spices.
More Recipes From Becky’s Kitchen
Homemade Apple Cider Vinegar | Healthy, Simple and Frugal
How to Make Bone Broth: A Beginner’s Guide
Sourdough Starter | How to Make a No-Discard Small-Batch
The Best From-Scratch Cheesy Sourdough Pizza Rolls
If you try pressure canning and love it as much as I do, let me know in the comments below! Tag me with your photos on Instagram @beckybuttlesamericana
Happy Canning! –Becky
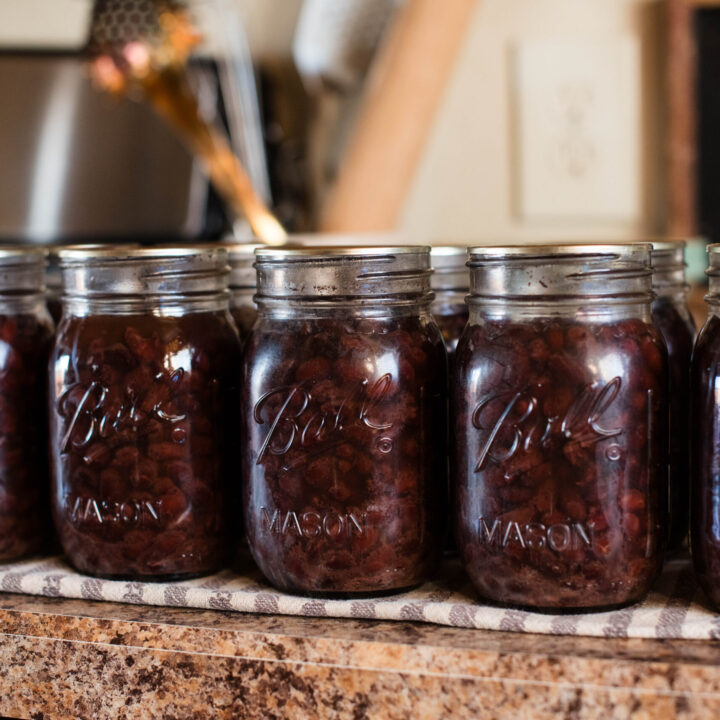
Pressure Canned Dried Beans
Pressure canning confidently fills your pantry shelves with healthy homemade food and reduces reliance on the grocery store. This step-by-step tutorial takes you through the process of using a pressure canner, safety protocols and how to can dried beans. Leave behind the steep price tag of ultra-processed, unhealthy store-bought food and create self-sufficiency today!
Ingredients
- 16 cups dried beans
- 1 cup apple cider vinegar
- Enough water to cover dried beans for soaking and cooking
- Approximately 11 teaspoons of salt, divided
Equipment
- Pressure canner
- Jars, lids and rings
- Funnel
- Ladle
- Jar lifter
- Wooden spoon for stirring
- Tea towel
- Strainer
- Measuring spoons
Instructions
Preparation
Begin by soaking the beans with the apple cider vinegar minimum overnight. If possible, 24-48 hours is ideal.
Before using, clean the canner with hot soap and water or a natural cleaner like Branch Basics. Make sure rubber gaskets are debris free. For All-American models, clean the sticky oil residue off before using.
Next, rinse beans using the strainer. Return to the pot, cover with water and bring to a boil. Boil for 30 minutes.
In the meantime, wash and sterilize jars, lids and rings. Sterilize in a dishwasher or in a pot of boiling water.
The Canning Process
Before filling jars, place the rack in the bottom of the canner. Fill with 3-4 inches of water. Turn the burner on and begin to heat.
Once the beans finish boiling, add 1/2 teaspoon of salt to each pint jar (1 teaspoon per quart jar).
Ladle beans into the jars using the funnel up to the rim of the jar. The remaining space is the headspace, which prevents siphoning of liquid. Add enough liquid to cover beans. Do not fill to the top of the jars.
Wipe the rims clean of any liquid that spilled during filling with a clean cloth.
Screw on lids with your thumb and first two fingers. This three-finger method ensures the lids aren't on too tight. Do not wrench the rings on super tight or the lids won't seal.
Using the jar lifter, place the jars on top of the rack inside the canner.
If you're canning a double layer, place the second rack on top of the bottom jars and arrange the second layer.
Line up the lid so that the arrow is even with the notch on the canner, indicating proper placement.
Tighten wing nuts in pairs by twisting opposite facing screws tight to the touch. Do this with all three pairs. Then go back and wrench them down as tight as you possibly can.
Once the cover is on, let the steam vent for 10 minutes. After venting, place the weighted gauge on according to the required weight for what you are canning.
When the canner is at the proper pressure level, the weight jiggles about twice per minute. If it doesn't, the pressure is not high enough and proper safe canning doesn't happen.
Begin the timer for the required amount of time per product once the weight consistently jiggles. For dried beans, it's 75 minutes for pints and 90 minutes for quarts.
Post Canning Process
Once the jars finish processing, simply turn the burner off. DO NOT take the weighted gauge off. Let the pressure naturally come down. This prevents siphoning.
Several hours later or overnight, unscrew the wing nuts and remove the jars.
Rest jars on a tea towel for 12-24 hours before storing. Remove the rings to prevent a false seal.
Store jars in a dark area like a root cellar or pantry, in a single layer. DO NOT stack jars or they may present a false seal. This is for both pressure and water bathed canned jars.
Refer to the blog post at beckybuttlesamericana.com/pressure-canning for step-by-step photos.
Notes
- It's important to place a rack on the bottom of the canner before adding jars. This prevents breakage. You'll also need a second rack if you're canning a double layer.
- Another way to prevent siphoning and spoilage is to run your fingers across the rims of the jars before using. This will help you check for chips that your eye may not readily see. Use those jars for storing leftovers or packing lunches.
- Only use about 3-4 inches of water in a pressure canner, unlike water bath canning. Pressure canning is about the pressure inside the canner and a large volume of water prevents proper steam circulation and venting, which is necessary for high temperatures and pressure. Without the correct environment, botulism is possible.
- Whether you are water bath or pressure canning, it's imperative to use the correct jars. No matter the size, only use Mason jar styles where the lids and bands properly screw together. Brand name doesn't matter, but do not use random leftover jars from store-bought condiments and other items. A proper seal is necessary to preserve and prevent botulism.
- If canning a double layer especially in an All-American canner, only use regular mouth jars on the top layer. If you use a mix of wide and regular mouth, you won't be able to shut the lid.
- Tighten wing nuts in opposite pairs when closing the lid. I demonstrate in a photo below. This allows for an even seal and more likely to maintain the correct pressure level.
- Take in to consideration the time it takes the canner to get to pressure when planning. I find this is weather dependent, although scientifically that doesn't seem to matter. My canner gets to pressure faster in the winter verses the humid summer. This is important because you cannot set the timer on the processing time, until the canner reaches pressure.
I’m a wife and homemaker inspiring old-fashioned skills for a homemade, self-sufficient lifestyle, always with a warm beverage in hand. Homemade Recipes. Gardening. Preserving. Healthy Living.
Want More Recipes from Becky?
Sign up to receive exclusive recipes only for subscribers! Plus you’ll get the latest blog posts straight to your inbox!