Homemade Sauerkraut in a Small Batch for Better Gut Health
Homemade sauerkraut is a refreshingly tangy side dish that tastes delicious and naturally offers probiotic benefits for better health. Unlike it’s store-bought counterpart, it’s an easy old-fashioned ferment with a crunchy texture and all the live active cultures intact. Introduce your family to homemade sauerkraut with this simple small-batch recipe and take mealtime flavors to the next level!
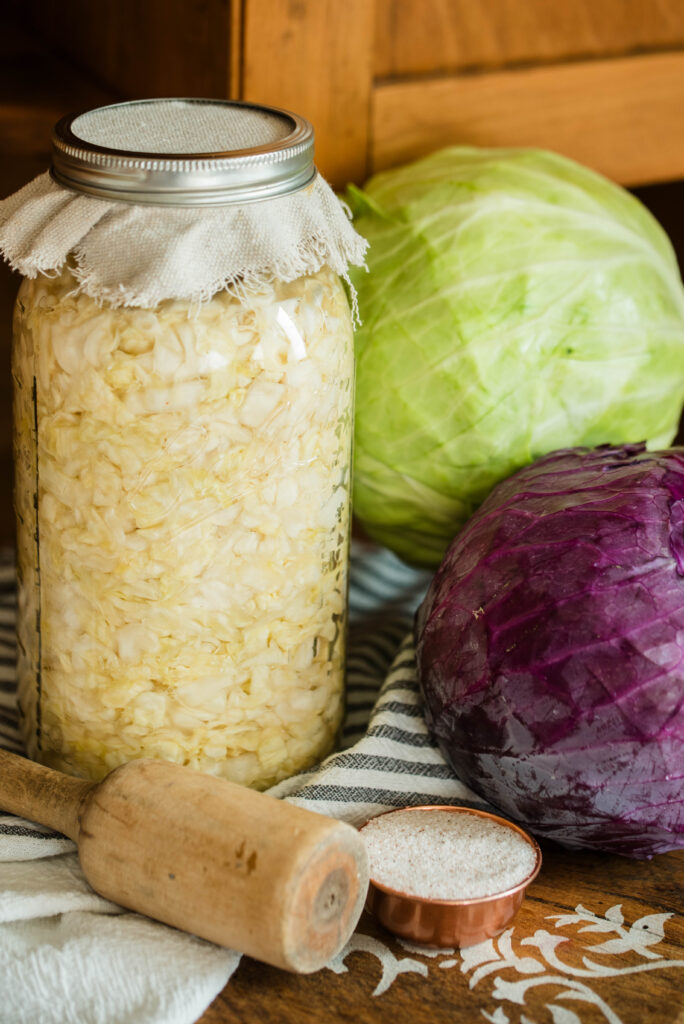
Homemade sauerkraut isn’t your Grandma’s soggy, smelly store-bought mealtime companion. Instead, it’s a fresh, vibrant preserve that packs a big benefit punch.
I’ve made sauerkraut for so long now, I don’t even know when I began my journey with this old ferment. Although I was skeptical at first, I’m glad I did because my gut health greatly improved.
I have many other things I’ve implemented in my diet to improve my health, but if you are looking for a simple budget-friendly way to start a healthier life for yourself and your family, I highly encourage you to try homemade sauerkraut.
Why You’ll Love Homemade Sauerkraut
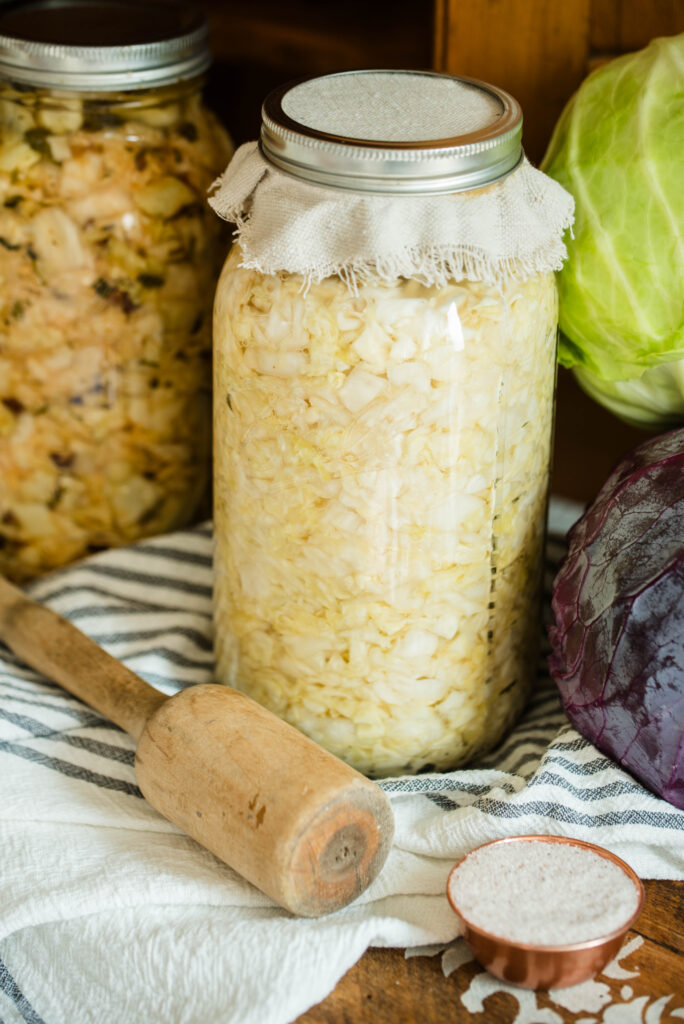
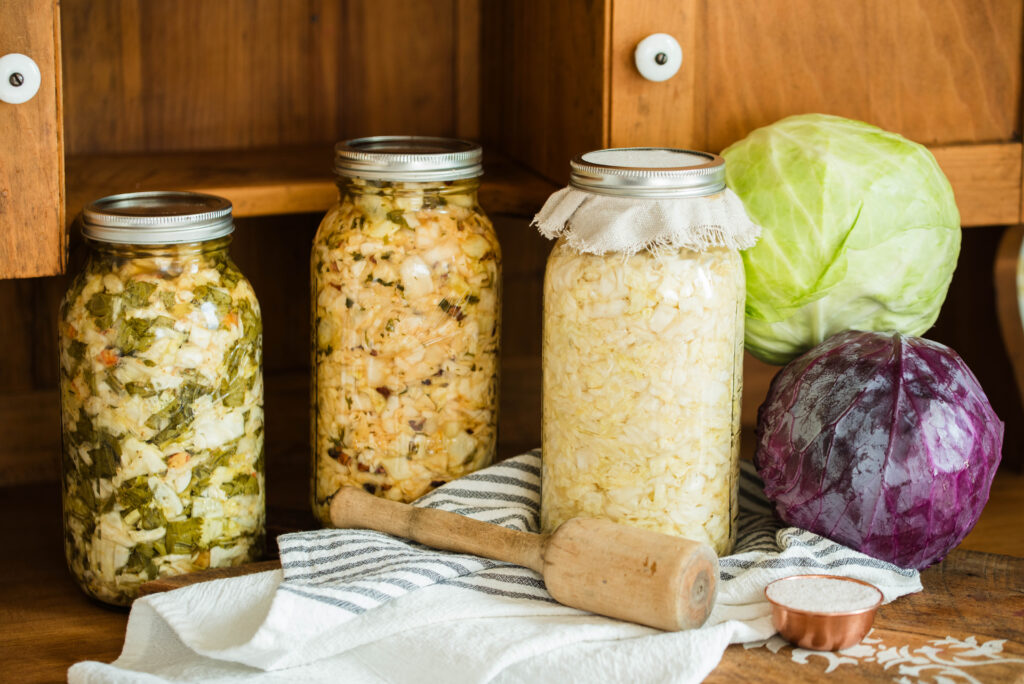
Delicious versatile flavor – A basic homemade sauerkraut has a tangy, slightly salty and sour flavor that pairs perfectly with savory foods like eggs, pork chops, sausage, burgers and fish tacos. But a basic kraut is just the start for a home cook who wants to bring restaurant style to dinnertime meals. There’s curtido, a sauerkraut with shredded carrots, onions and oregano amongst many other creative variations. Keep reading down below for more fun combinations.
Probiotic boost – The primary group of bacteria in sauerkraut is the lactic acid bacterial family. The two most common strains are Lactobacillus plantarum and Lactobacillus brevis, which both contribute to the fermentation process. They also naturally improve a whole list of bodily functions, which we’ll explore in the next section.
Simple and frugal – Homemade sauerkraut is quick to make and only requires two ingredients, there’s very little equipment needed and it lasts indefinitely if properly stored. While it can be made any time of the year from store-bought cabbage, you’ll save money by buying it now in season at farmers markets or growing your own.
What is Lactobacillus?
Lactobacillus is a broad term for several different strains of this gut-friendly bacteria that is crucial for the digestive system and overall human health. Such strains include some of the most familiar like Lactobacillus acidophilus, Lacticaseibacillus rhamnosus, Lactiplantibacillus plantarum, Lactobacillus reuteri, etc. Any lactobacillus group of bacteria turns sugar and lactose into lactic acid, which is the end product of carbohydrate metabolism.
Where Does Lactobacillus Come From?
Lactobacillus bacteria naturally occur by multiplying in carbohydrate rich organic matter. They attach themselves to growing plants, fruits and vegetables where sugars are located. When you harvest garden produce or buy it from the store, it’s naturally on the surface. It also naturally occurs in the human digestive tract and reproductive systems, especially the vaginal lining in women.
Lactobacillus also thrives in decomposing material such as rotting leaves, compost piles and in the soil as plant matter decays. As gardeners, perhaps we should take note of this!
Great nutrition starts in the soil. With a little effort like adding compost we can naturally increase the amount of lactobacillus in our ferments before we mix it with salt.
How Does Salt Increase the Amount of Lactobacillus in Homemade Sauerkraut?
Salt itself does not increase the amount of lactobacillus bacteria in a ferment like homemade sauerkraut. Instead, it provides an acidic environment, which kills bad bacteria (prevents spoiling) and allows for the lactobacillus to increase because it’s salt-resistant.
The lactobacillus grows because it feeds on the sugars found in the produce you’re fermenting. The end result is the lactic acid, which ultimately prevents spoilage. It stands to reason then, that fermented foods are naturally lower in sugar since the lactobacillus eat the sugars during the fermentation process.
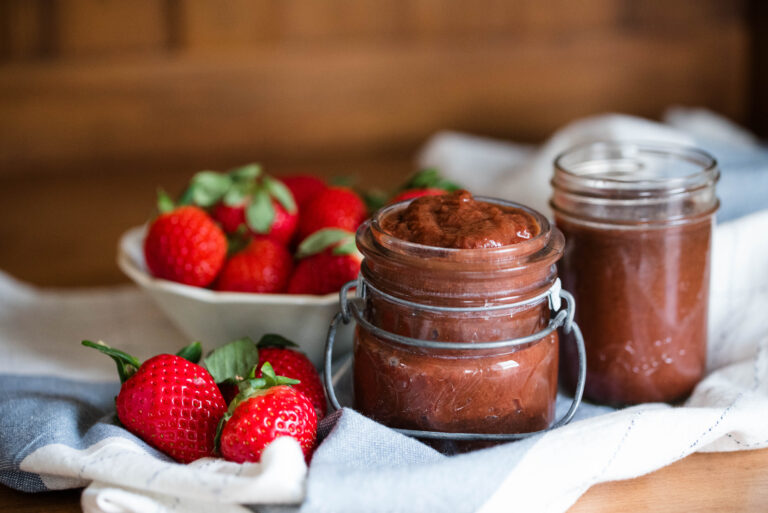
Less sugar is one reason why I encourage you to try fermenting fruit like strawberries or making homemade shrub for drink flavorings. You’ll eat less sugar and consume more gut-friendly bacteria.
Why Do I Need to Eat Lactobacillus Bacteria?
The scientific literature on this topic is a lot, but I’ll keep it simple for you. Bottom line, it’s important for good human health.
A man’s health depends on this important group of bacteria for many of the same reasons a woman needs it. But women of childbearing years especially need this bacteria.
The condition of a mother’s digestive system is what her baby inherits. The bacterial count in your digestive tract directly affects your vaginal bacteria.
That’s one reason why it’s important to have high levels of good bacteria while pregnant and to deliver babies vaginally as well. The baby swallows this bacteria as it’s delivered, therefore populating its digestive tract and immune system with healthy bacteria.
So why would our lactobacillus levels be low? While they are supposed to naturally occur in the gut, our modern lifestyles tend to deplete or wipe out this important bacteria. They’re especially important in maintaining the mucosal lining and tight junctions of the gut lining.
But the Standard American Diet (SAD) and overuse of antibiotics tend to wipe out most or all of the lactobacillus in the human gut. How many rounds of antibiotics have you had in your life?
If it’s only a handful or less, it’s possible your gut repopulated itself. If it’s more, you’ll need to consume lacto-fermented foods every day since the bacteria don’t naturally occur on their own.
When you have a healthy gut lining, you’ll also have a healthier immune system. When bad bacteria leak out of the digestive system, they cause numerous problems like eczema, psoriasis, food allergies and sensitivities, cancer, overall bodily inflammation (dementia and Alzheimer’s, autism, arthritis, muscle stiffness, etc.), poor eye sight, thyroid dysfunction, hormone imbalances, etc.
A daily serving of homemade sauerkraut could prevent many of these conditions.
Helpful Hints for Perfect Sauerkraut
- Consider the texture of the cabbage before adding the salt. I generally give it a rough chop, but a finely shredded texture might be better for serving on top of fish tacos. Use a food processor to make it a quick job.
- Only use a high-quality sea salt to extract the brine. DO NOT use regular iodized table salt because it has added anti-caking agents and preservatives. The added iodine also blocks fermentation because it acts as an antimicrobial, killing the beneficial bacteria.
- Make sure your hands and all equipment used are washed and sanitized in hot soapy water to prevent possible contamination of mold and other bad bacteria.
- Green or purple cabbage is suitable for making homemade sauerkraut. Both ferment the same with the same tangy flavor.
- Fermentation lids and weights help with homemade sauerkraut, but they’re not necessary. Use quarter pint size jars or a thick layer of cabbage leaves to hold the sauerkraut below the brine. The rubber lids help with gas buildup, but I use a regular canning lid and band, and place it on loosely.
- A digital scale helps with accurate measurement of the cabbage and salt, but if you don’t have one that’s okay. About one large or one and a half medium sized cabbages fills a half gallon jar. Use two heaping tablespoons of salt for the brine extraction.
Ingredients for Homemade Sauerkraut
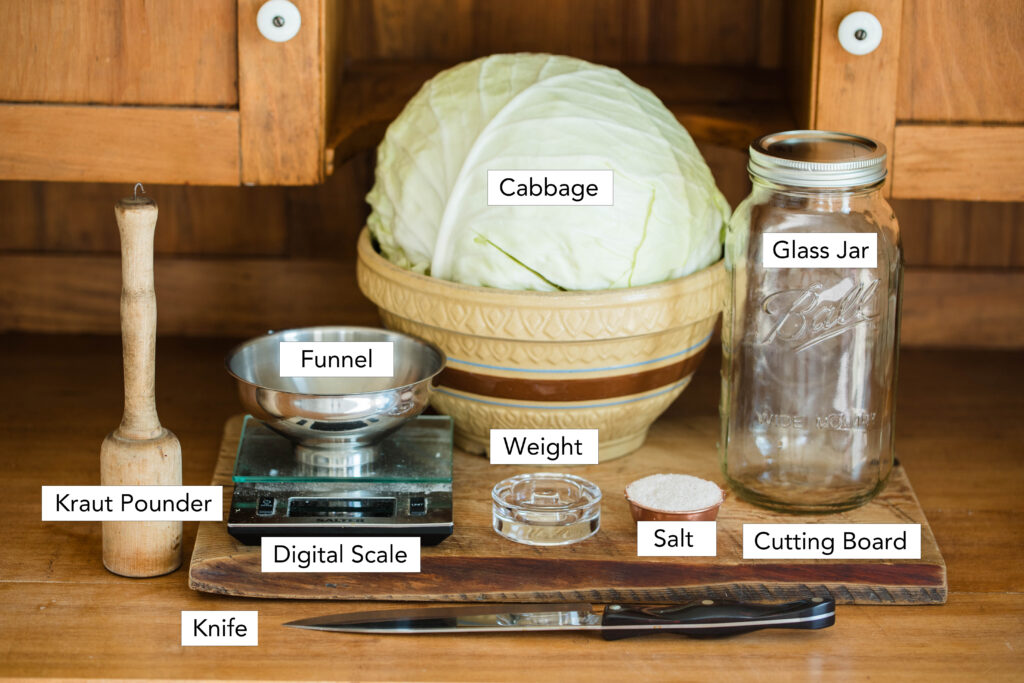
Cabbage – Fresh cabbage is best for homemade sauerkraut. Do not use frozen since the good bacteria do not survive the freezing process.
Salt – I use a high-quality sea salt like Redmond Real Salt. Do not use iodized table salt.
Equipment Needed for Homemade Sauerkraut
Half-gallon jar, sharp knife and cutting board
Funnel, mixing bowl
Digital scale and kraut pounder (both optional) – Instead of a kraut pounder, use your fist to tightly pack the cabbage. Be on the lookout at antique stores or garage sales for a kraut pounder. I bought mine for $10.
How to Make Homemade Sauerkraut
Step-by-Step Instructions
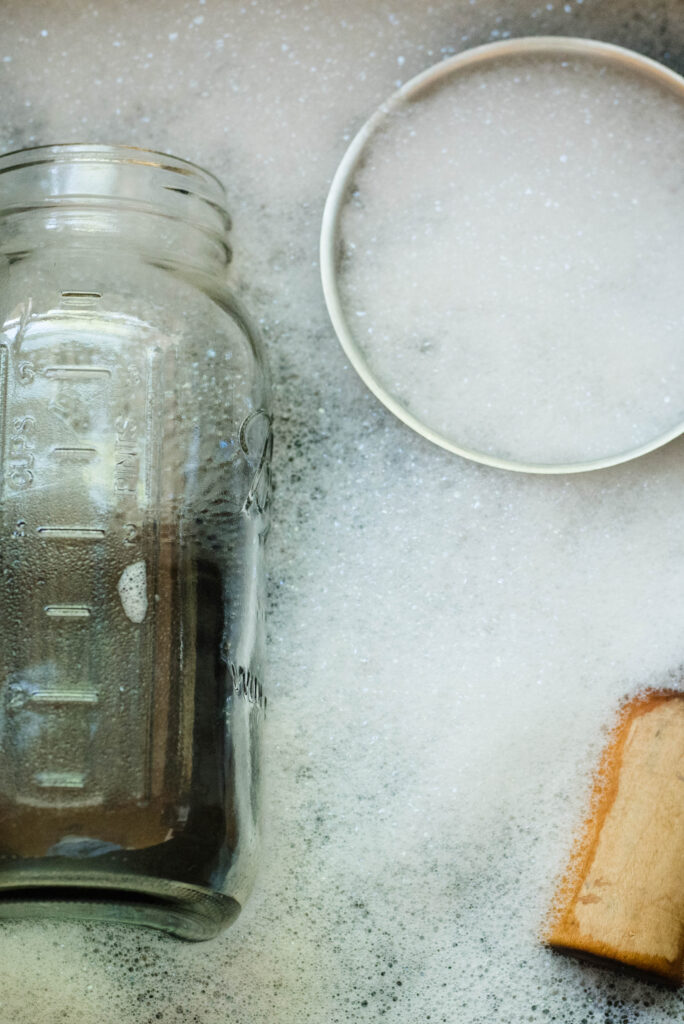
1.) Wash and sterilize all equipment. Set aside to air dry.
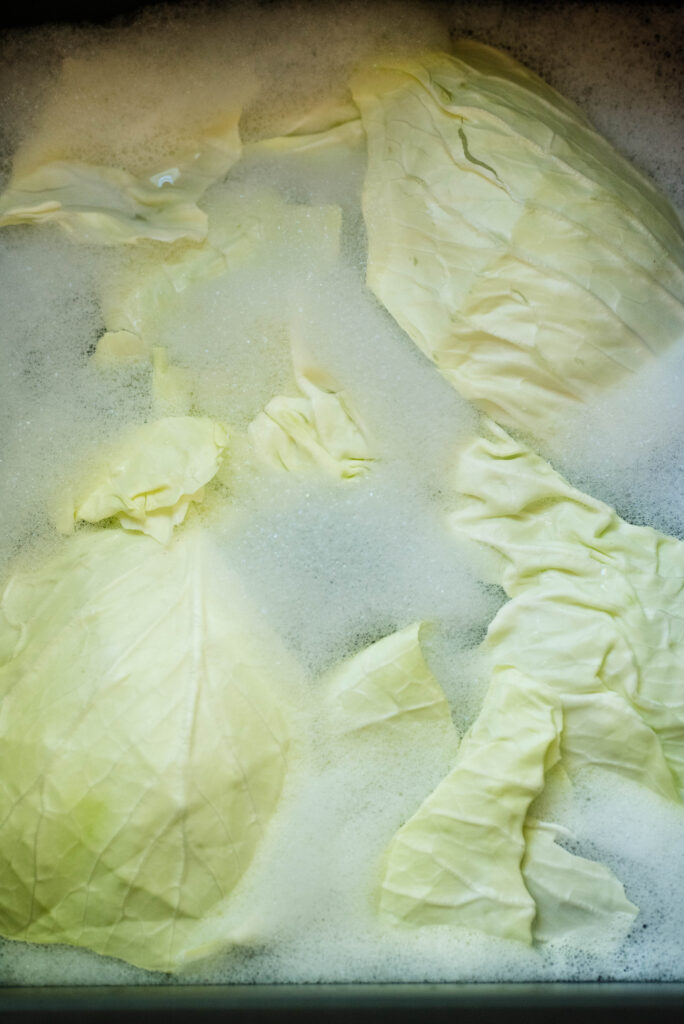
2.) Next, separate cabbage leaves and check for insects, especially cabbage worms.
Wash in warm soapy water with a natural cleanser like Branch Basics or Dr. Bronner’s. Drain water and rinse off soap after 5 minutes.
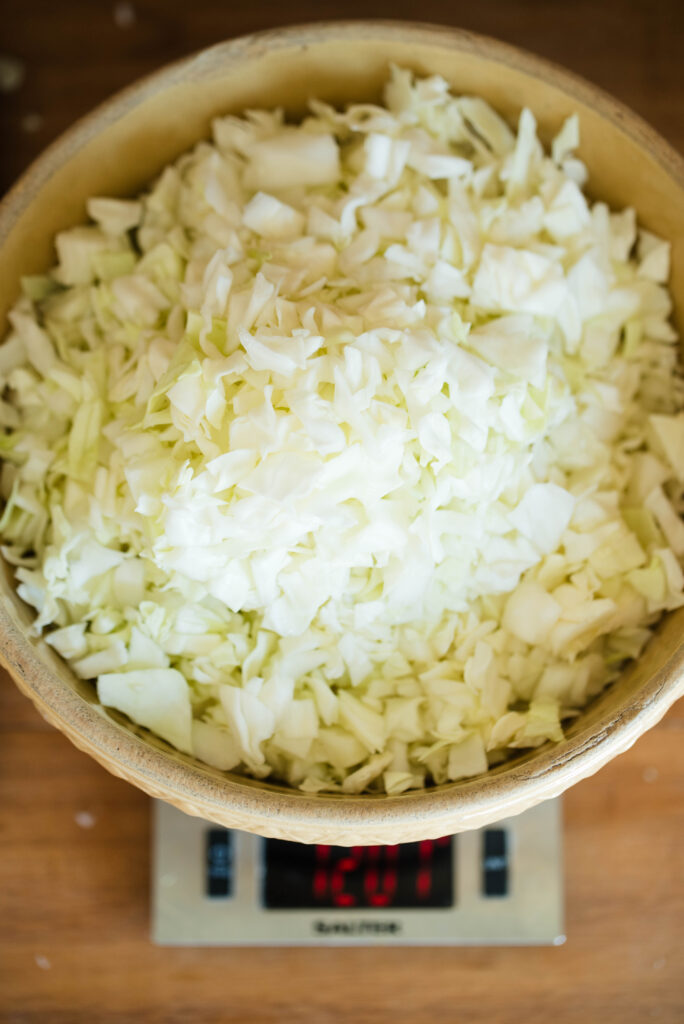
3.) Chop or shred cabbage according to your texture preference.
Using a digital scale, weigh the cabbage into a mixing bowl.
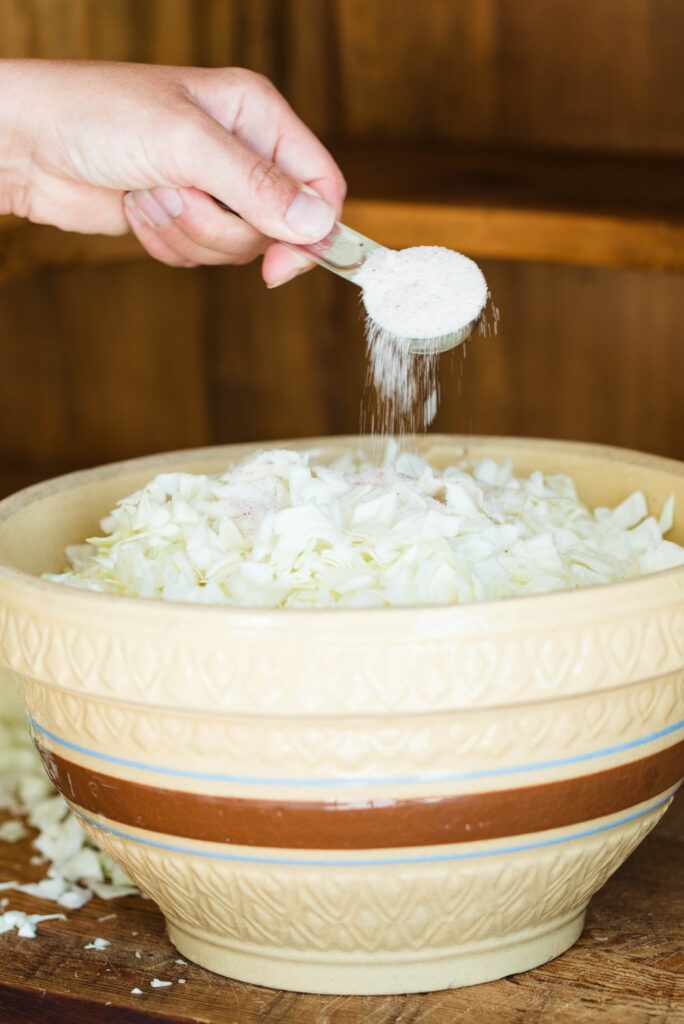
4.) Next, multiply 2% by the total number of grams of cabbage weighed into the bowl.
This is the number of grams of salt needed for proper fermentation. Round the number up if you get a decimal amount.
Sprinkle salt into the bowl and stir together with the cabbage. Cover the bowl and let the mixture sit for a minimum of one hour.
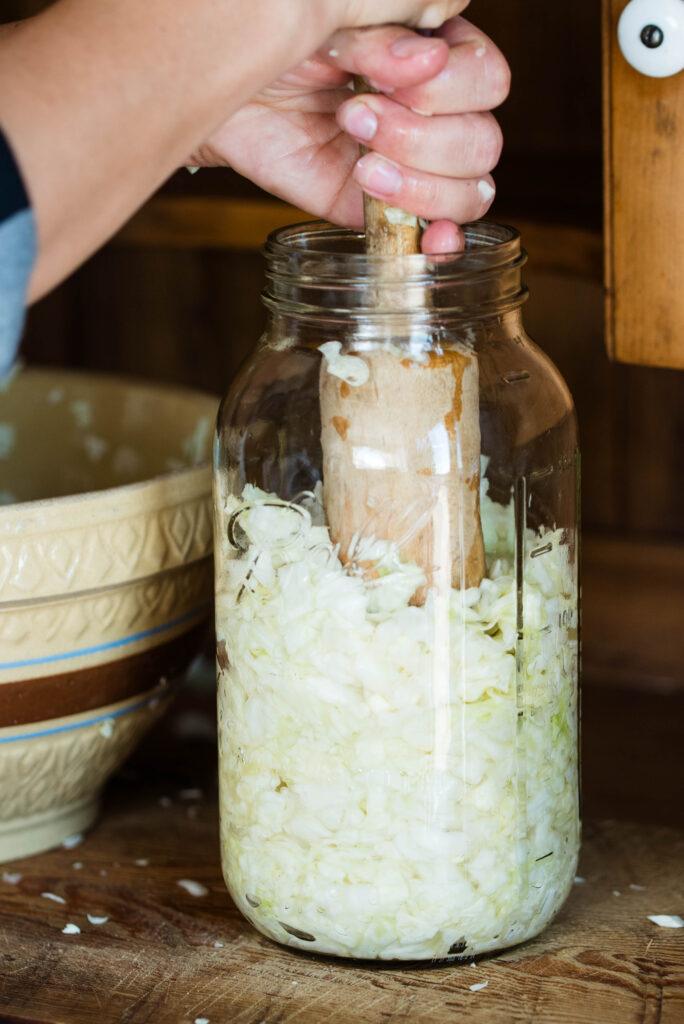
5.) After one hour, scoop the cabbage into the jar in small layers.
With each layer, use a kraut pounder or your hand to firmly pack the cabbage together until it reaches about one inch below the neck of the jar.
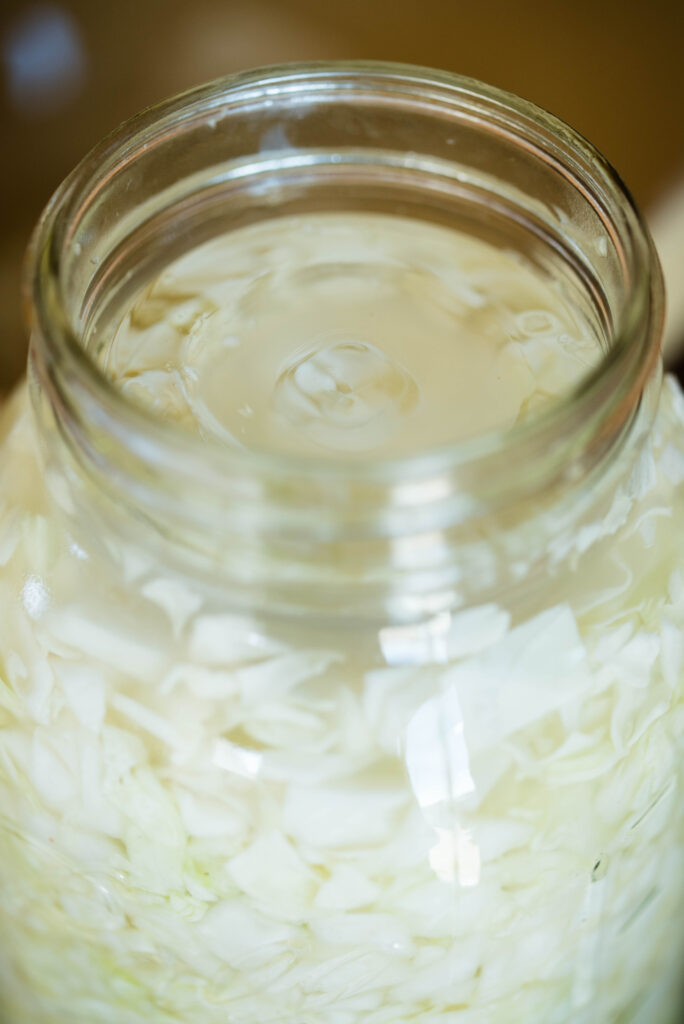
6.) Use a fermentation weight, a quarter pint jar or a layer of full cabbage leaves to fully submerge the cabbage below the brine (liquid).
Loosely cover with a lid and band or cheesecloth to keep insects away and allow buildup of gasses to escape.
Storing Sauerkraut
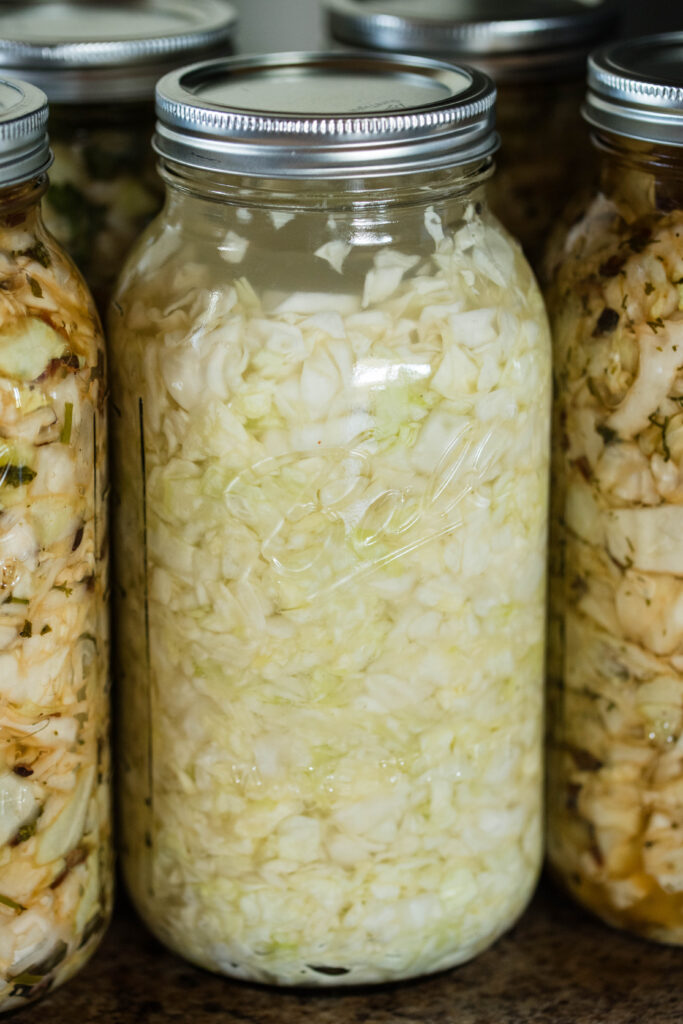
7.) Set aside on the counter out of direct sunlight to ferment for 3-7 days. Place on top of a towel to catch any liquid that bubbles over.
The warmer the room temperature, the faster the fermentation process. The presence of bubbles indicates fermentation.
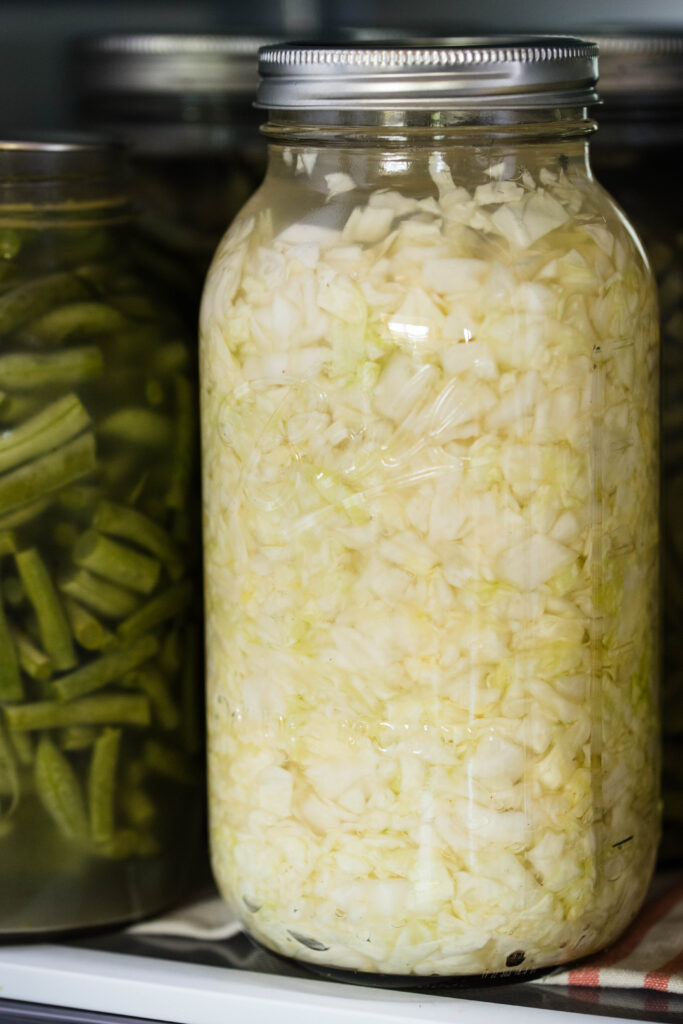
8.) After 3-7 days, or when bubbles indicate fermentation, it’s time to store the sauerkraut for long-term storage.
Place in the refrigerator to keep it cool and to slow the fermentation process. Or store off-grid in a pantry or root cellar.
Troubleshoot Common Sauerkraut Problems
Here are three common issues your sauerkraut might run into. Not to worry, your sauerkraut is still good to eat!
Siphoning – Siphoning simply means the loss of liquid off the top of a jar of product. When the fermentation process is extra active, a lot of brine produces. That’s another reason to keep the lids on loosely and to place the jars on a plate or towel.
When this happens, the top portion might not be covered with liquid. Simply scoop it out and eat it right away, or make a saltwater brine in a glass and pour it over the top of the sauerkraut to rehydrate it.
Kahm yeast – It’s a harmless white wrinkly looking film on top of ferments. It forms because oxygen is still present meaning the sauerkraut isn’t fully covered with the brine. It’s not mold and it won’t harm you, however, it does affect the flavor of the sauerkraut.
I tend to take a paper towel and soak it off, then scoop the top layer of sauerkraut off and toss it out. The remainder is good to eat.
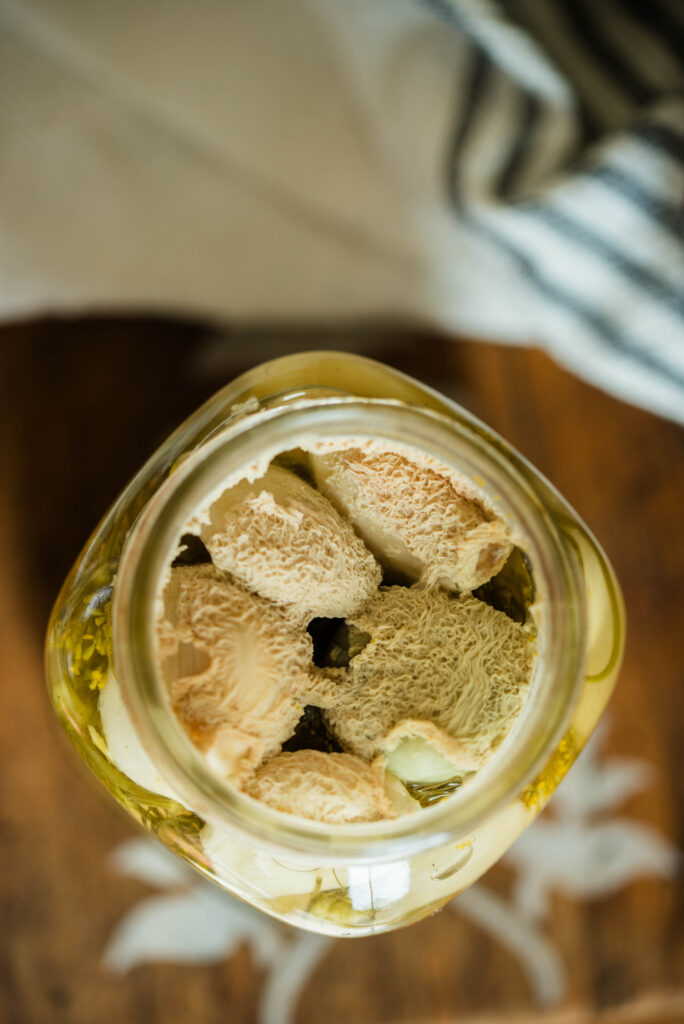
Mold – This is where you need discretion. Generally if mold forms on top, that’s because oxygen is still present and the salt brine wasn’t at 2% to properly kill off bad bacteria.
If it’s a thin layer of mold, scrap it off and take a clean paper towel and wipe the jar of any residual mold. Then scrape off the top layer of sauerkraut and throw away. The remainder of the jar is okay to use.
If the mold is thick, smells bad and has discolored a good portion of the jar, toss the whole jar out. The compost pile is a good place for it! Again, use your own discretion.
Trendy Sauerkraut Flavor Combinations with Spices
Ever wonder why we love a good trip to the local posh restaurant in town? Besides a night out, the menu features items with unique and unexpected flavor pairings. That’s an upscale change from our ordinary everyday meals at home.
But why not introduce that same concept into your own kitchen without the hefty price tag and a healthier gut boost? I recently found a book at the local library and my whole world of sauerkraut and fermentation burst wide open.
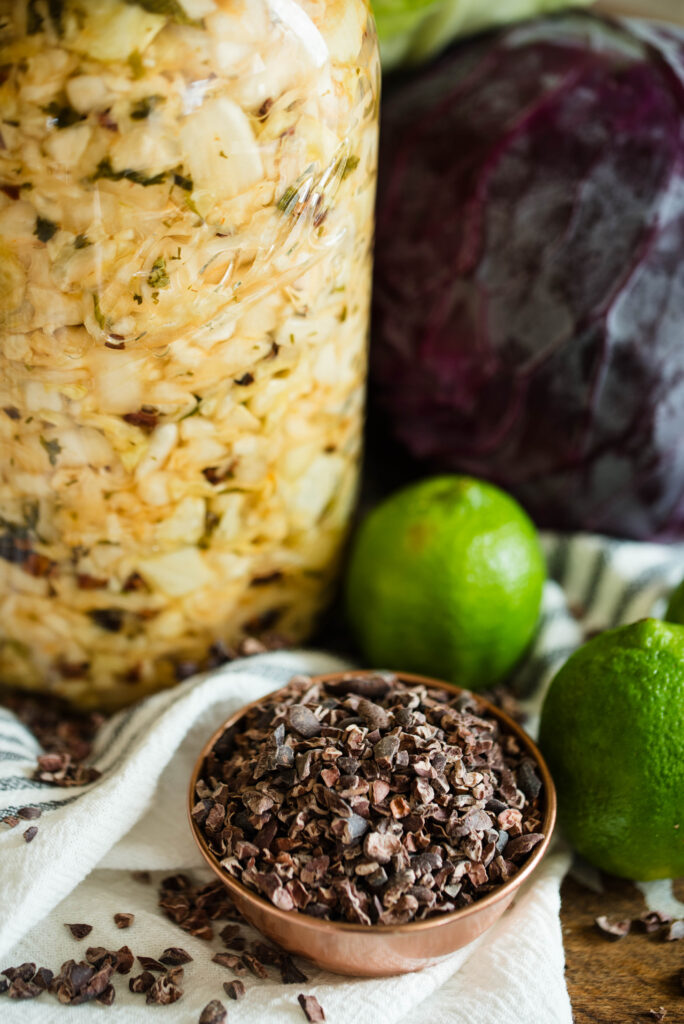
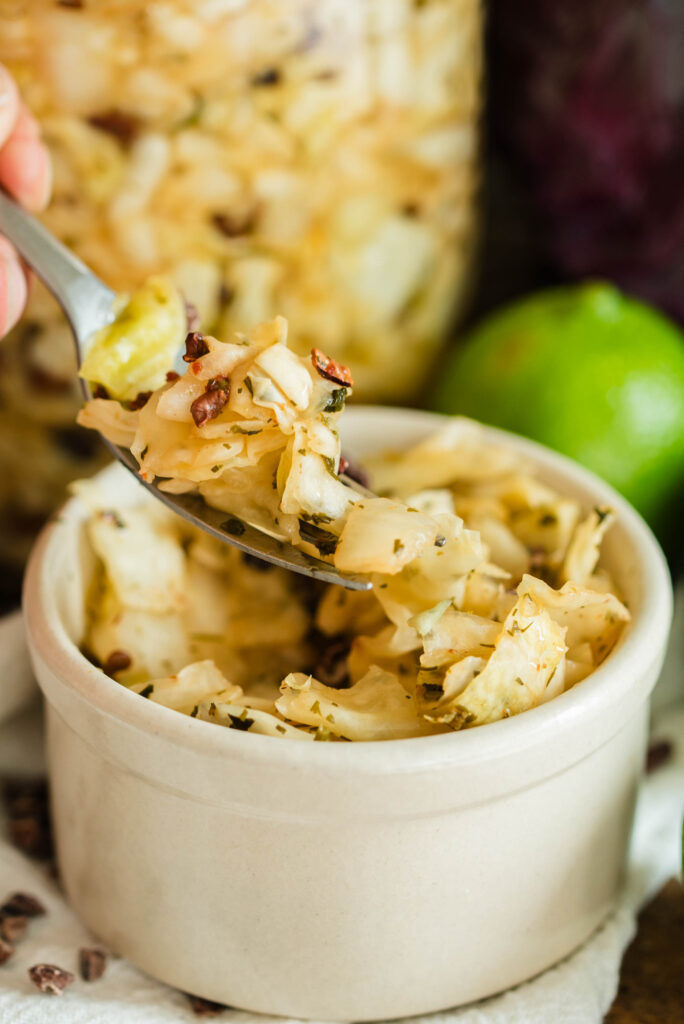
It’s titled The Farmhouse Culture Guide to Fermenting by Kathryn Lukas and Shane Peterson. Inside I found sauerkraut recipes featuring lavender and summer squash, lime chipotle and chocolate (my favorite!) and Old Georgia Bay with shrimp, celery and Old Bay Seasoning (equally as good).
Now that’s eating good in the neighborhood! With a quick Google search, you’ll easily find more unique sauerkraut flavor combinations.
Creative Ways to Use Sauerkraut with Meals
Homemade sauerkraut is good on it’s own, but there are other ways to enjoy it as well.
Savory soups – I love homemade sauerkraut in my pumpkin and sausage soup as an accompaniment. It’s also good in a cabbage soup recipe, although you’ll lose some of the probiotic benefits. That’s okay, though because it’s delicious!
Burgers or Patties – I have a high food sensitivity to eggs, so I tend to eat a lot of hamburgers and sausage patties for breakfast. They perfectly pair with any flavor of sauerkraut so it’s an easy way to get my daily dose of lactobacillus!

Eggs – I often serve Luke his weekend off scrambled eggs with sauerkraut and toast. Again, another wonderful savory food pairing to get your daily serving of sauerkraut.
Tacos – Sauerkraut is a delicious topper for both meat and seafood tacos. Offer it up when you have guests over for taco night to introduce them to the wonderful world of homemade sauerkraut.
FAQ’s About Homemade Sauerkraut
How long does homemade sauerkraut keep?
If it’s kept submerged below the brine, it keeps indefinitely. While some sites claim differently, science supports this. I just finished a jar from three years ago, and it was the best tasting batch I’ve had yet.
What type of salt is used to ferment sauerkraut?
A non-iodized salt properly ferments cabbage into sauerkraut. Sea salt, kosher salt and pink Himalayan salt are all good options. Regular iodized salt inhibits fermentation.
How do I know the sauerkraut is ready to eat?
The taste of the sauerkraut is your best indication. Bubbles represent fermentation, and the longer the jar sits, the tangier the flavor becomes. Taste test and when you’re satisfied, move it to the refrigerator to slow down the fermentation process.
More Recipes From Becky’s Kitchen
Fermented Garlic | A Simple How-to Guide with 2 Techniques
Homemade Apple Cider Vinegar | Healthy, Simple and Frugal
Easy Fermented Strawberries with Honey | 3 Methods to Preserve
How to Make Homemade Shrub | A Dye-Free Beverage Flavoring
Sourdough Starter | How to Make a No-Discard Small-Batch
I hope I’ve inspired you to try homemade sauerkraut and love it as much as I do! If you do, come on back and leave the recipe a 5-star review! Tag me with your photos on Instagram @beckybuttlesamericana
Happy Fermenting! –Becky
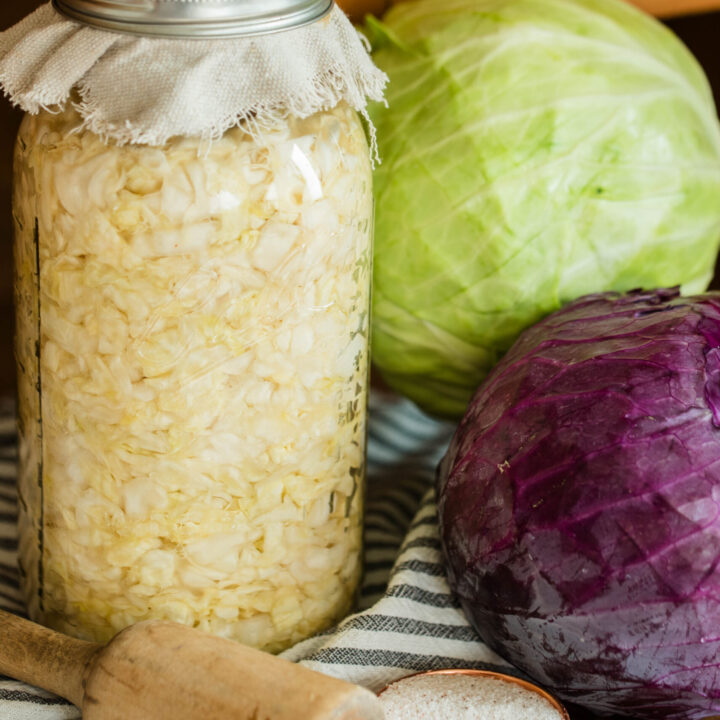
Homemade Sauerkraut | Easy Small-Batch Recipe
Homemade sauerkraut is a refreshingly tangy side dish that tastes delicious and naturally offers probiotic benefits for better health. Unlike it's store-bought counterpart, it's an easy old-fashioned ferment with a crunchy texture and all the live active cultures intact. Introduce your family to homemade sauerkraut with this simple small-batch recipe and take mealtime flavors to the next level!
Ingredients
- Fresh cabbage (1900g) - approximately 1 large head or 2 medium sized heads
- 2 tablespoons (40g) sea salt (no iodized table salt)
Instructions
1.) Wash and sterilize all equipment. Set aside to air dry.
2.) Next, separate cabbage leaves and check for insects, especially cabbage worms.
Wash in warm soapy water with a natural cleanser like Branch Basics or Dr. Bronner's. Drain water and rinse off soap after 5 minutes.
3.) Chop or shred cabbage according to your texture preference.
Using a digital scale, weigh the cabbage into a mixing bowl.
4.) Next, multiply 2% by the total number of grams of cabbage weighed into the bowl.
This is the number of grams of salt needed for proper fermentation. Round the number up if you get a decimal amount.
Sprinkle salt into the bowl and stir together with the cabbage. Cover the bowl and let the mixture sit for a minimum of one hour.
5.) After one hour, scoop the cabbage into the jar in small layers.
With each layer, use a kraut pounder or your hand to firmly pack the cabbage together until it reaches about one inch below the neck of the jar.
6.) Use a fermentation weight, a quarter pint jar or a layer of full cabbage leaves to fully submerge the cabbage below the brine (liquid).
Loosely cover with a lid and band or cheesecloth to keep insects away and allow buildup of gasses to escape.
7.) Set aside on the counter out of direct sunlight to ferment for 3-7 days. Place on top of a towel to catch any liquid that bubbles over.
The warmer the room temperature, the faster the fermentation process. The presence of bubbles indicates fermentation.
8.) After 3-7 days, or when bubbles indicate fermentation, it's time to store the sauerkraut for long-term storage.
Place in the refrigerator to keep it cool and to slow the fermentation process. Or store off-grid in a pantry or root cellar.
Notes
1.) Consider the texture of the cabbage before adding the salt. I generally give it a rough chop, but a finely shredded texture might be better for serving on top of fish tacos. Use a food processor to make it a quick job.
2.) Only use a high-quality sea salt to extract the brine. DO NOT use regular iodized table salt because it has added anti-caking agents and preservatives. The added iodine also blocks fermentation because it acts as an antimicrobial, killing the beneficial bacteria.
3.) Make sure your hands and all equipment used are washed and sanitized in hot soapy water to prevent possible contamination of mold and other bad bacteria.
4.) Green or purple cabbage is suitable for making homemade sauerkraut. Both ferment the same with the same tangy flavor.
5.) Fermentation lids and weights are helpful for homemade sauerkraut, but they're not necessary. Their investment makes the task easier, but there are less expensive alternatives. Use quarter pint size jars or a thick layer of cabbage leaves to hold the sauerkraut below the brine. The rubber lids help with gas buildup, but I generally use a regular canning lid and band, and place it on loosely.
6.) A digital scale helps with accurate measurement of the cabbage and salt, but if you don't have one that's okay. About one large or one and a half medium sized cabbages fills a half gallon jar. Use two heaping tablespoons of salt for the brine extraction.

I’m a wife and homemaker inspiring old-fashioned skills for a homemade, self-sufficient lifestyle, always with a warm beverage in hand. Homemade Recipes. Gardening. Preserving. Healthy Living.
Want More Recipes from Becky?
Sign up to receive exclusive recipes only for subscribers! Plus you’ll get the latest blog posts straight to your inbox!