How To Make Low-Sugar Strawberry Jam
Learn how to preserve this delicious low-sugar strawberry jam in this tutorial. Enjoy a healthier version of the traditional sweet, juicy flavor of summer all year long. It will soon be your favorite!
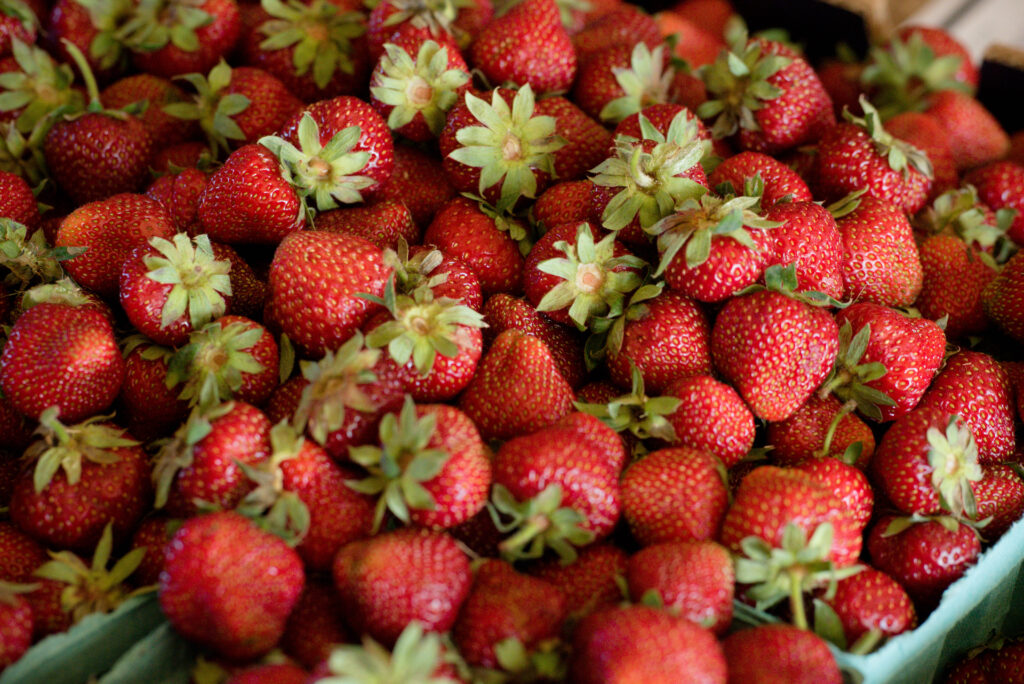
For me, this is my favorite time of year. That magical time in the heart of summer with 4th of July right in the middle. It all kicks off with the greatest of them all…sweet, juicy strawberries. Yum! My absolute favorite fruit.
I love all things strawberry especially strawberry jam. That’s always been my favorite even as a kid. Now as an adult, I cherish it even more since I have my own kitchen to make it in. Starting with my first batch, I found a low-sugar, preservative-free recipe to satisfy the health conscious side of me. I will link to the original recipe by Melissa K. Norris here.
Since then, I’ve made my own modifications to the recipe that work best for Luke and I. We limit sugar in our diet quite a bit, so even low-sugar recipes tend to be a bit much for us.
Traditionally jam is made in a 1:1 ratio. One cup fruit to one cup sugar. Not only is that costly especially if you use organic sugar, but that much sugar tends to overpower the flavor of the fruit.
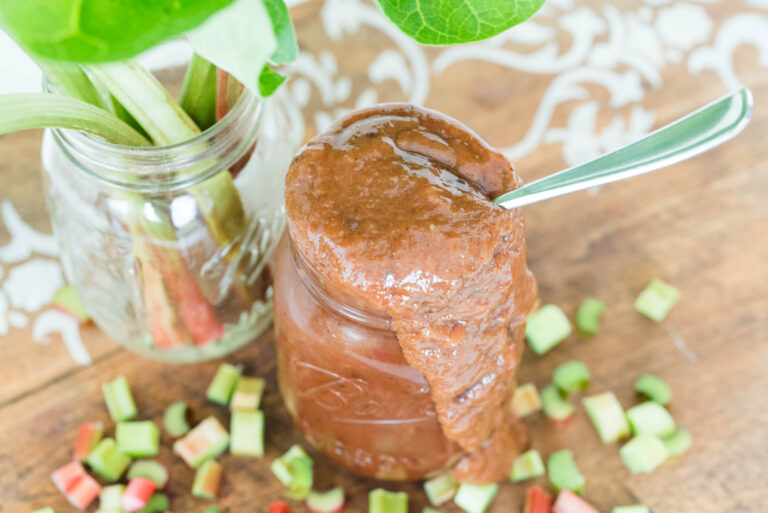
Historically, another ingredient used was a high pectin fruit to thicken the jam. While powdered pectin in store bought boxes can be used, I recently tried my hand at making my own homemade pectin. If you have the time and love to make jam like I do, I encourage you to try it out!
I hope you’ll embrace my version of low-sugar strawberry jam and love it as much as I do! Let’s get started.
Helpful Hints for Strawberry Jam
- Whether you use fresh or frozen berries, crush them with a potato masher or immersion or regular blender. Do this to your preferred texture. I prefer my jam half smooth, half chunky, but berries can be pureed smooth as well.
- Butter is generally used to keep the amount of foam low, but for a dairy-free or vegan option you can use ghee or coconut oil. I don’t recommend lard or beef tallow as the savory flavor overpowers the brightness of the strawberries.
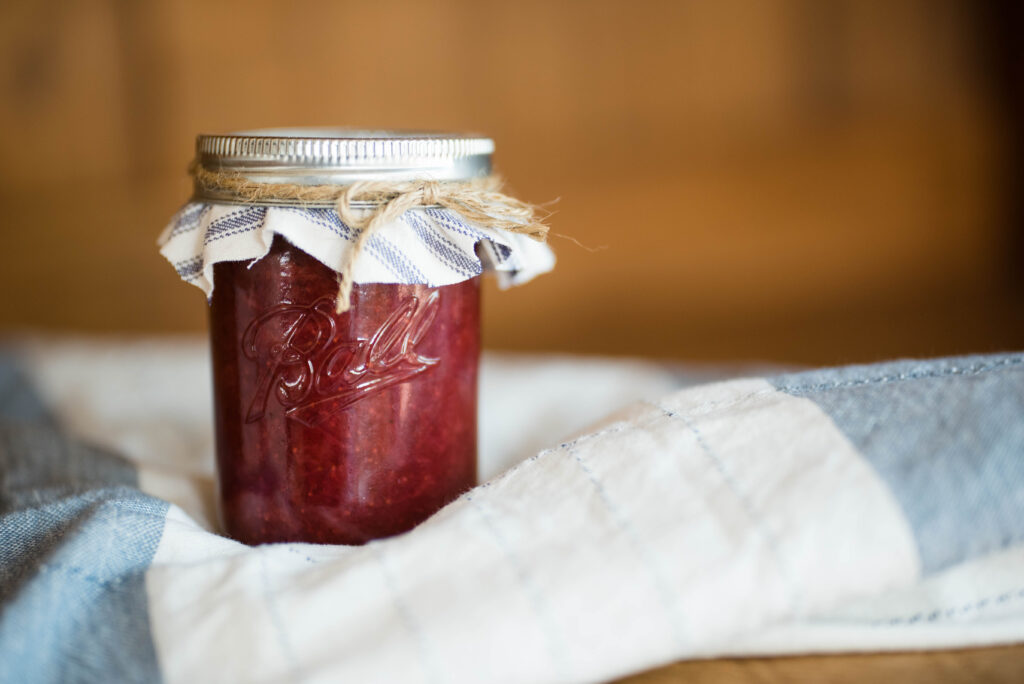
- This strawberry jam recipe is low-sugar and preservative free, therefore I recommend canning in quarter pint size jars. It’s only Luke and I and we won’t eat a whole pint before it spoils in the fridge. However, if you have a family that eats a jar of jam fairly quickly, go ahead and use regular pint size jars.
- It’s very important when canning to make sure your jars, lids and bands are completely clean. This step avoids possible contamination and food borne illnesses to you and your family. You are welcome to take the extra step of sterilizing each in hot water, but generally I just ensure that they’re clean and free of debris.
- It’s important to remove all the bands from the jars after they sit for 24 hours. This way the lids don’t present a false seal and the jam won’t spoil. DO NOT store jars stacked on top of one another for the same reason.
- Use an extra cup of sugar if the homemade pectin tastes slightly bitter.
How to Make Low-Sugar Strawberry Jam
What You’ll Need
- Crushed strawberries
- Organic cane sugar
- Homemade or store bought pectin
- Butter or fat of choice
- Quarter pint size canning jars
- Canning lids and bands
- Funnel
- Ladle
- Immersion blender or potato masher (optional)
- Large pot
- Wooden spoon
- Regular stainless steel spoon
- Hot pads
- Jar Lifter
- Water bath canner
Step-by-Step Instructions
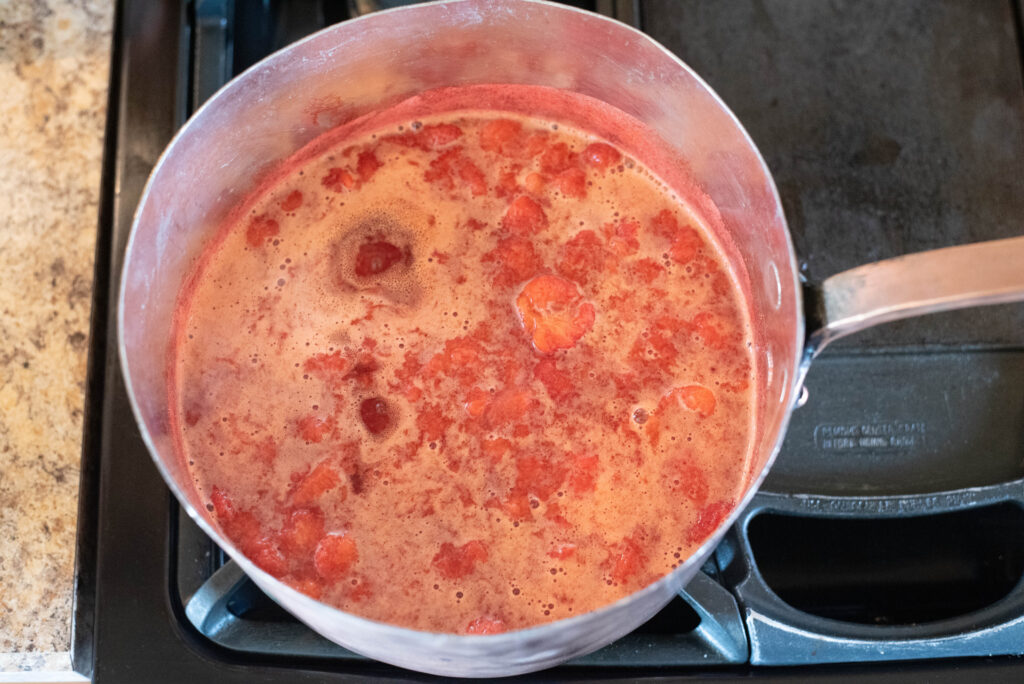
Measure out 8 cups of crushed strawberries into a large pot. Turn on medium-low heat and bring to a simmer.
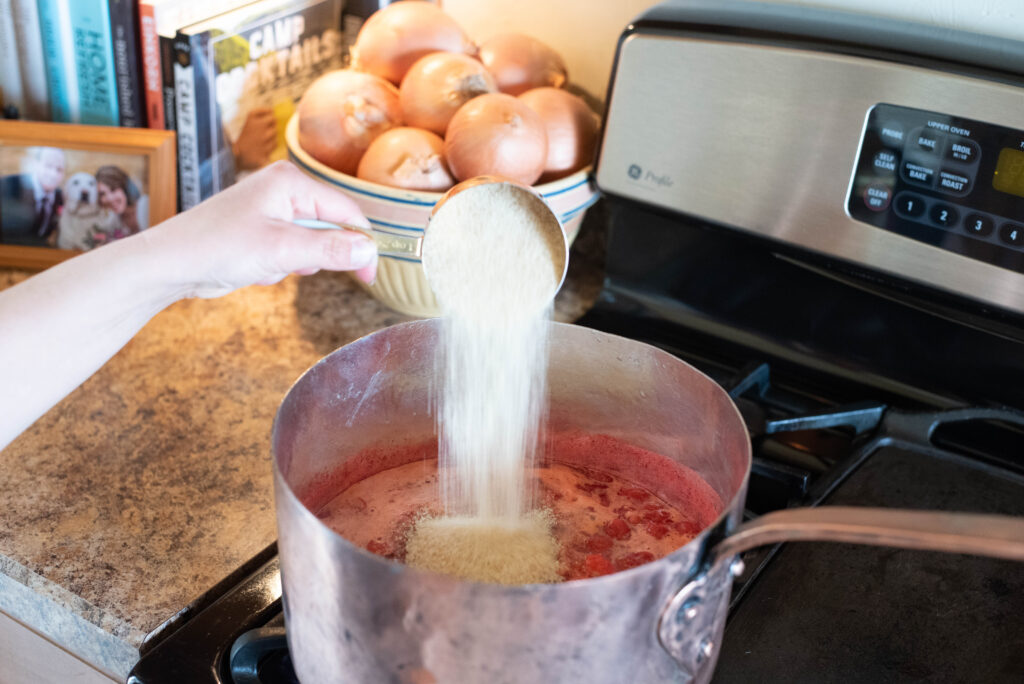
Next, add sugar and pectin. Stir continuously until both are dissolved. Then add butter or fat of choice.

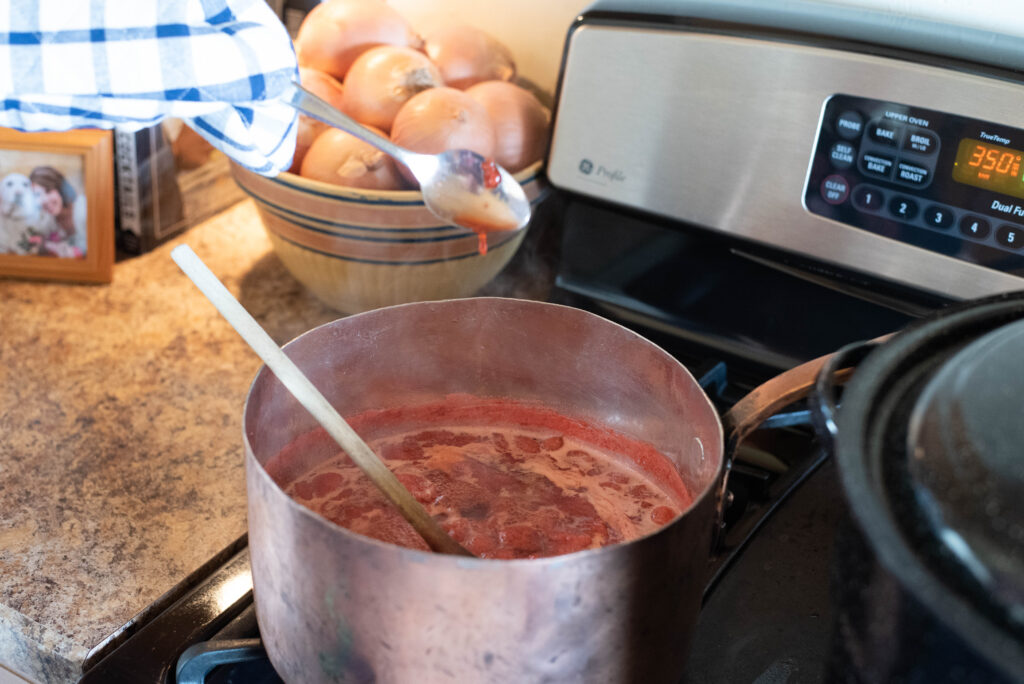
Keep stirring until jam reaches desired thickness.
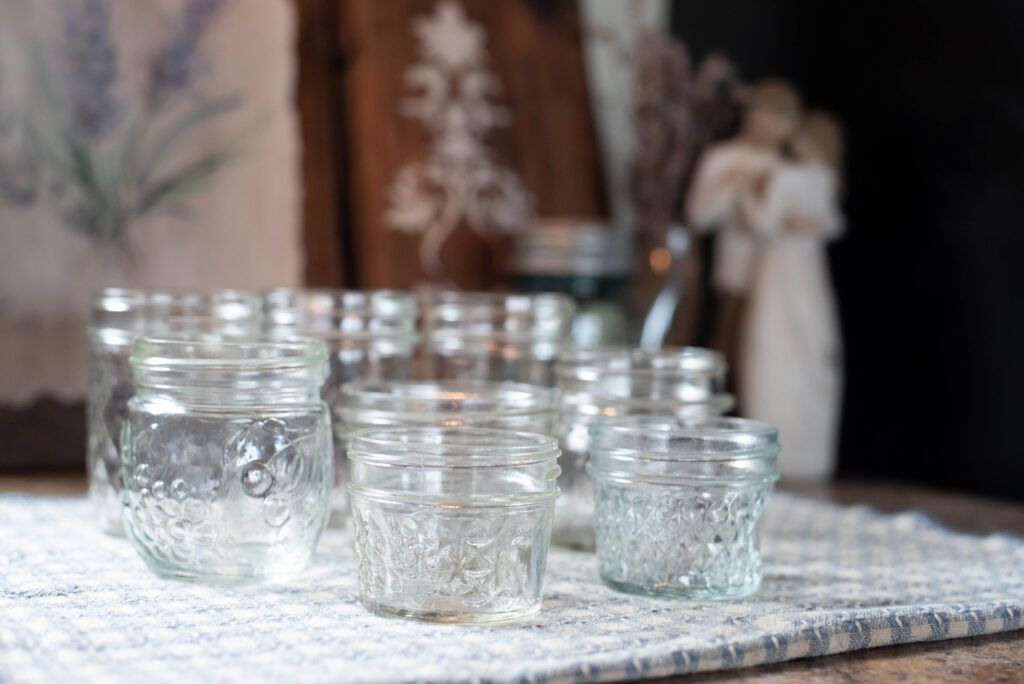
Meanwhile, prepare your water bath canner, jars, lids and bands. Make sure they are sparkling clean with no food particles or residue.
To test readiness, place a stainless steel spoon in the freezer. With a pot holder, take spoon out of freezer and dip into jam. If the juice runs off the spoon, keep stirring. Place spoon back in freezer and repeat test again when jam appears thicker.
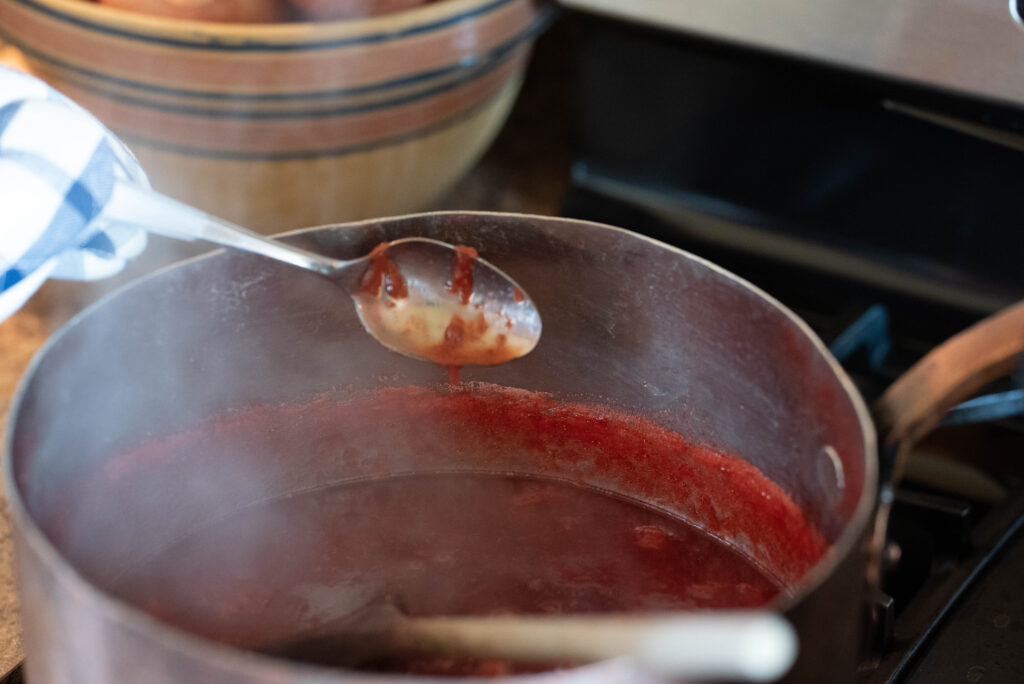
Jam is ready when it sticks to the back of the spoon. You’ll also feel that the mixture is thicker.
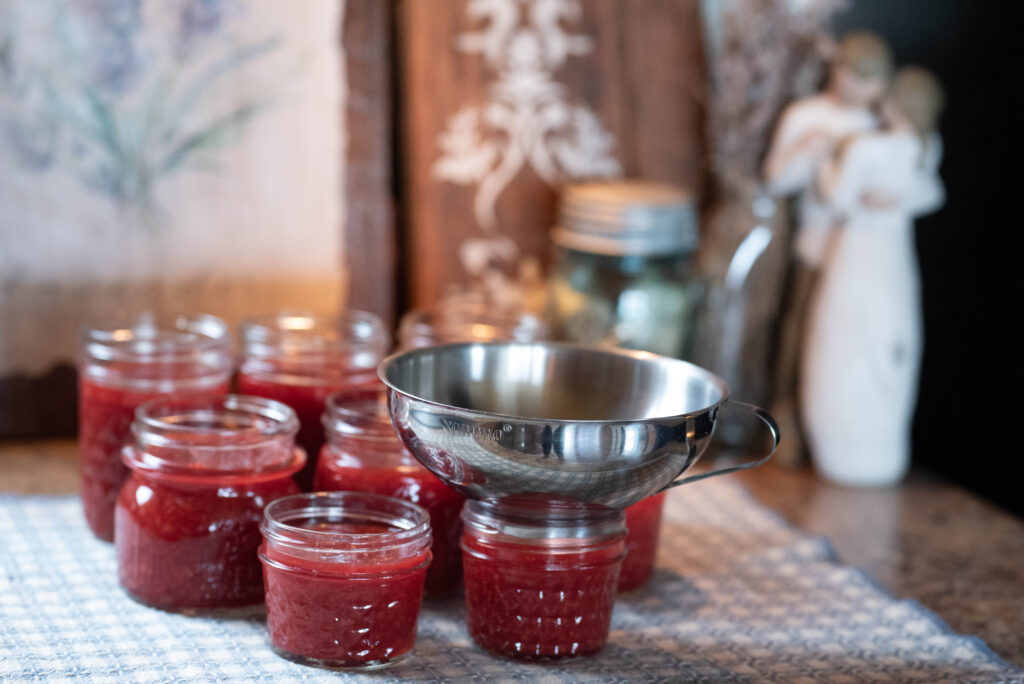
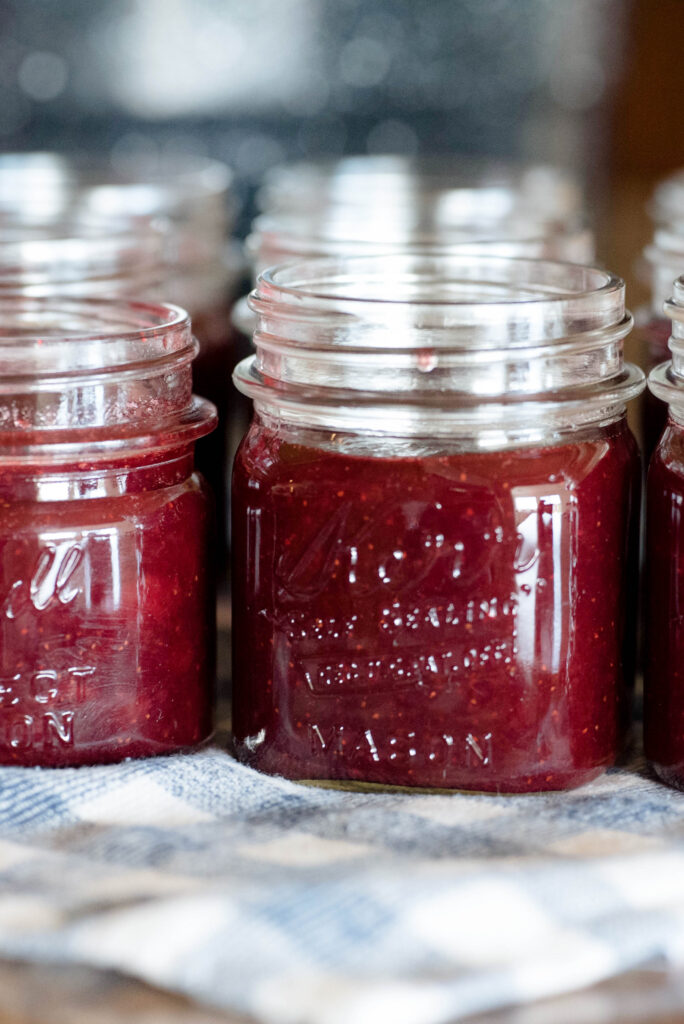
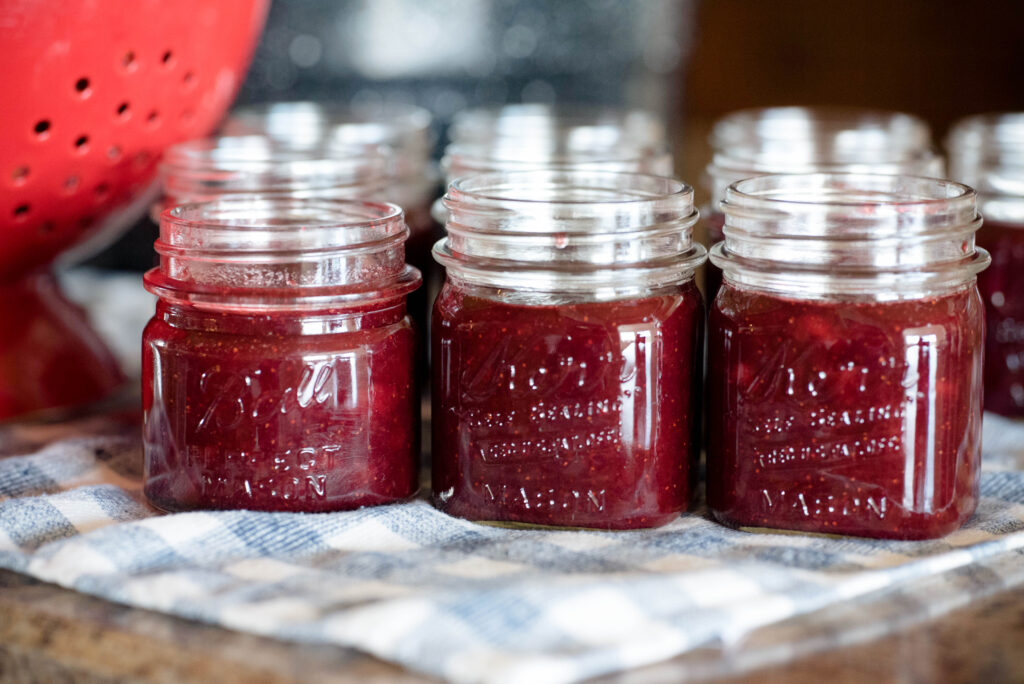
Ladle jam into quarter size pint jars and secure with lids and bands.
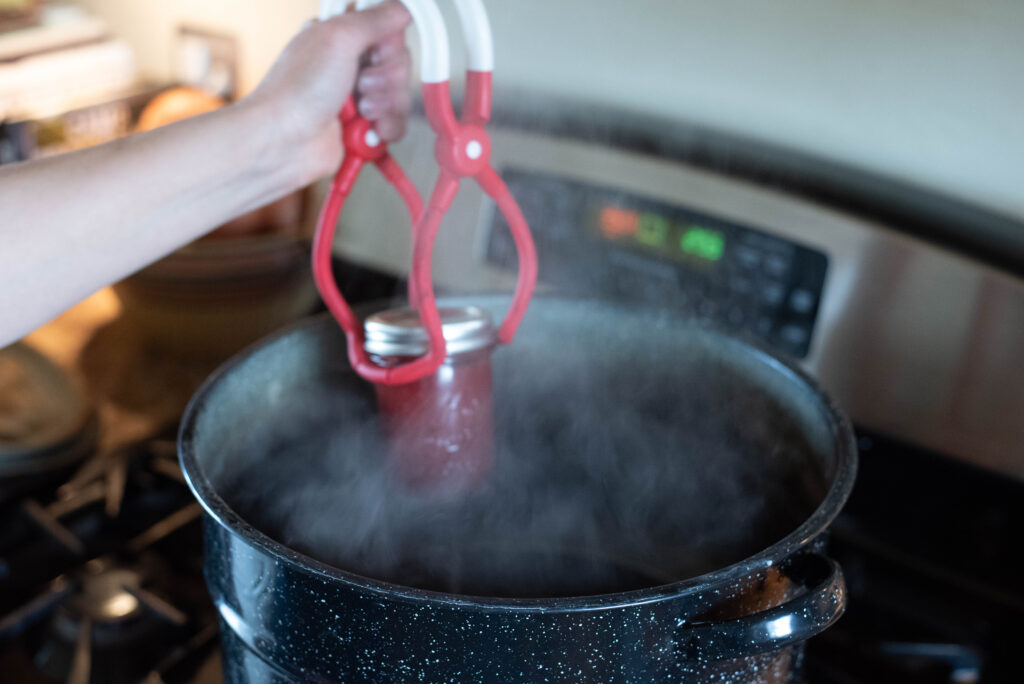
Place into water bath canner and process in boiling water for 10 minutes.
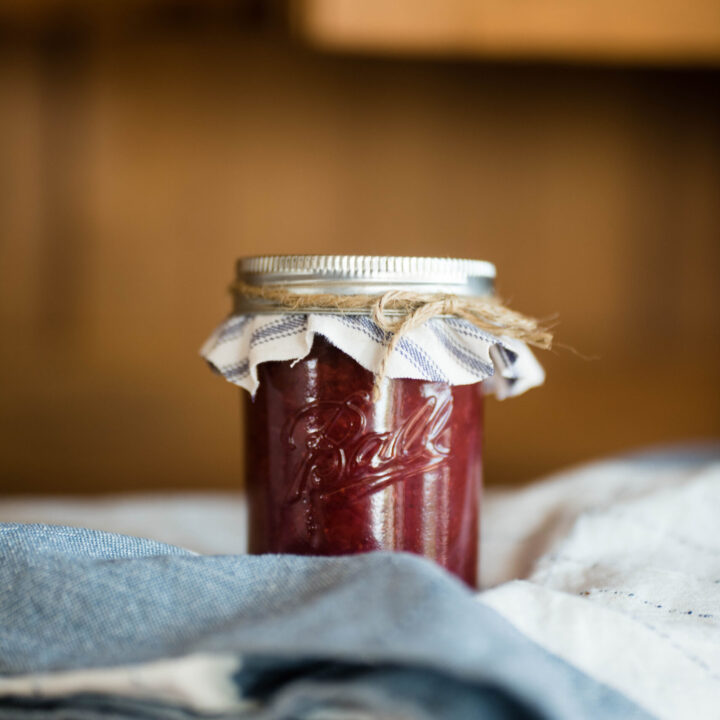
When finished, remove and place on towel to cool. Let sit for 24 hours. Remove bands and check for a proper seal. Store in a dry, cool area such as a basement pantry.
FAQ’s
Should fresh or frozen berries be used?
Either one is a great option! Be mindful though that the recipe calls for crushed strawberries. If you use frozen, be sure to thaw enough for 8 cups crushed berries. Whole frozen berries don’t equal the same amount as crushed.
How long will low-sugar strawberry jam be good for?
That depends on how you store it and how fast you use it. If you water bath can your jam, it’s recommended to use within approximately 18 months. I’ve had jars on the shelf much longer and they’re still good to use. If you freeze it, I suggest covering the top with plastic wrap or parchment paper before placing lid on. Then I would use within a year to prevent a freezer burnt taste. If you refrigerate your jam, you’ll have to keep an eye on it, but I would use within six months. Before using, check for mold and if it’s present, do not consume.
Should jam be continuously stirred while at a boil?
Yes, as best you can jam should be continuously stirred to prevent burning. It is a delicate balance since you need to prepare the water bath canner and the jars, but do your best to keep stirring.
Can regular store bought pectin be used instead of homemade pectin?
Yes, be sure to follow the instructions on the package for when to add it to the jam. Also, purchase a pectin made for low-sugar jam.
Low-Sugar Strawberry Jam
A delicious low-sugar jam recipe highlighting the sweet summertime taste of juicy strawberries.
Ingredients
- 8 cups crushed strawberries
- 3-4 cups organic or regular sugar
- 1 jar homemade pectin or package of store bought pectin
- 2 tsp butter or fat of choice
- Enough water to fill water bath canner
Instructions
- Measure out 8 cups of crushed strawberries to a large pot. Bring to a simmer over medium to low heat.
- Place a stainless steel spoon in the freezer for testing readiness of jam.
- Next, add sugar and pectin. Stir continuously to dissolve. Then add butter or fat of choice.
- Keep stirring until jam has reached a thick consistency.
- While you keep an eye on your jam, prepare the water bath canner and jars.
- To test the readiness of the jam, take the spoon out of the freezer with a pot holder and dip into the hot jam. If it runs straight off the spoon, keep stirring. Place the spoon back into the freezer and repeat the test once jam has thickened more.
- Once jam is ready, ladle into clean jars and secure lids and bands on tight.
- Place into water bath canner and process for 10 minutes once the water is at a boil.
- Remove and place on to a towel. Let jars sit for 24 hours before removing bands.
- Store in a cool, dry area.
Notes
- Whether you use fresh or frozen berries, crush them with a potato masher or immersion or regular blender. Do this to your preferred texture. I prefer my jam half smooth, half chunky, but berries can be pureed smooth as well.
- Butter is generally used to keep the amount of foam low, but for a dairy-free or vegan option you can use ghee or coconut oil. I don't recommend lard or beef tallow as the savory flavor overpowers the brightness of the strawberries.
- This strawberry jam recipe is low-sugar and preservative free, therefore I recommend canning in quarter pint size jars. It's only Luke and I and we won't eat a whole pint before it spoils in the fridge. However, if you have a family that eats a jar of jam fairly quickly, go ahead and use regular pint size jars.
- It's very important when canning to make sure your jars, lids and bands are completely clean. This step avoids possible contamination and food borne illnesses to you and your family. You are welcome to take the extra step of sterilizing each in hot water, but generally I just ensure that they're clean and free of debris.
- It's important to remove all the bands from the jars after they sit for 24 hours. This way the lids don't present a false seal and the jam won't spoil. DO NOT store jars stacked on top of one another for the same reason.
- Use an extra cup of sugar if the homemade pectin tastes slightly bitter.
I’m a wife and homemaker inspiring old-fashioned skills for a homemade, self-sufficient lifestyle, always with a warm beverage in hand. Homemade Recipes. Gardening. Preserving. Healthy Living.
Want More Recipes from Becky?
Sign up to receive exclusive recipes only for subscribers! Plus you’ll get the latest blog posts straight to your inbox!