How to Make No-Churn Homemade Vanilla Ice Cream
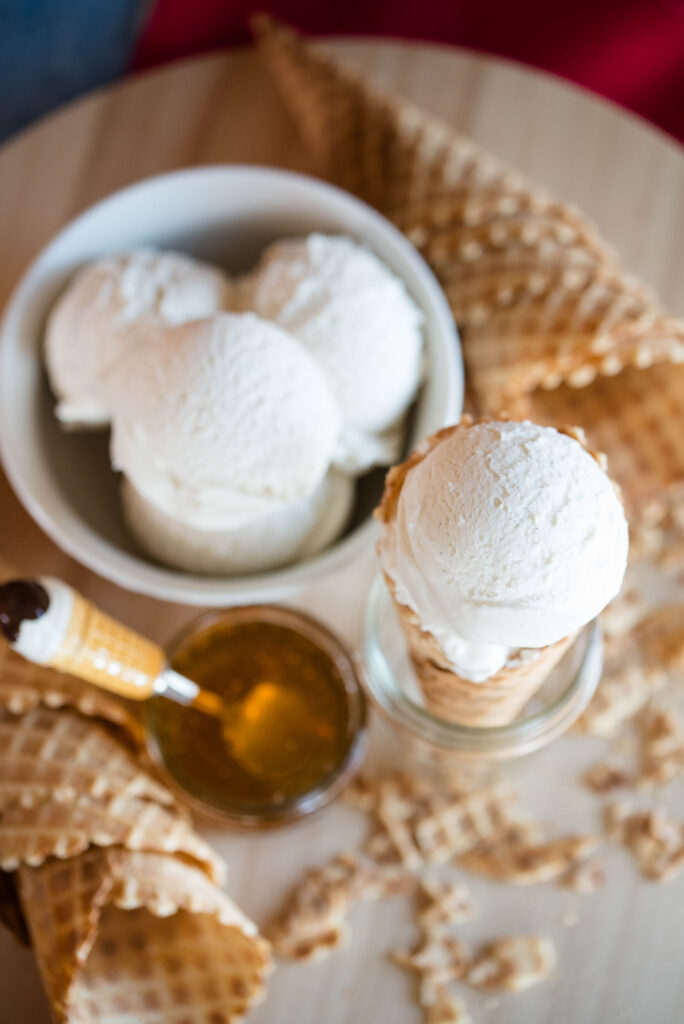
This homemade vanilla ice cream recipe is classically delicious and perfect for all your dessert needs. It’s lightly sweet and creamy with a subtle hint of vanilla. A no-churn method makes it an uncomplicated process that anyone can quickly whip together. And without all the unhealthy ingredients of store-bought, it’s simple nature lends itself to endless scoops of delicious creativity.
For both kids and adults, hands wrapped around a waffle cone piled high with sweet creamy scoops of ice cream is synonymous with a hot summer day. Especially here in the Dairy State of Wisconsin where an old-fashioned ice cream shop adorns every little tourist town. It’s no secret we love our ice cream here in our beloved state.
It’s not just here, though. Whether it’s regular or a lower-fat variety, the average American eats approximately 20 pounds or 4 gallons of ice cream per year. That’s a whole lotta ice cream! In other words, it’s one of the most loved desserts here in America.
That means it often graces grocery store shopping carts to later reside in home freezers for a convenient bowl. But like many pre-made items from the grocery store, most brands contain unhealthy ingredients and only a fraction of real dairy.
I encourage you to read the ingredient label the next time you reach for a container in the frozen aisle. If there are any ingredients you can’t pronounce or don’t come directly from nature and a cow, I’d leave it on the shelf. Oftentimes store-bought ice cream contains dyes, emulsifiers, gums, thickeners, mono and di-glycerides, etc. that all negatively interact with the digestive system and cause lots of health problems. This also includes non-dairy varieties as well.
The healthiest solution for you and your family is to make your own! This two ingredient homemade vanilla ice cream recipe is simple to make and lusciously delicious, which is why I’m passionate about families making their own. It leaves behind the chemicals and preservatives and puts the cream back in ice cream. It’s also flavored by sweetened condensed milk, which you can make at home as well.
Why You’ll Love This Recipe
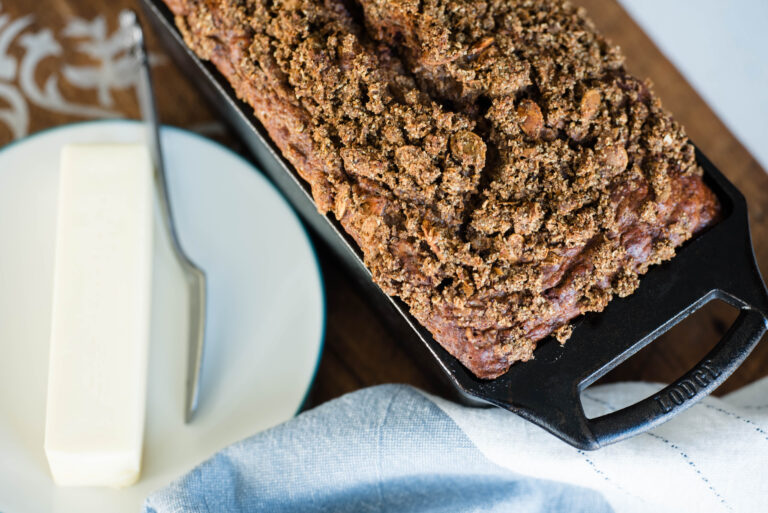
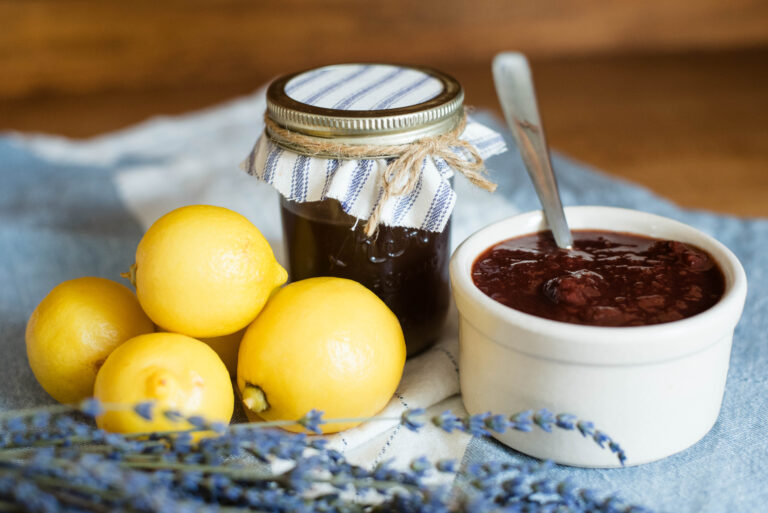
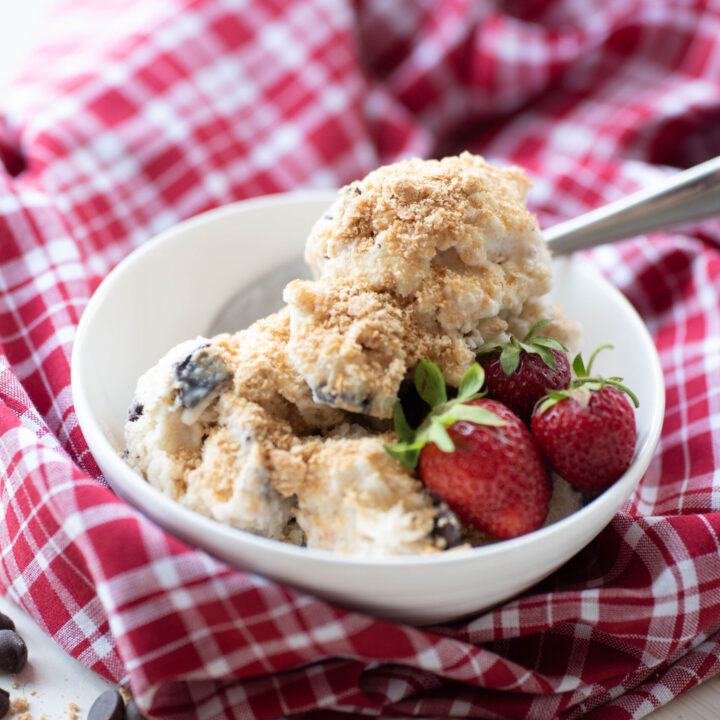
Delicious familiar flavor – Vanilla is one of the most widely recognized flavors of ice cream. This recipe highlights its simple, creamy texture and is perfect to eat all on it’s own. It also lends itself as the perfect base for a variety of mix-ins or toppings like chocolate sauce, strawberries or caramel.
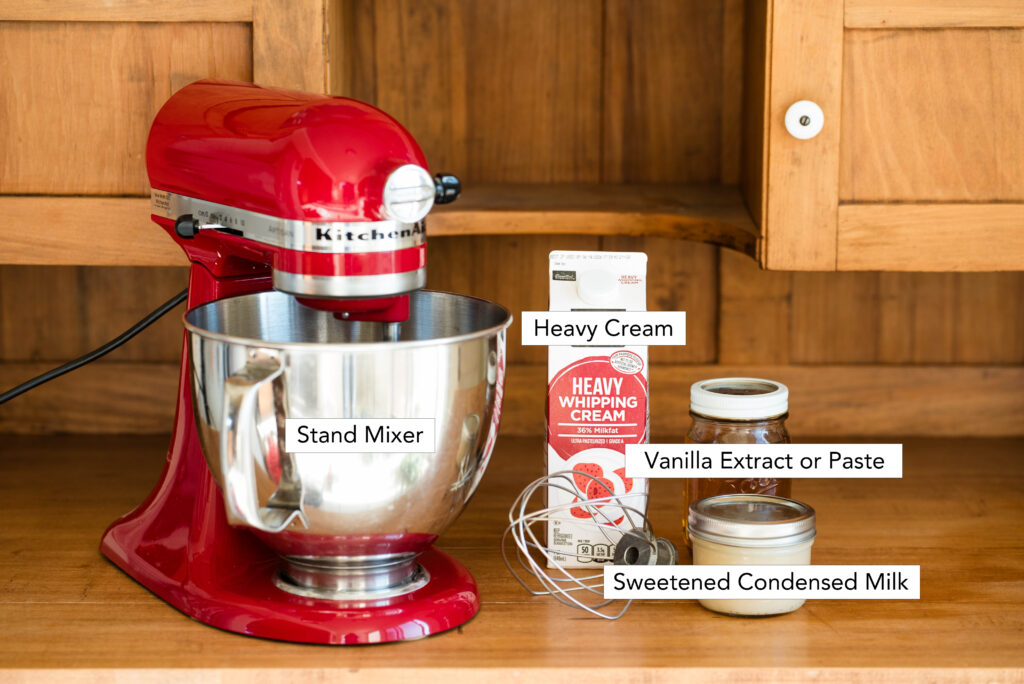
Simple ingredients – Real heavy whipping cream and sweetened condensed milk whip up the most indulgent ice cream you’ll ever have. Use raw or organic cream and make your own sweetened condensed milk to control the quality of the ingredients.
Quick no-churn method – Anyone can make this homemade ice cream recipe including super busy moms who still want to provide real nutrition for their kids. Simply scoop it into a pan and place in the freezer. You can still freeze it with a traditional churn or your favorite ice cream appliance, but this no-churn method is quick and hands-off.
Helpful Hints for the Best Homemade Vanilla Ice Cream
- Chill the bowl and whisk in the refrigerator for a minimum of 30 minutes before whipping the cream. This ensures a quick and easy process for the stiff peaks to form.
- Use one can of sweetened condensed milk for a lower-sugar ice cream or two if you like it sweeter.
- Since this is a no-churn method, it’s important to use heavy whipping cream for the best, most authentic creamy texture. Churning creates the light, fluffy texture that is most familiar to the palette. The whipping action replicates churning and the high fat content of heavy cream traps the air pockets. Anything with a lesser fat content won’t provide the same texture.
- Vanilla extract with real alcohol is an optional ingredient to prevent it from freezing too hard. Add a tablespoon of vanilla bean paste to boost the flavor even more.
- Gently stir in any add-ins like chocolate chips, nuts, strawberry jam, etc. right before placing ice cream in the freezer.
How to Make Homemade Vanilla Ice Cream
What You’ll Need
Step-by-Step Instructions
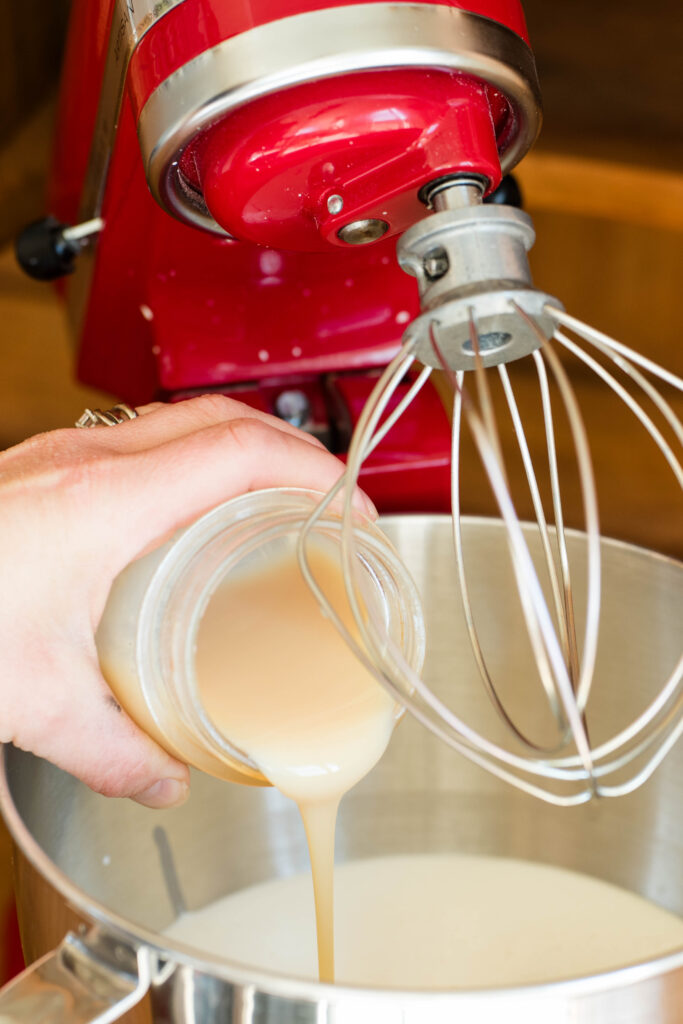
Pour heavy cream, sweetened condensed milk and vanilla into a stand mixer.
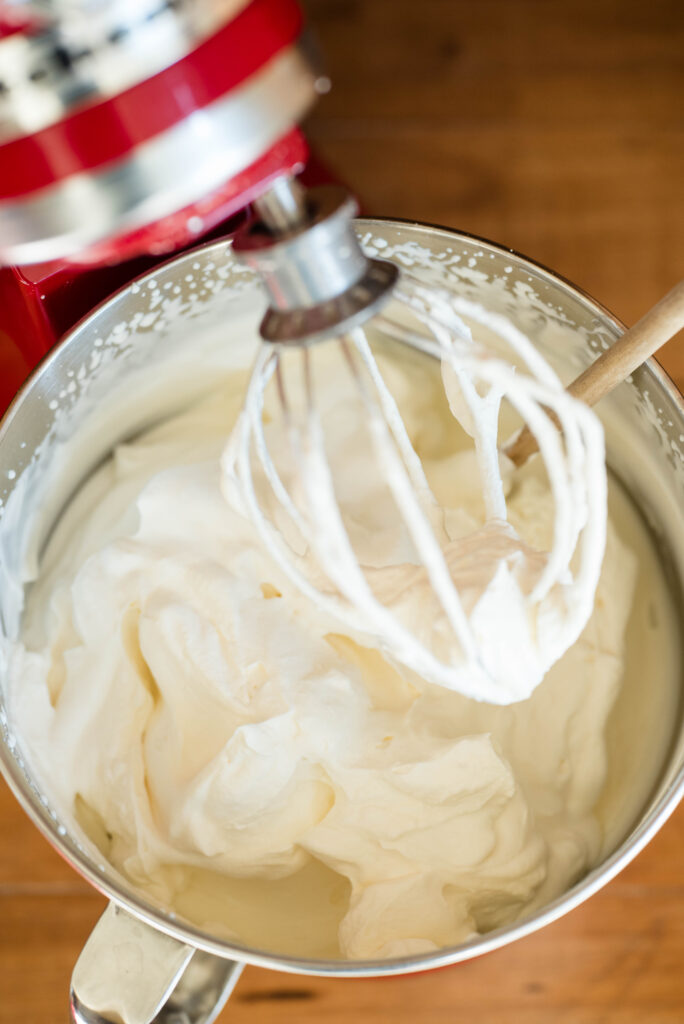
Whip together until stiff peaks form. Pause once to scrape the sides.
Start on low speed and slowly work up to a high speed to avoid splattering. Stop when the stiff peaks form or you’ll end up with butter.
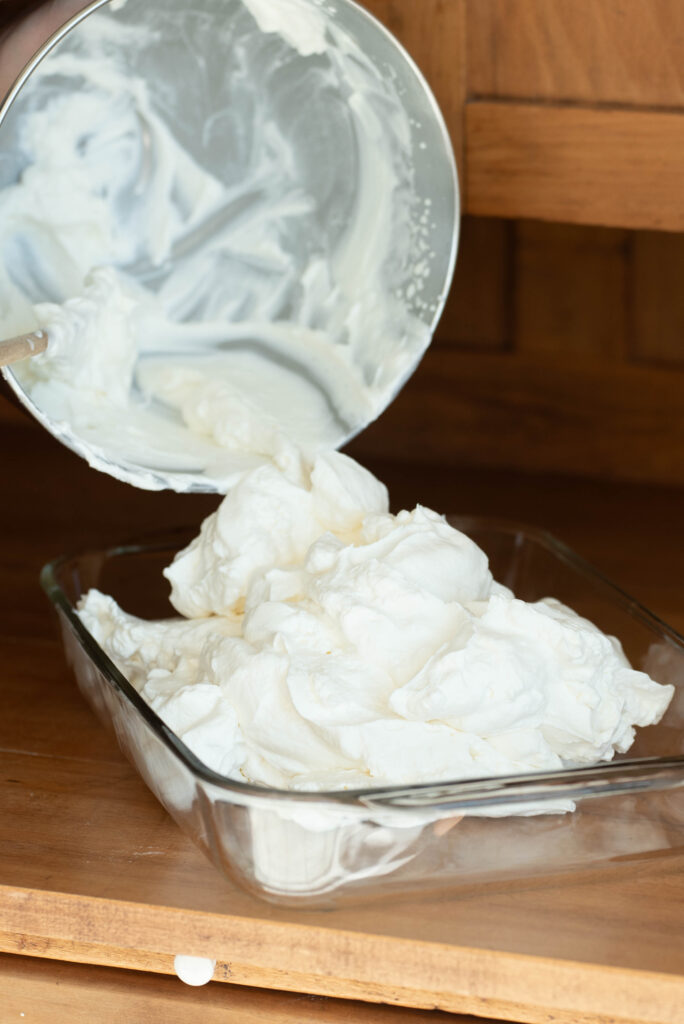
Pour mixture into a 9×13 cake pan and evenly spread it out.
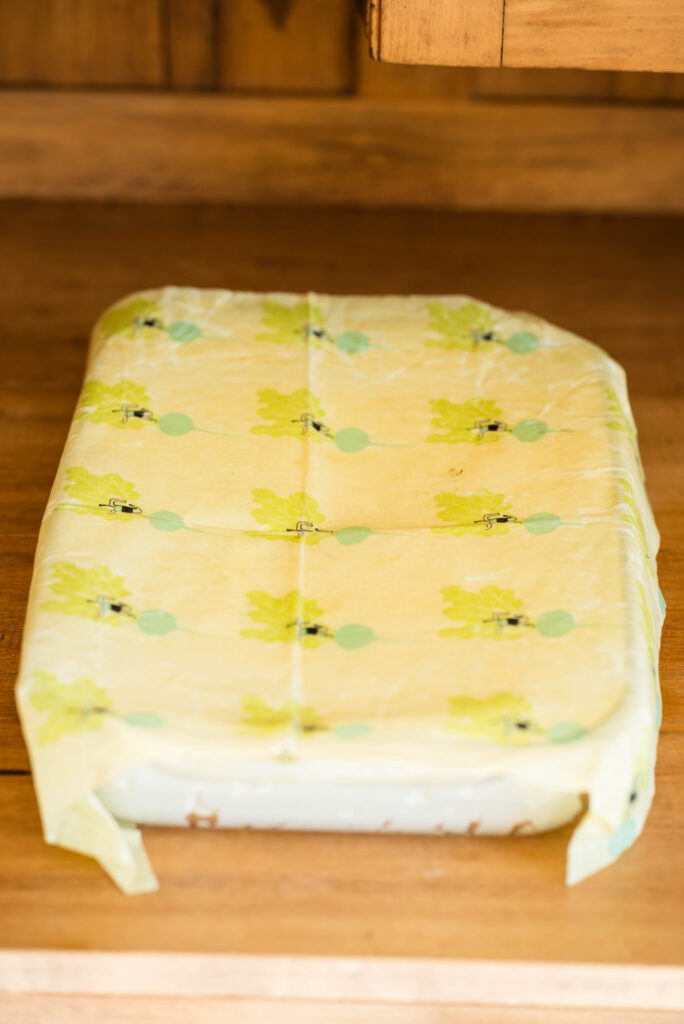
Cover tightly with beeswax or plastic wrap. Place in the freezer for 6-8 hours.
Or freeze with your favorite appliance or hand-churned bucket.
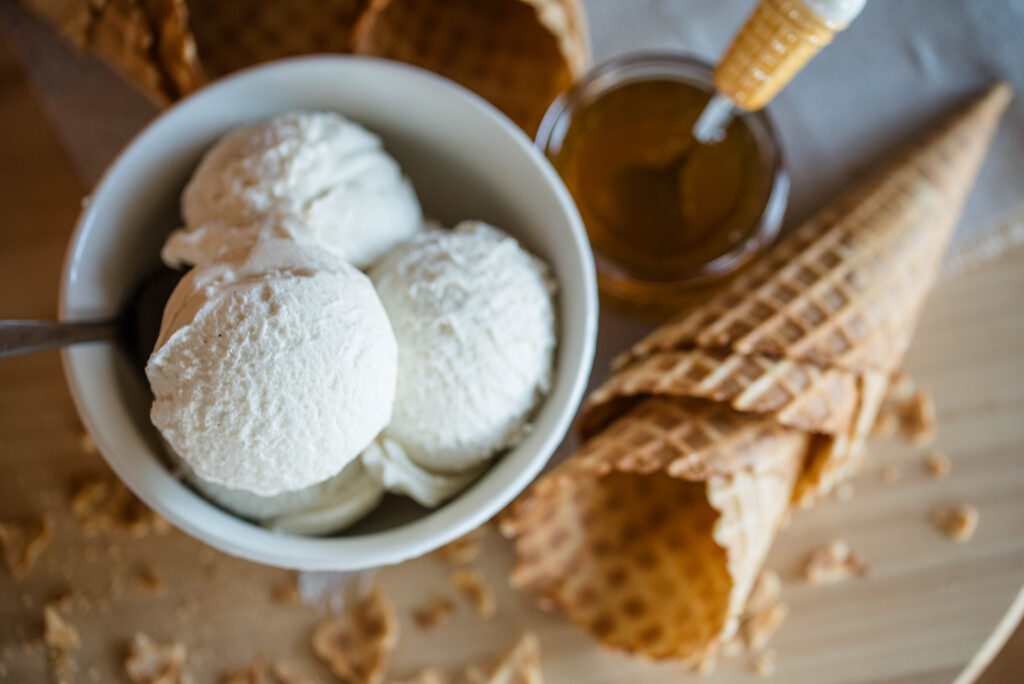
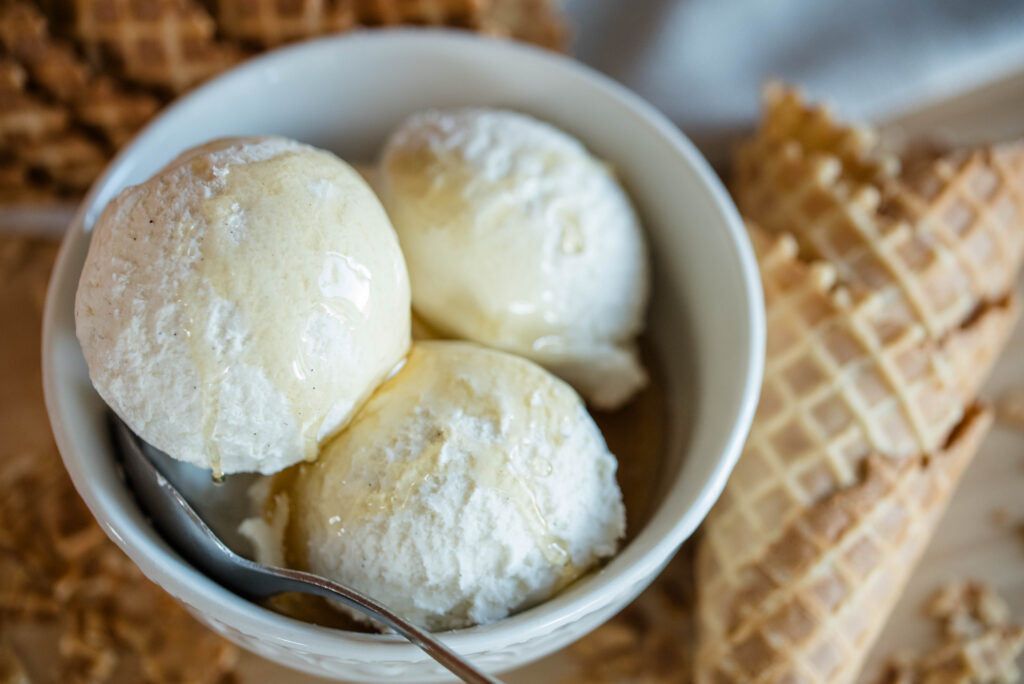
Remove from freezer and scoop into bowls or ice cream cones. Add your favorite toppings and enjoy!
FAQ’s
Is heavy whipping cream necessary or can another product be substituted?
Especially for a no-churn recipe, it’s important to use real heavy whipping cream with at least 36% milk fat. Anything less than that like half and half has too much water content and produces an icy product.
Is it okay to substitute another sugar product for the sweetened condensed milk?
Sweetened condensed milk is necessary for this no-churn ice cream recipe because it’s properties keep it soft and smooth. If you’re concerned about using store-bought, try my homemade sweetened condensed milk recipe. Other sweeteners create a hard solid product.
How long does homemade ice cream last in the freezer?
For the best flavor, consume within the first week. It will last up to 4 months otherwise.
More Recipes From Becky’s Kitchen
Hand-Churned Ice Cream: How to Use an Old-Fashioned Maker
How to Make Homemade Sweetened Condensed Milk
Simple to Make Fruit Pizza with Peaches and Grapes
Easy to Make Pumpkin Hand Pies with Honey Icing
How to Make Buttery Soft Lemon-Lavender Linzer Cookies
If you try this recipe and love it, come on back and leave it a 5-star review! Tag me with your photos on Instagram @beckybuttlesamericana
Thanks for stopping by my blog! Have a blessed day –Becky
Homemade Vanilla Ice Cream
This homemade vanilla ice cream recipe is classically delicious and perfect for all your dessert needs. It's lightly sweet and creamy with a subtle kiss of vanilla. A no-churn method makes it an uncomplicated process that anyone can quickly whip together. And without all the unhealthy ingredients of store-bought, it's simple nature lends itself to endless scoops of delicious creativity.
Ingredients
- 1 quart heavy whipping cream
- (1-2) 14 oz. can(s) sweetened condensed milk or homemade equivalent (depending on how sweet you want it to be)
- 1 tablespoon vanilla extract or paste (optional)
Instructions
- Pour heavy cream, sweetened condensed milk and vanilla into a stand mixer.
- Whip together until stiff peaks form. Pause once to scrape the sides.
Start on low speed and slowly work up to a high speed to avoid splattering. Stop when the stiff peaks form or you'll end up with butter. - Pour mixture into a 9x13 cake pan and evenly spread it out.
- Cover tightly with beeswax or plastic wrap. Place in the freezer for 6-8 hours. Or freeze with your favorite appliance or hand-churned bucket.
- Remove from freezer and scoop into bowls or ice cream cones. Add your favorite toppings and enjoy!
Notes
- Chill the bowl and whisk in the refrigerator for a minimum of 30 minutes before whipping the cream. This ensures a quick and easy process for the stiff peaks to form.
- Use one can of sweetened condensed milk for a lower-sugar ice cream or two if you like it sweeter.
- Since this is a no-churn method, it's important to use heavy whipping cream for the best, most authentic creamy texture. Churning creates the light, fluffy texture that is most familiar to the palette. The whipping action replicates churning and the high fat content of heavy cream traps the air pockets. Anything with a lesser fat content won't provide the same texture.
- Vanilla extract with real alcohol is an optional ingredient to prevent it from freezing too hard. Add a tablespoon of vanilla bean paste to boost the flavor even more.
- Gently stir in any add-ins like chocolate chips, nuts, strawberry jam, etc. right before placing ice cream in the freezer.
I’m a wife and homemaker inspiring old-fashioned skills for a homemade, self-sufficient lifestyle, always with a warm beverage in hand. Homemade Recipes. Gardening. Preserving. Healthy Living.
Want More Recipes from Becky?
Sign up to receive exclusive recipes only for subscribers! Plus you’ll get the latest blog posts straight to your inbox!