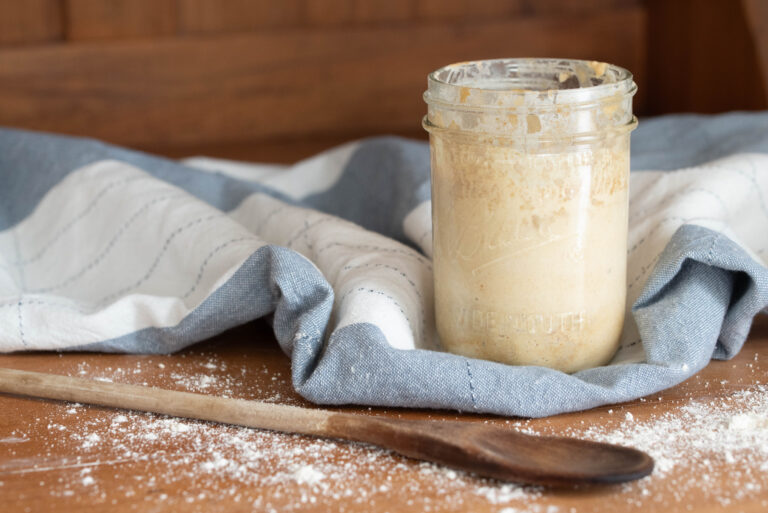
Fermented Garlic | A Simple How-to Guide with 2 Techniques
Fermented garlic is easy to make and bursts with amazing savory flavor. With a subtler profile than fresh cloves, it’s perfect for all your cooking needs and its probiotic nature adds a healthier touch to your meals. It stores long-term and ensures no beautiful bulb of garlic goes to waste.
This past week, I pulled up my first successful garlic harvest from my own garden. I still can’t believe the layout of beautiful bulbs drying on my dining room table.
Spoilage though, is my next challenge. This year, I’ve turned to fermenting a lot of my garden harvests because it’s quicker and easier than canning, plus it better retains nutrients.
The biggest issue with healthy eating is removing the roadblocks that prevent people from cooking and preserving their own food. Fermenting, especially garlic, is something anyone can do even if you’re a busy mom that works outside the home and drives kiddos to nightly activities.
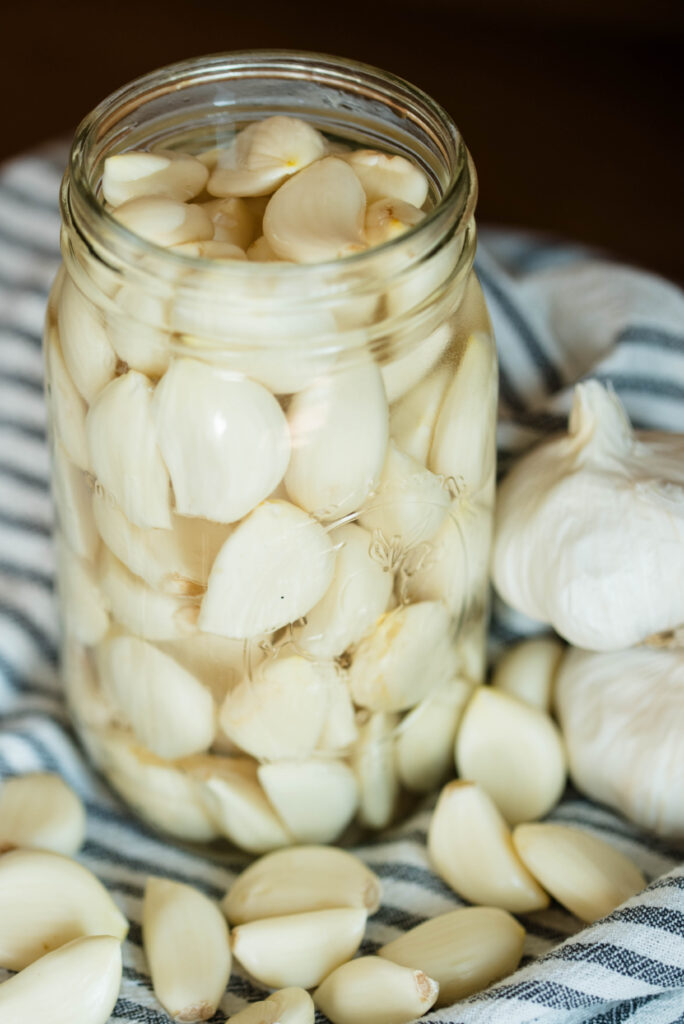
The garlic you’ll see in the photos below took me about an hour to peel and five minutes to cover with brine and honey. I peeled myself, but if you enlist the help of family, it’ll take half the time or less. I estimate I have enough garlic to last through next spring. That’s a quick time investment for a large return on product. Plus you’ll save time when you cook because the garlic is already peeled.
Fresh grown garlic isn’t something you need to grow yourself, although I will say it’s quite satisfying! Now is the time to head to farm stands and farmer’s markets to buy in bulk. The taste of fresh grown far outweighs what you’ll find year round in the grocery stores.
Why Ferment Garlic?
Long-term storage – One way to save money on the grocery budget is to grow your own food or purchase bulk produce in season. Either way you go, there’s an abundance of garlic right now in July. Fermenting your garlic ensures it doesn’t spoil and lasts all year long until the next season.
Healthy probiotic boost – Fresh or fermented, garlic is a gut-friendly powerhouse. When it’s fermented and eaten in homemade salad dressings, for example, it gives meals a probiotic lift for better digestion. Garlic is often considered a natural antibiotic and so is raw honey. Combined they are highly effective at warding off illness or subduing the effects.
5-star restaurant flavor – Fermented garlic adds a 5-star restaurant quality to your kitchen at home. Many people skip eating out these days due to the cost and unhealthy ingredients. Recreate upscale meals at home with fermented garlic, especially if you ferment it with herbs, fresh lemon, etc. Money saved, healthier ingredients and amazing flavor all sounds like a perfect 5-star foodie experience right in the comfort of your own home!
5 Tips for Perfect Fermented Garlic
- Start with clean, sterilized equipment. This includes jars, lids and bands, glass weights, cutting boards and knives, bowls and measuring spoons. Wash in hot soapy water and run them through the rinse cycle in the dishwasher to sanitize. Or sanitize in a water bath canner or large saucepan on the stovetop. Sanitization means to heat up equipment to kill unwanted bacteria, which prevents mold in the fermented product.
- It’s super important to use the proper ingredients for a successful final product. The goal is long-term storage without spoilage. Keep reading down below for more detailed explanations for each ingredient.
- The amount of salt and water needed depends on the size of the jar you’re using. For a quart-sized jar of fermented garlic, use a pint-sized jar amount for the saltwater brine. For a half-gallon jar, use a quart-sized jar for the brine. Top off with additional water to fully submerge the garlic.
- The perfect jar of fermented garlic needs a strong enough saltwater brine to prevent spoilage and store long-term. Always use the 2% rule. Use 2% (0.02) salt weight of the total amount of garlic used. That’s why a digital scale is highly recommended for fermenting food.
- A glass fermentation weight helps keep the garlic under the brine, which prevents possible molding. While helpful and convenient, they’re not necessary for a successful ferment. They cost money and I don’t want that to be the reason someone doesn’t try fermenting produce. Instead, use wide-mouth jars for the garlic and insert a little quarter-pint sized jar on top to keep the garlic submerged. Honey fermented garlic does not need to be fully submerged.
- The ambient temperature of the room determines how fast your garlic will ferment. The warmer the room, the quicker the fermentation process.
Ingredients for Fermented Garlic
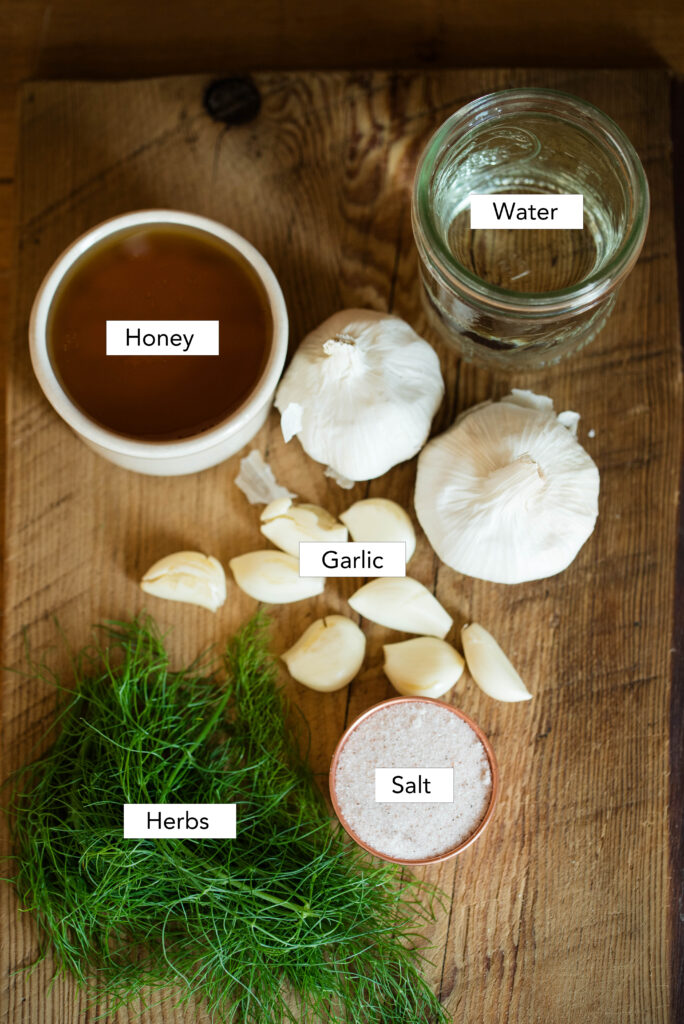
Fresh garlic – Only use fresh garlic for fermentation. Frozen or dehydrated garlic does not contain the microbes on the surface required for proper fermentation.
Non-iodized sea salt – THIS IS CRITICAL. Yes, it’s that important! Proper fermentation requires non-iodized sea salt such as Redmond Real Salt. It’s available for purchase at most major grocery stores or online. Regular iodized salt does not contain naturally occurring minerals, it has anti-caking agents and preservatives and the iodine kills microbes, which prohibits fermentation.
Filtered water – This is another important ingredient not to overlook. DO NOT USE TAP WATER from a city or township municipality. The water is treated with all sorts of chemicals including chlorine, which also kills microbes and prevents proper fermentation. In full transparency though, I do use well water from our tap unfiltered with great results.
Raw honey – Not all honey is created equal. Raw unpasteurized honey is required because again, it contains living microbes to properly ferment the garlic.
Optional flavor additions – Be creative and add some flavor to your ferment especially the lacto-fermented garlic. Fresh lemon slices, whole black peppercorns, dill and fennel all come to mind. Think about what pairs well with garlic and go for it!
Equipment Needed for Fermenting Garlic
Cutting board and knife
Glass jars (preferably wide-mouth) with lids and bands
Digital scale, mixing bowl and measuring spoons
Glass fermentation weights or quarter-size pint jars
How to Make Fermented Garlic
Step-by-Step Instructions
Technique 1: Saltwater Brine (Lacto-Fermented Method)
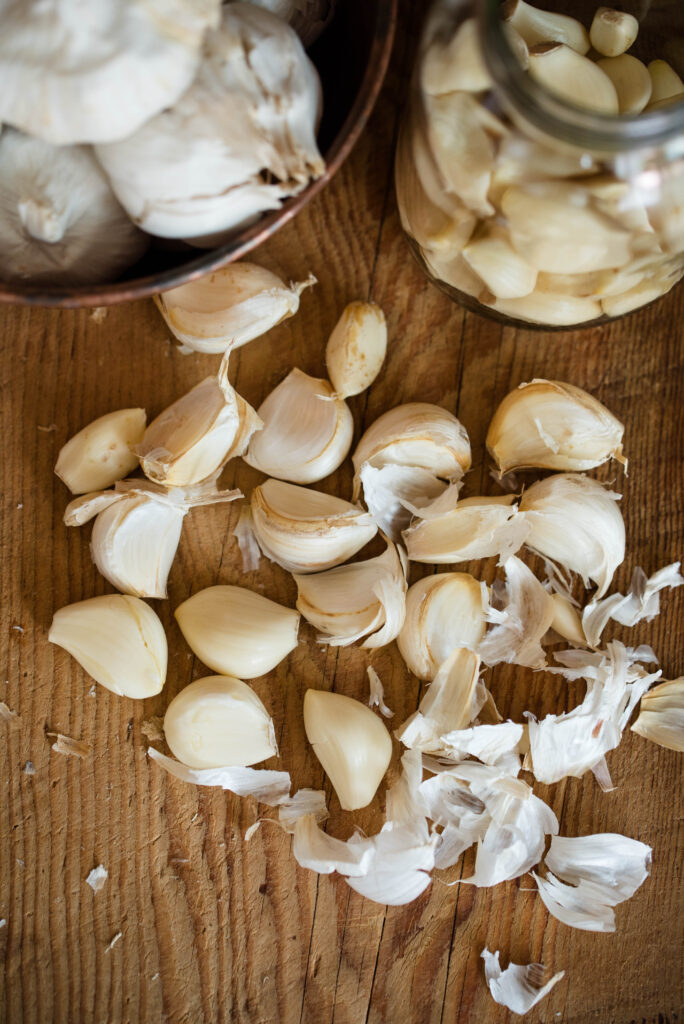
1.) Peel the skins off each individual clove of garlic.
To make it easier, gently push down on each clove with the skins still on using the back of a large knife. This loosens the skin and makes peeling simple and quick.
Set skins aside in the freezer for homemade broth.
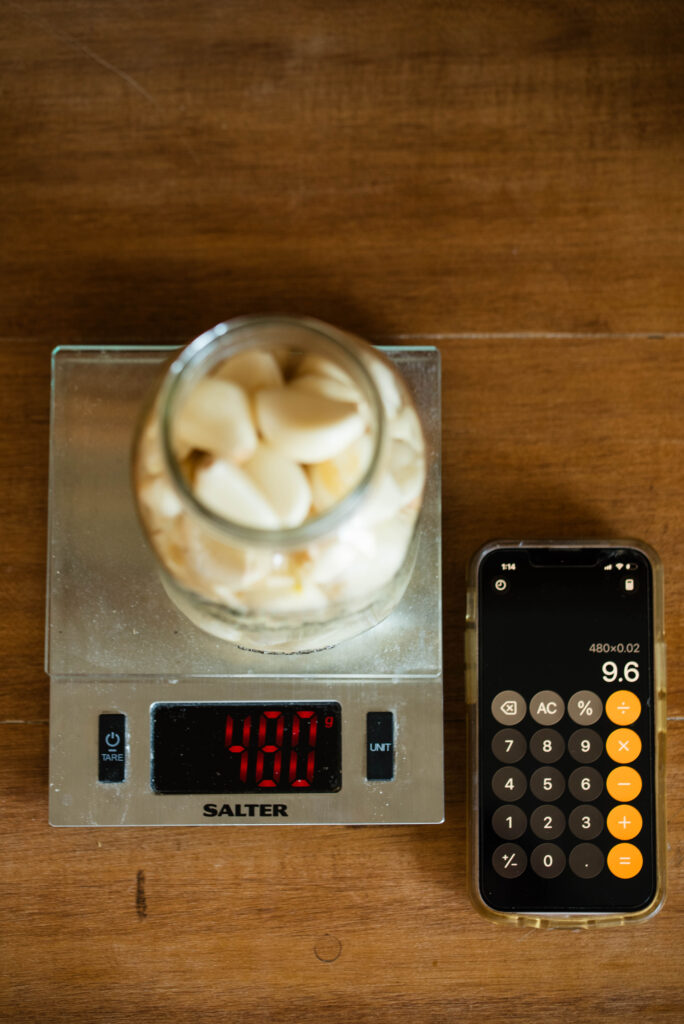
2.) Next, weigh the amount of garlic in each jar in grams.
Multiply that amount by 2% (0.02). That is the amount of grams in salt needed to properly ferment the garlic for long-term storage.
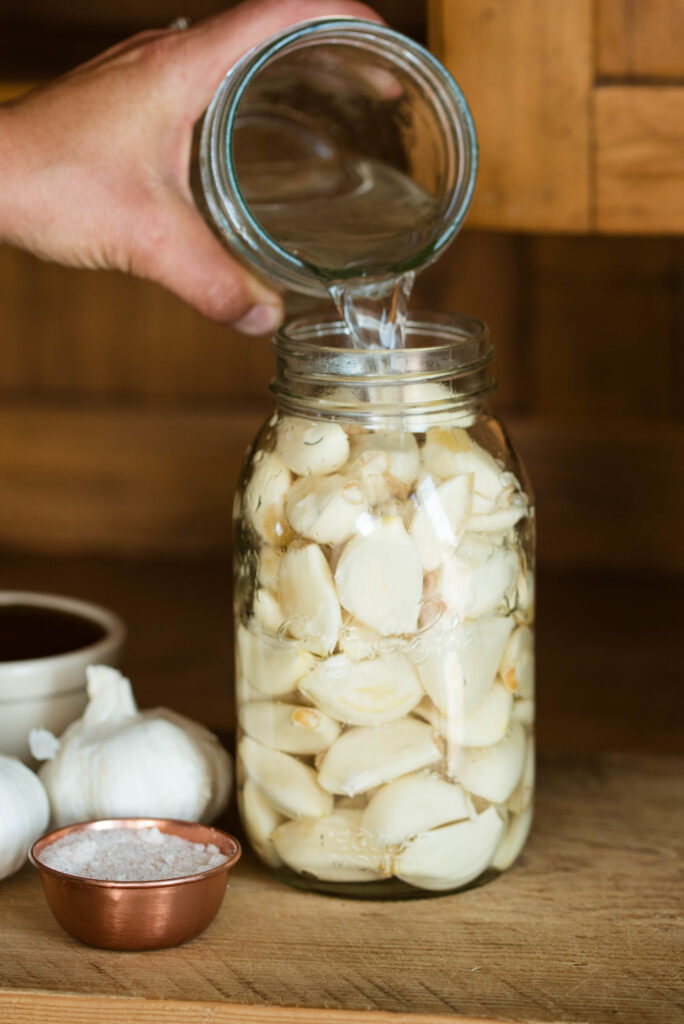
3.) Add salt to another jar and fill with filtered water.
Cover and shake until salt dissolves. Pour over jar of garlic cloves. Top off with more water to completely cover all the garlic with liquid.
**See notes about how much water to use.**
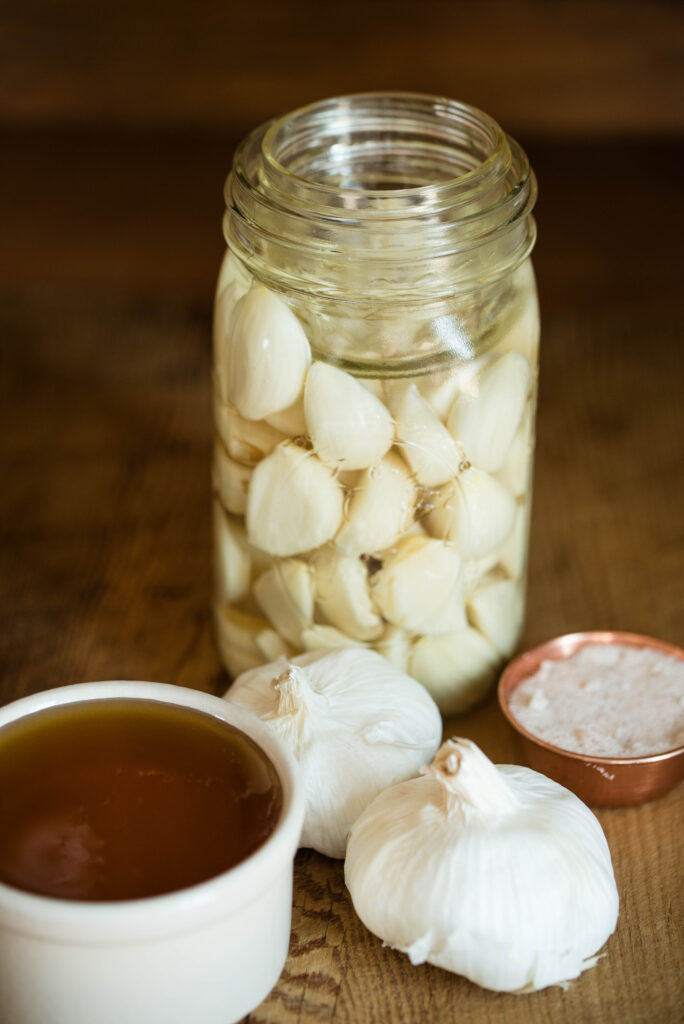
4.) Keep garlic submerged under the brine with a glass fermentation weight.
Loosely cover the jar with a lid or a cheese cloth and rubber band.
Set aside on a countertop out of the sunlight to ferment. Bubbles on the surface indicate fermentation.
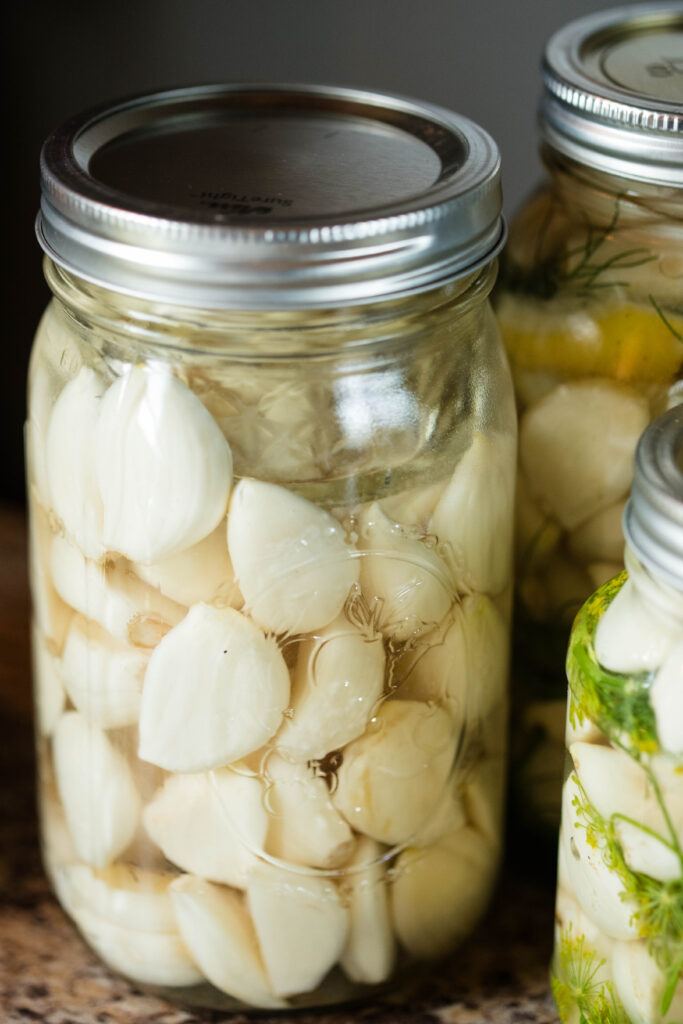
5.) After 2-3 days of active fermentation, garlic is ready for long term storage.
Store in a dark cupboard or pantry out of sunlight or in a refrigerator.
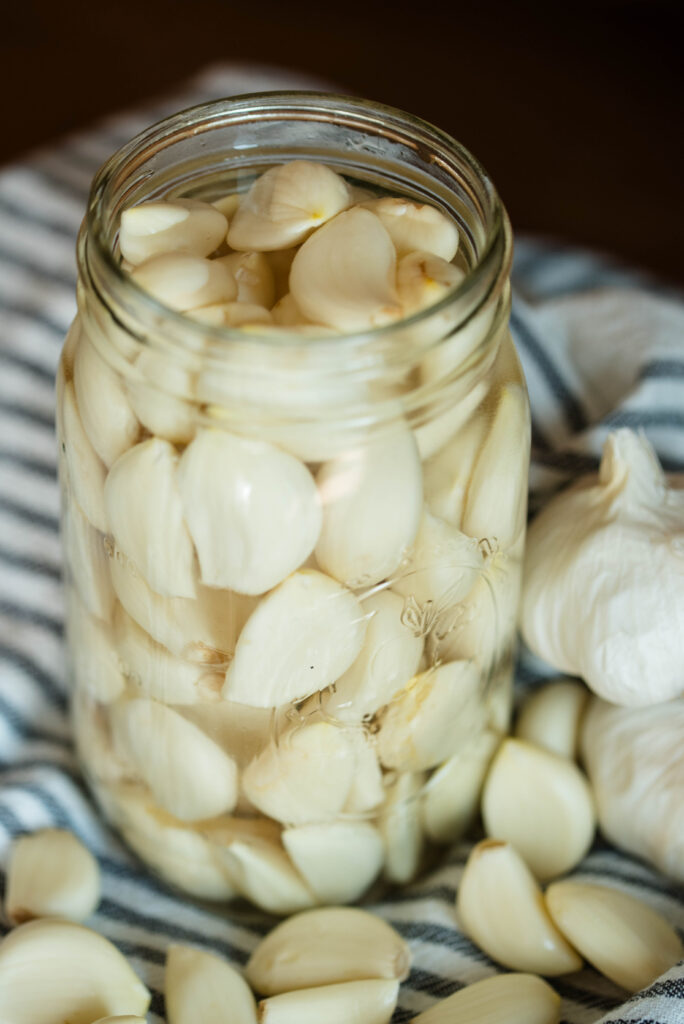
6.) Use garlic as needed for cooking. Enjoy!
Technique 2: Honey Fermented Garlic
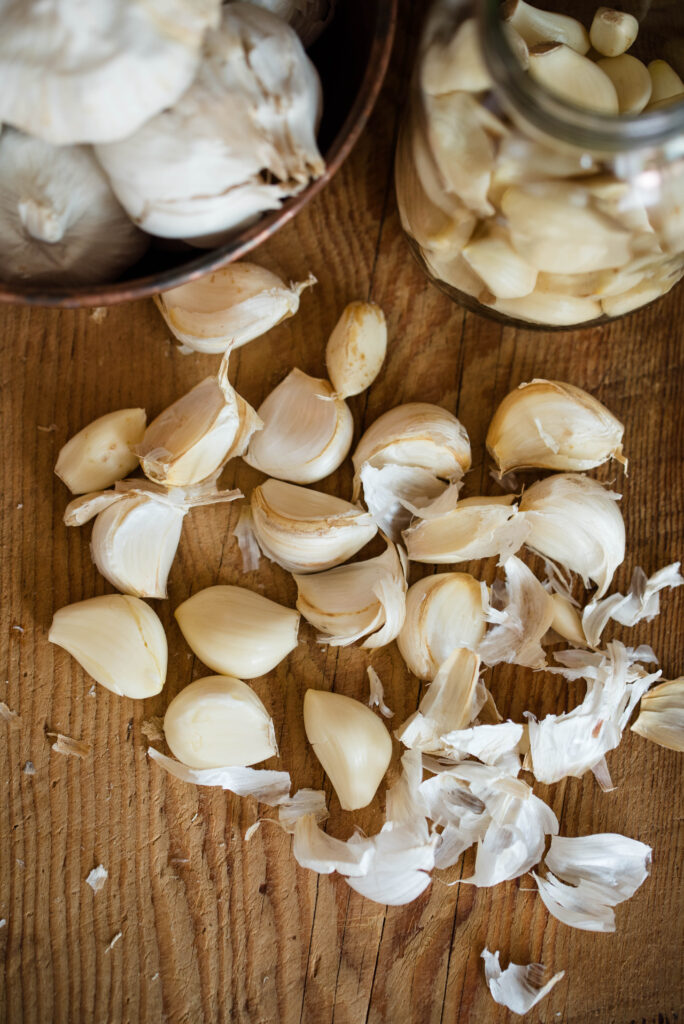
1.) Peel the skins off each individual clove of garlic.
To make it easier, gently push down on each clove with the skins still on using the back of a large knife. This loosens the skin and makes peeling simple and quick.
Set skins aside in the freezer for homemade broth.
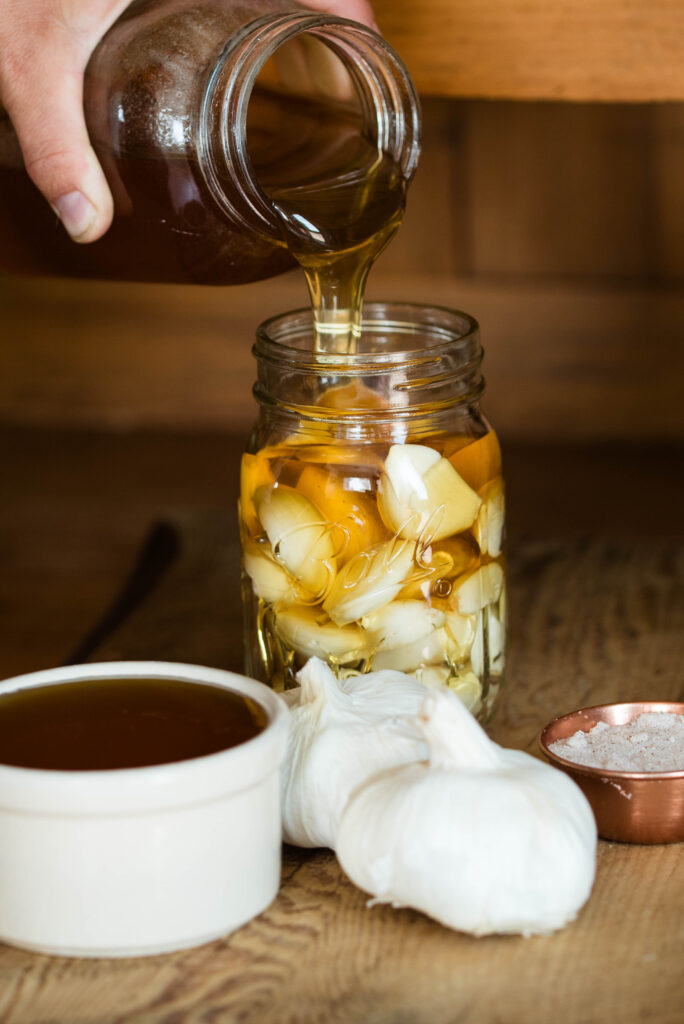
2.) Place the desired amount of garlic cloves in a glass jar. Garlic does not need weighing.
Pour honey over garlic until it covers all the cloves. Stir until all cloves are coated with honey.
Garlic does not need to stay submerged below the honey.
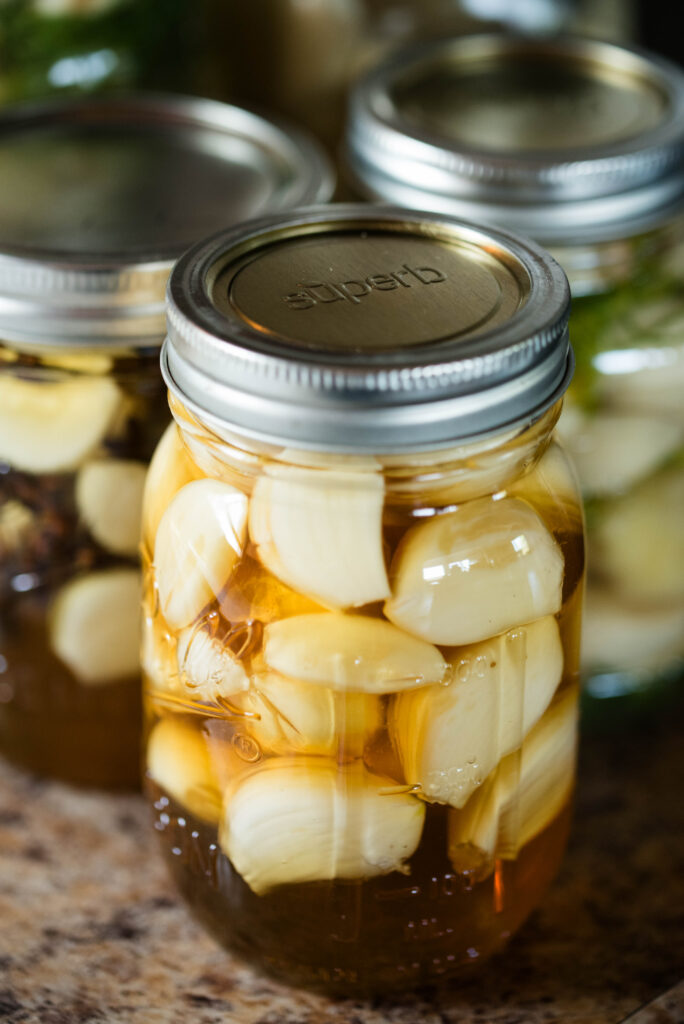
3.) Loosely cover with a lid and set jar aside on a countertop out of the sunlight.
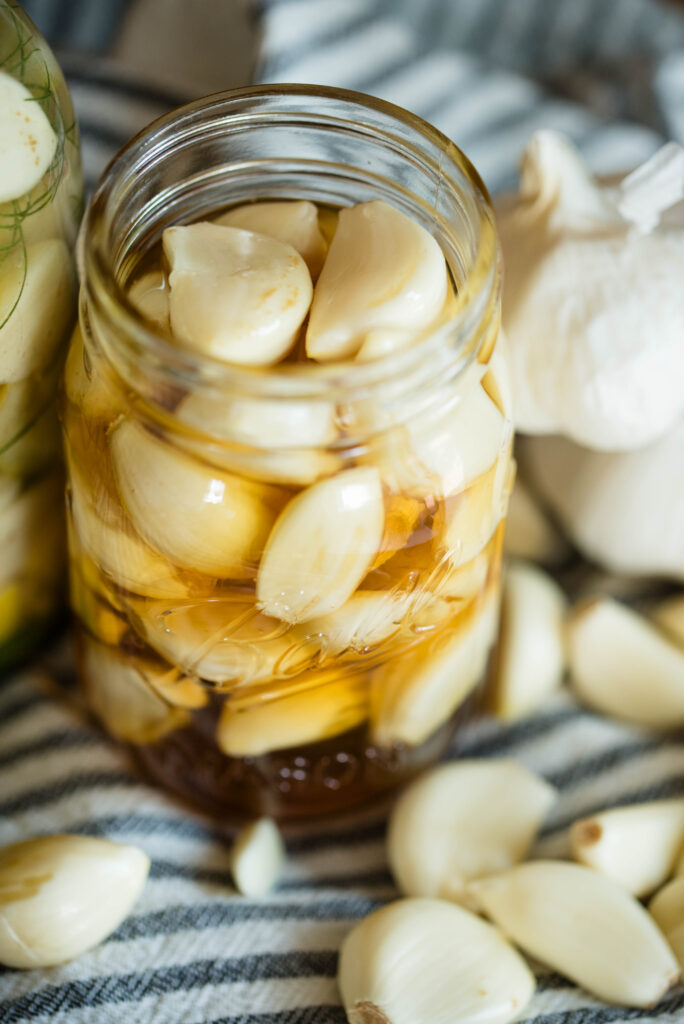
Shake or stir garlic and honey every few days for the first couple of weeks. Mixture is thick at first and eventually becomes runnier the longer it sits.
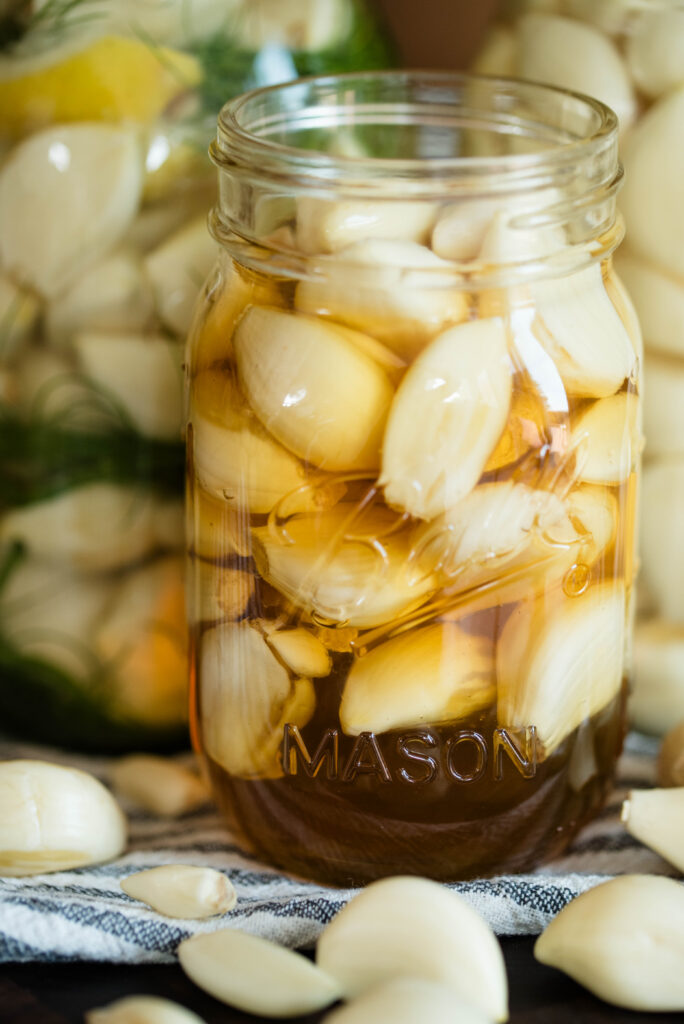
4.) After the first two weeks, store garlic and honey inside a dark cupboard or pantry.
Use as needed for cooking or during an illness.

FAQ’s About Fermented Garlic
Can frozen or dehydrated garlic be fermented?
No, it is best to use fresh, raw garlic for proper fermentation, whether you’re lacto-fermenting with salt or using honey. Fermentation relies on the naturally occurring microbes on the surface of fresh produce. Freezing kills these microbes and dehydrating prevents the microbes from multiplying.
Does fermented garlic taste the same as fresh?
Fermented garlic has a more subdued taste than fresh garlic. If you use it for cooking, you may want to add extra for the same flavor profile as fresh.
Does fermented garlic spoil?
No, when proper steps are followed fermented garlic does not spoil. If mold appears on the surface, gently scoop away. To be even safer, toss out the top layer of garlic. The rest of the jar is safe to use. **When in doubt, it’s safest to discard and avoid food poisoning.**
Why did my honey fermented garlic turn to a dark color?
Over time, honey fermented garlic turns a dark, almost black color due to enzymatic reactions between the sulfur and amino acids of garlic inside the acidic environment. It is perfectly safe to consume.
More Summertime Recipes From Becky’s Kitchen
How to Use a Pressure Canner | Canning Dry Beans 101
The Best Homemade Barbecue Sauce with Rhubarb
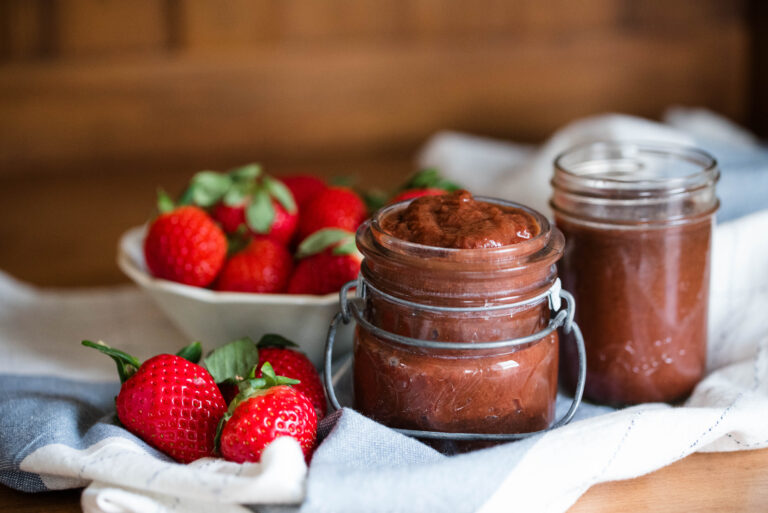
Easy Fermented Strawberries with Honey | 3 Methods to Preserve
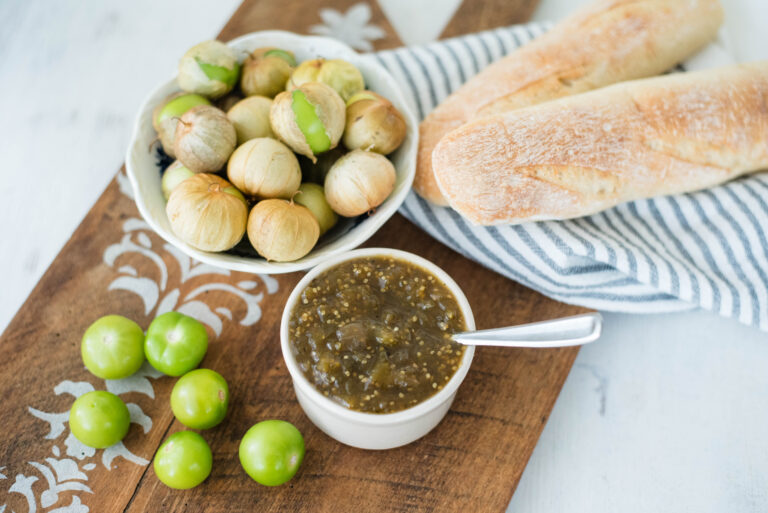
Small-Batch Tomatillo Jam | Easy to Make with 4 Ingredients
Thank you for stopping by my blog! If you make these delicious fermented garlic recipes and love them, please come on back and leave it a 5-star review! Tag me with your photos on Instagram @beckybuttlesamericana
Happy Fermenting! –Becky
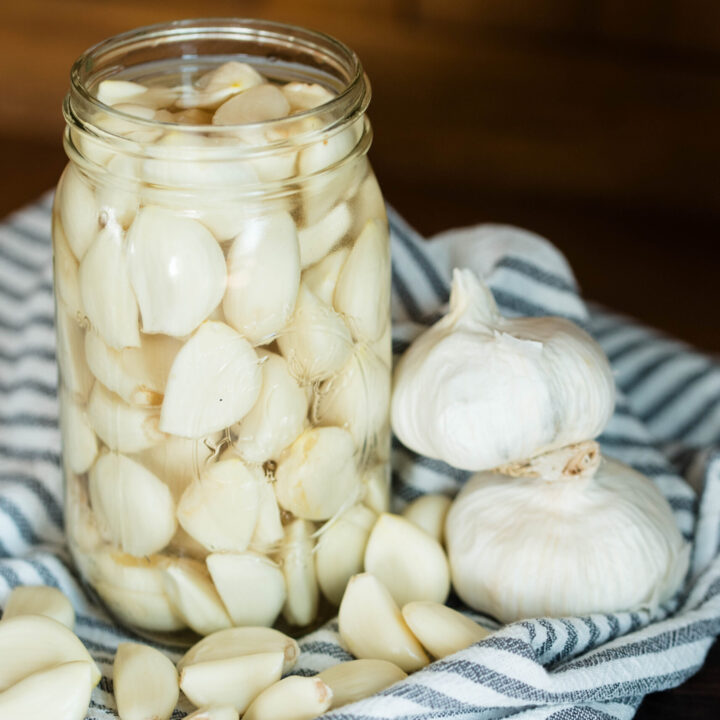
How to Make Fermented Garlic | 2 Easy Preservation Techniques
Fermented garlic is easy to make and bursts with amazing savory flavor. With a subtler profile than fresh cloves, it's perfect for all your cooking needs and its probiotic nature adds a healthier touch to your meals. It stores long-term and ensures no beautiful bulb of garlic goes to waste!
Ingredients
- 480 grams fresh garlic
- 10 grams high-quality sea salt
- Filtered water (pint-sized jar amount)
- Raw honey-enough to completely cover garlic
- Herbs and spices for flavoring (optional)
Instructions
Technique 1: Saltwater Brine (Lacto-Fermented Method)
1.) Peel the skins off each individual clove of garlic.
To make it easier, gently push down on each clove with the skins still on using the back of a large knife. This loosens the skin and makes peeling simple and quick. Set skins aside in the freezer for homemade broth.
2.) Next, weigh the amount of garlic in each jar in grams.
Multiply that amount by 2% (0.02). That is the amount of grams in salt needed to properly ferment the garlic for long-term storage.
3.) Add salt to another jar and fill with filtered water.
Cover and shake until salt dissolves. Pour over jar of garlic cloves. Top off with more water to completely cover all the garlic with liquid.
**See notes about how much water to use.**
4.) Keep garlic submerged under the brine with a glass fermentation weight.
Loosely cover the jar with a lid or a cheese cloth and rubber band.
Set aside on a countertop out of the sunlight to ferment. Bubbles on the surface indicate fermentation.
5.) After 2-3 days of active fermentation, garlic is ready for long term storage.
Store in a dark cupboard or pantry out of sunlight or in a refrigerator.
6.) Use garlic as needed for cooking. Enjoy!
Technique 2: Honey Fermented Garlic
1.) Peel the skins off each individual clove of garlic.
To make it easier, gently push down on each clove with the skins still on using the back of a large knife. This loosens the skin and makes peeling simple and quick.
Set skins aside in the freezer for homemade broth.
2.) Place the desired amount of garlic cloves in a glass jar. Garlic does not need weighing.
Pour honey over garlic until it covers all the cloves. Stir until all cloves are coated with honey.
Garlic does not need to stay submerged below the honey.
3.) Loosely cover with a lid and set jar aside on a countertop out of the sunlight.
Shake or stir garlic and honey every few days for the first couple of weeks. Mixture is thick at first and eventually becomes runnier the longer it sits.
4.) After the first two weeks, store garlic and honey inside a dark cupboard or pantry.
Use as needed for cooking or during an illness.
Notes
5 Tips for Perfect Fermented Garlic
Start with clean, sterilized equipment. This includes jars, lids and bands, glass weights, cutting boards and knives, bowls and measuring spoons. Wash in hot soapy water and run them through the rinse cycle in the dishwasher to sanitize. Or sanitize in a water bath canner or large saucepan on the stovetop. Sanitization means to heat up equipment to kill unwanted bacteria, which prevents mold in the fermented product.
It's super important to use the proper ingredients for a successful final product. The goal is long-term storage without spoilage. Keep reading down below for more detailed explanations for each ingredient.
The amount of salt and water needed depends on the size of the jar you're using. For a quart-sized jar of fermented garlic, use a pint-sized jar amount for the saltwater brine. For a half-gallon jar, use a quart-sized jar for the brine. Top off with additional water to fully submerge the garlic.
The perfect jar of fermented garlic needs a strong enough saltwater brine to prevent spoilage and store long-term. Always use the 2% rule. Use 2% (0.02) salt weight of the total amount of garlic used. That's why a digital scale is highly recommended for fermenting food.
A glass fermentation weight helps keep the garlic under the brine, which prevents possible molding. While helpful and convenient, they're not necessary for a successful ferment. They cost money and I don't want that to be the reason someone doesn't try fermenting produce. Instead, use wide-mouth jars for the garlic and insert a little quarter-pint sized jar on top to keep the garlic submerged. Honey fermented garlic does not need to be fully submerged.
The ambient temperature of the room determines how fast your garlic will ferment. The warmer the room, the quicker the fermentation process.

I’m a wife and homemaker inspiring old-fashioned skills for a homemade, self-sufficient lifestyle, always with a warm beverage in hand. Homemade Recipes. Gardening. Preserving. Healthy Living.
Want More Recipes from Becky?
Sign up to receive exclusive recipes only for subscribers! Plus you’ll get the latest blog posts straight to your inbox!