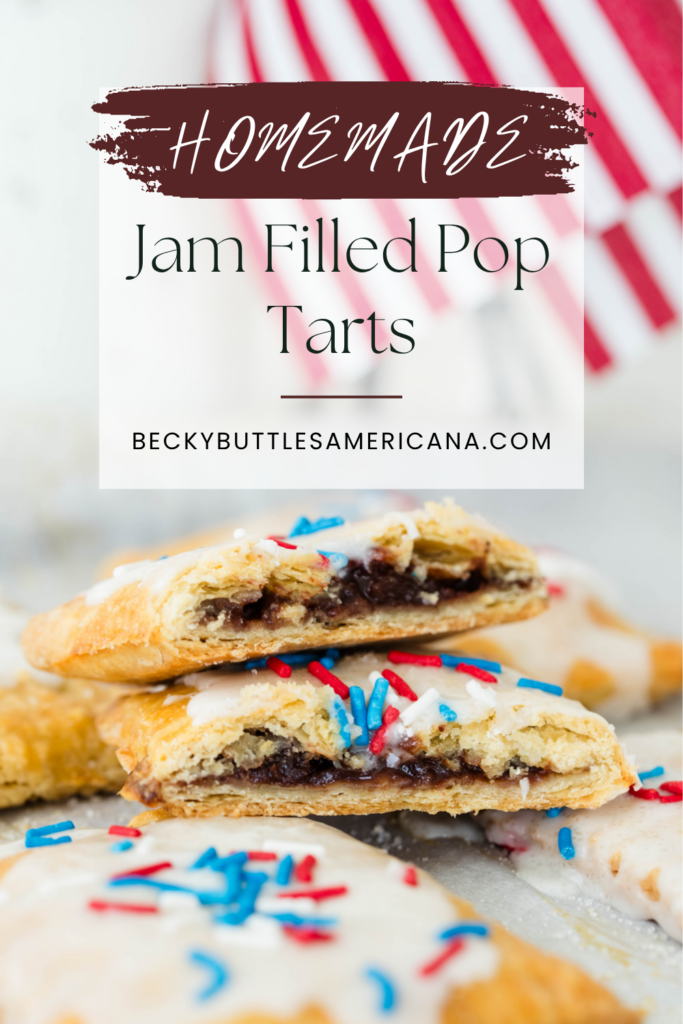
Jam-Filled Pop-Tarts | From Scratch and Easy to Make
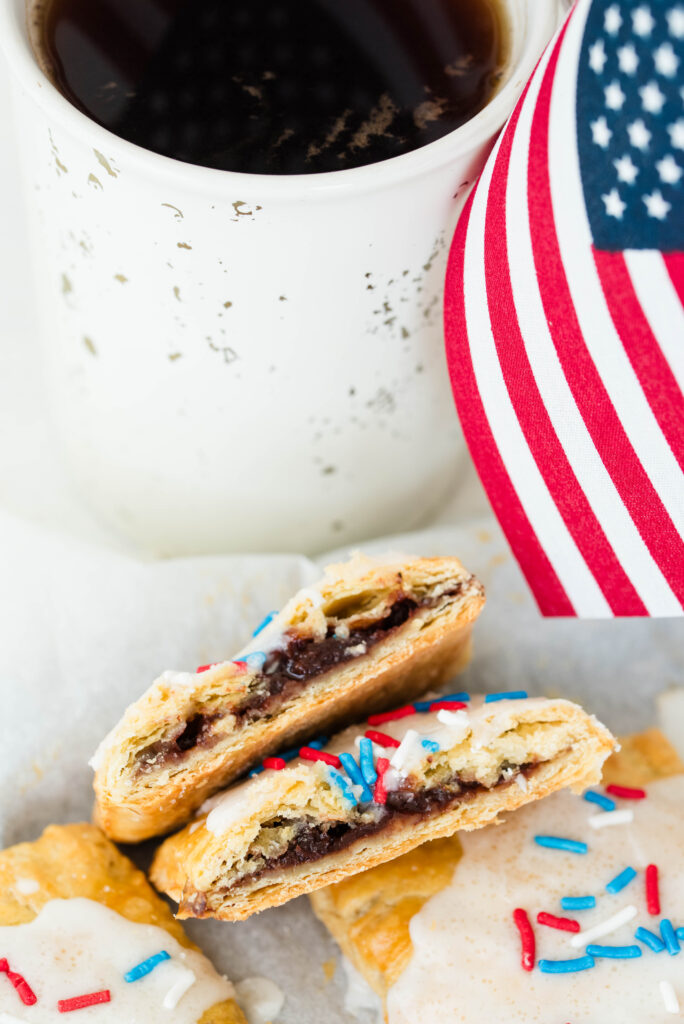
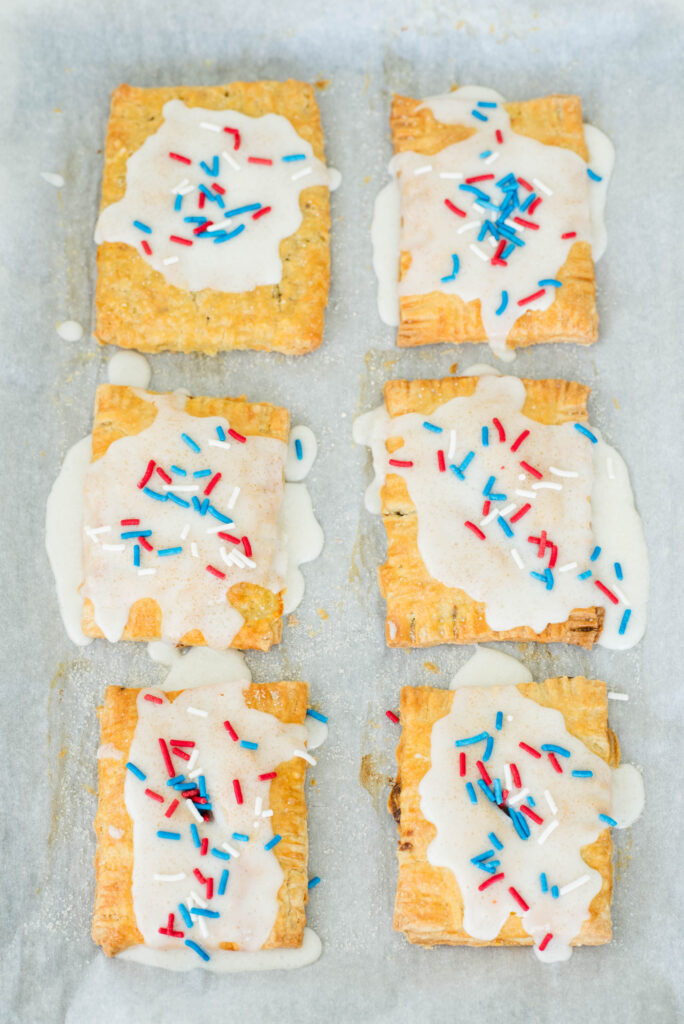
Homemade jam filled pop tarts feature a soft and buttery pastry filled with a dollop of jam and highlighted with a subtle layer of icing and sprinkle of sugar on top. Bring an irresistible plate of sweet nostalgia to your 4th of July picnic this summer or keep a batch on hand for an easy-to-grab snack for the kids. This homemade version will soon become your family’s favorite request!
Sweets are a big deal around here, especially for Luke. I may or may not have stolen his heart when we met with a good meal and a special Pinterest treat or two! After all, a way to a man’s heart is through his stomach.
Since those days, I’ve learned if I don’t keep a steady stash of homemade goodies around, he will go buy unhealthy store-bought varieties. Well, that is definitely not an acceptable option for me, so upping my baking skills is in my best interest. I was inspired a couple years ago to make him homemade pop tarts because I can individually wrap them and he can easily keep them at work.
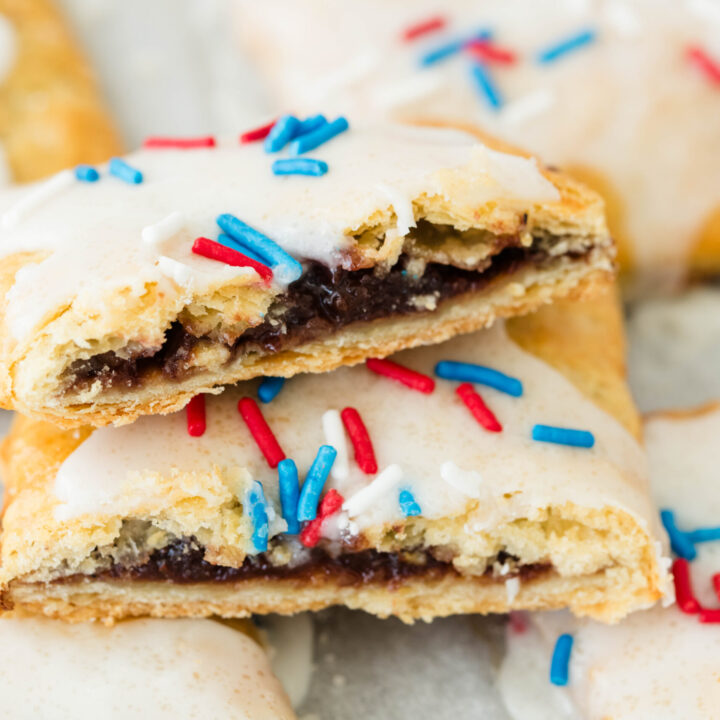
Coupled with my love of jam making, these jam filled pop tarts go hand-in-hand. A spoonful of homemade strawberry jam surrounded by a perfect flaky pastry shell creates quite an amazing treat! If you can’t tell, that’s by far my favorite pop tart flavor.
Other popular fillings like blueberry, mixed berry, cherry and even cinnamon brown sugar quickly takes us adults back to care-free childhood days and kids today are instantly captured by the same delicious flavors. If your kids are most familiar with store-bought pop tarts, I promise they’ll be hooked on this homemade version right away! Especially with a little icing on top, they look just like factory made, but much healthier.
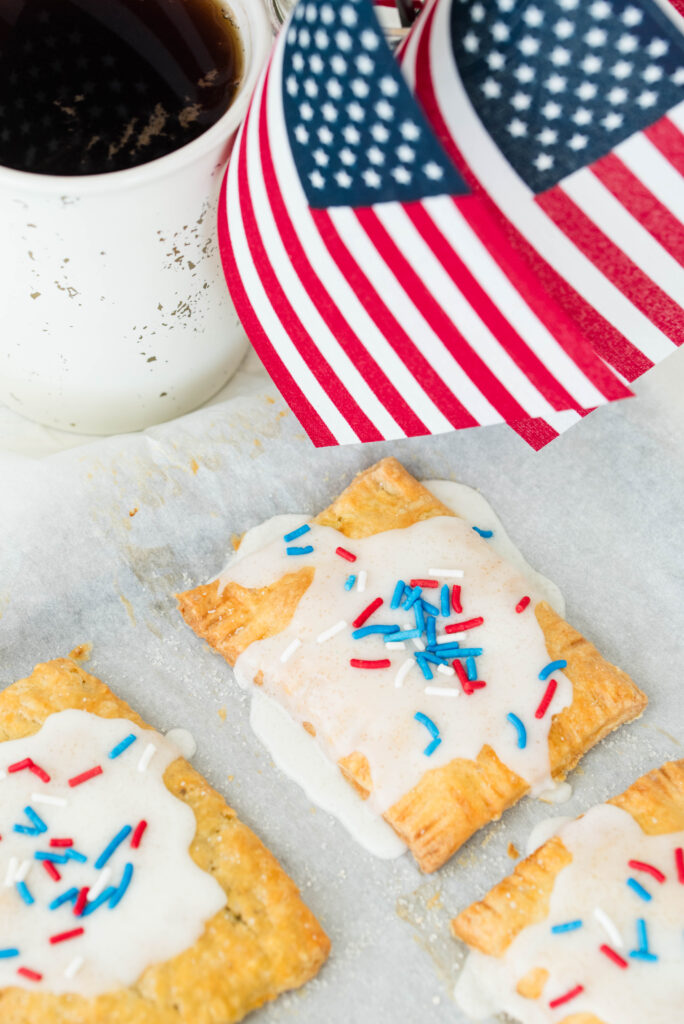
And the individual nature of homemade pop tarts makes them easy to wrap up and take on the go. It’s great for portion control too when you want kids to have a small treat…or adults too. They’re also great for backyard picnics and pot-lucks, so surprise guests at your next summer get together especially on the 4th of July! With celebrating 250 years of freedom, I have a feeling we’ll all be quite relaxed and a bit nostalgic.
Why You’ll Love This Recipe
Irresistible flavor and texture – Once you bite into a homemade jam filled pop tart, you’ll never look back at that store-bought box again. Soft buttery layers enclose a delicious pocket of jam and a hint of icing makes them irresistible to kids both big and small. The childhood memories and incredible flavor make the handmade effort worth it.
No harmful ingredients – These homemade jam filled pop tarts are made with real whole food ingredients. Confidently serve to family and friends knowing they are without all the junk of store-bought brands. Did you know that familiar blue box brand of pop tarts is made with genetically bioengineered ingredients?
Versatile – Pop tarts or hand pies as they are sometimes known for, are most commonly eaten as a sweet item. But they can also be made into a savory item for a quick lunch or supper on the go. Fill with a delicious homemade tomatillo or huckleberry jam along with herbs and cheese and it’s equally as good as your morning treat. I personally can’t wait to make Luke homemade pizza pockets with my garden fresh pizza sauce.
Helpful Hints for Delicious Jam Filled Pop Tarts
- To make the baking process go faster and to better incorporate the butter, use a food processor to mix together the dry ingredients and butter. With the butter finely broken up, you’ll avoid a soggy mess when baking and achieve that perfect pastry crust.
- Transfer the flour and butter mixture to a bowl before adding the wet ingredients. Pour in the vinegar and water and mix by hand. Only stir until the dough just comes together. Do not over mix or the dough will be dry and hard.
- The key to these jam filled pop tarts baking into soft, tender layers is to keep the butter cold. It mixes into the flour better when it’s cold. Also, it’s important to chill the pop tarts once they’re on the pan before baking, about an hour or longer. Cold butter is what bakes flaky, buttery layers.
- In place of heavy cream, use an egg wash to achieve the glossy golden tone of each pop tart when baking. Mix one egg with one tablespoon water. I chose heavy cream because I have a sensitivity to eggs.
How to Make Jam Filled Pop Tarts
What You’ll Need
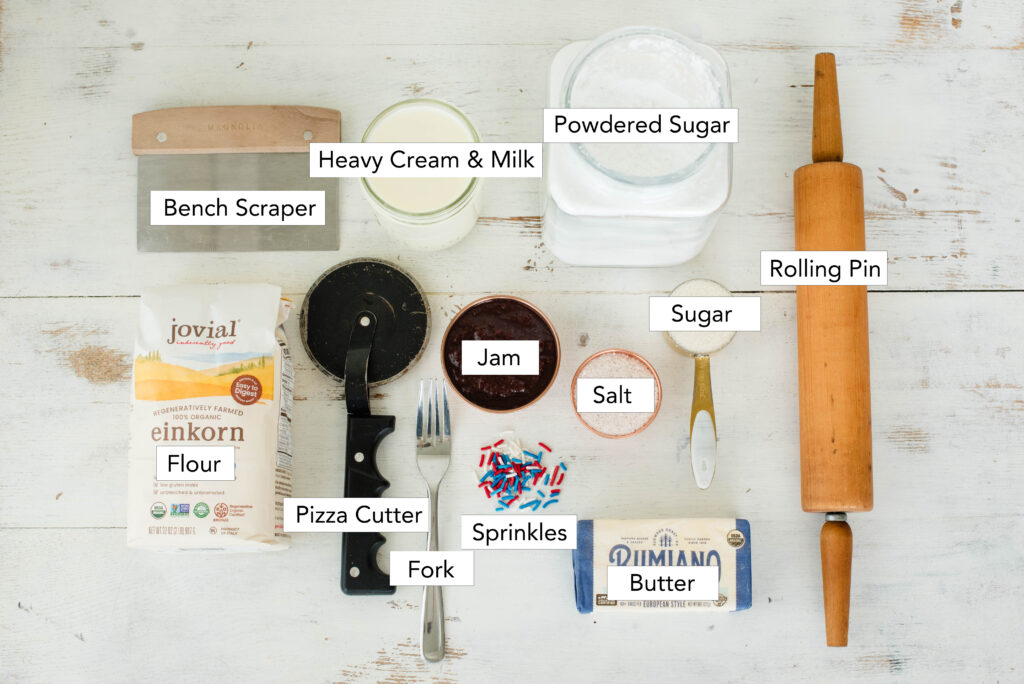
Ingredients
Flour – I used einkorn all-purpose flour for this batch of pop-tarts, but regular works as well.
Butter – Cold and unsalted is best.
Heavy cream & milk – Use heavy cream for the wash before baking and milk is for the icing.
Jam – Homemade or store-bought jam in any flavor works great for these homemade pop tarts.
Sprinkles – These are optional, but I do highly recommend an all-natural brand or skip them altogether. In full transparency, the sprinkles used in these photos are regular Betty Crocker brand, which uses synthetic dyes and bioengineered ingredients. I do not support consumption of those products, but they do make for a fun photo!
A full list of ingredients is listed in the recipe card down below.
Tools Needed
Cookie sheet and parchment paper
Rolling pin, pizza cutter and bench scraper
Fork, spoon, sharp knife and pastry brush
Mixing bowl and food processor
Step-by-Step Instructions
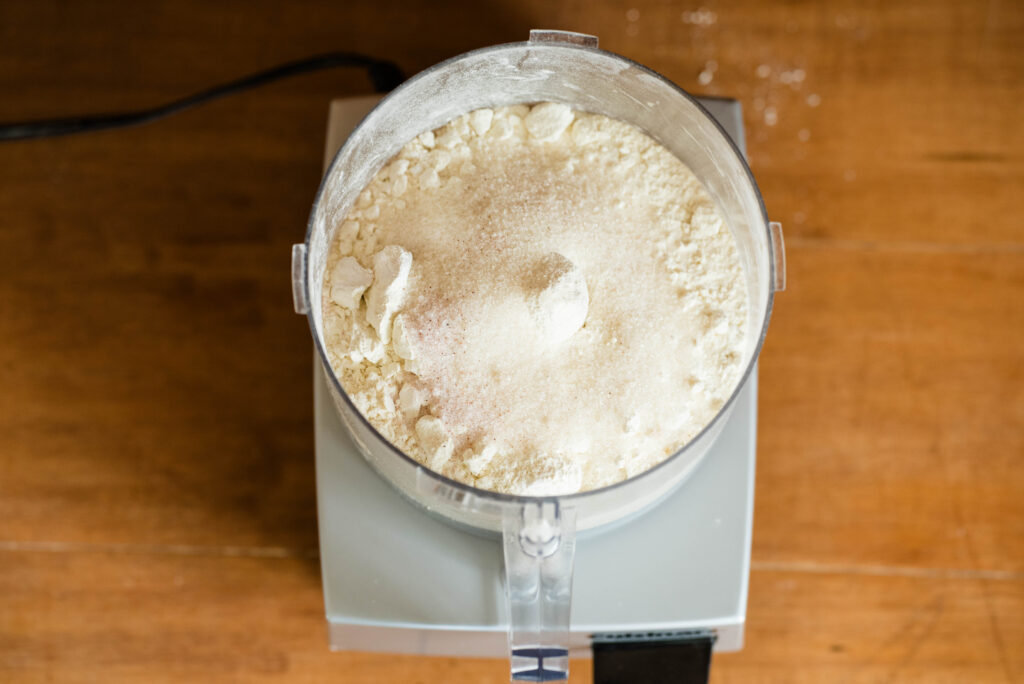
In a food processor, pulse together the dry ingredients three times.
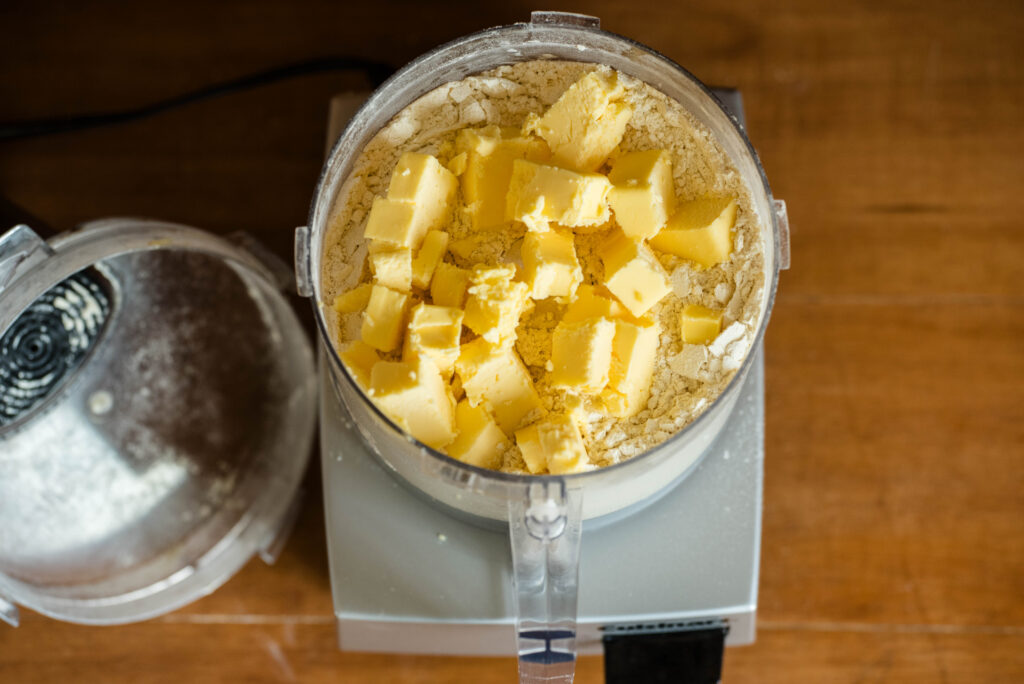
Next, add the butter and blend until the mixture resembles a dry crumble texture.
Add the flour and butter mixture to a mixing bowl and add the vinegar and water.
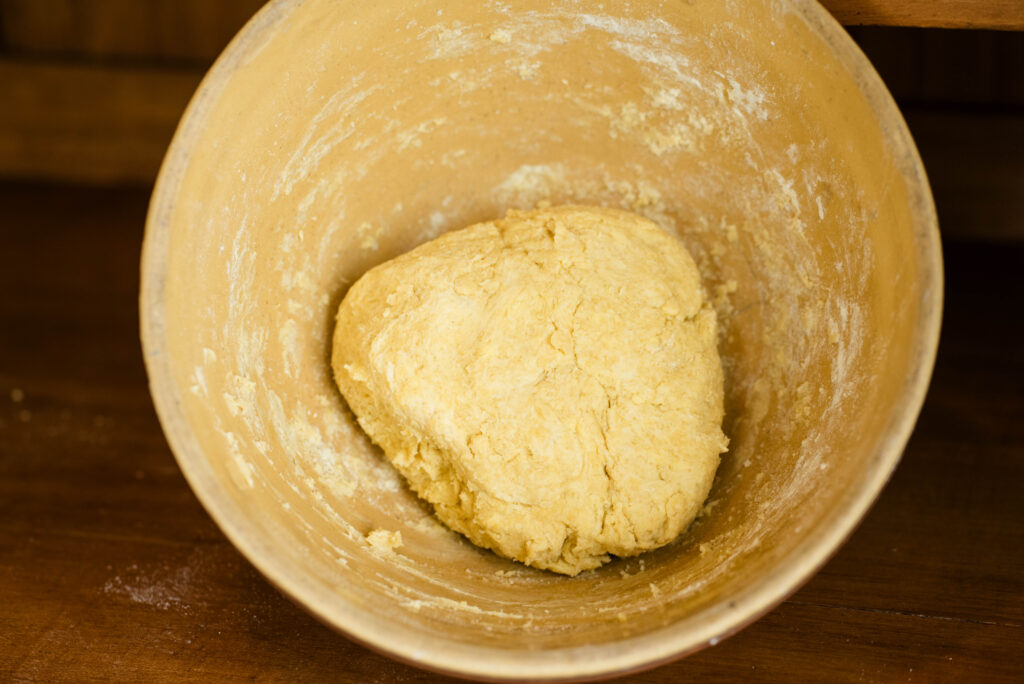
Stir together the wet and dry ingredients just until the dough comes together. Do not over mix or dough becomes tough and dry.
Cover the dough and chill in the refrigerator for minimum of one hour. This makes the dough easier to roll out.
Remove dough from the refrigerator after chilling and roll out to 1/8″ thick.
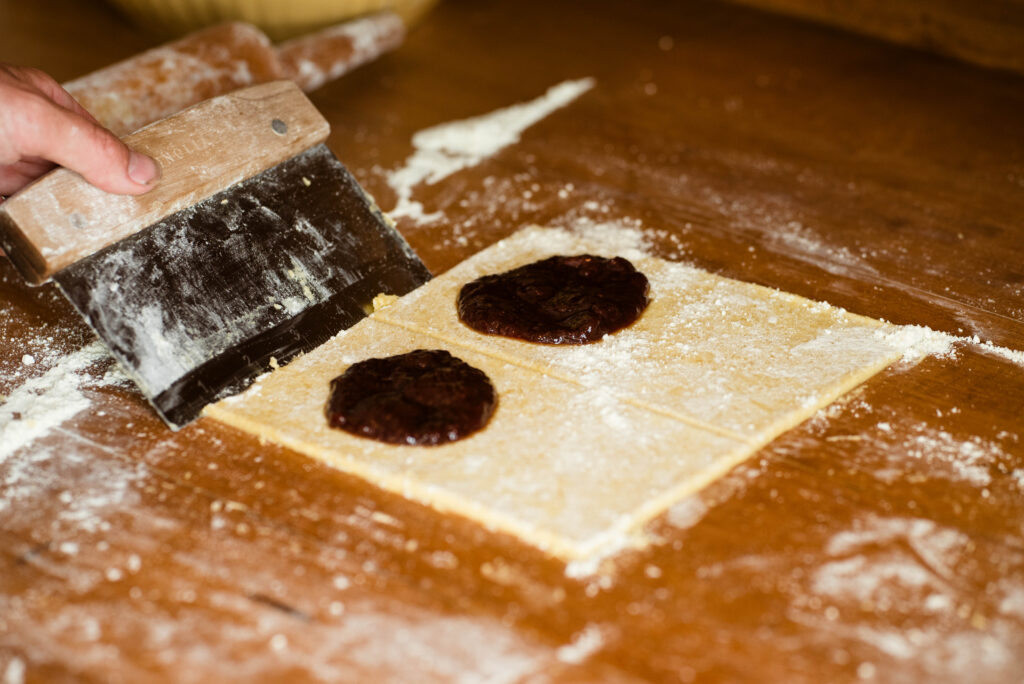
Cut dough into a rectangle shape and then into strips with a pizza cutter. Strips are 4″ wide and 6″ long.
Scoop jam onto one end then use the bench scraper to fold the other end on top of the jam.
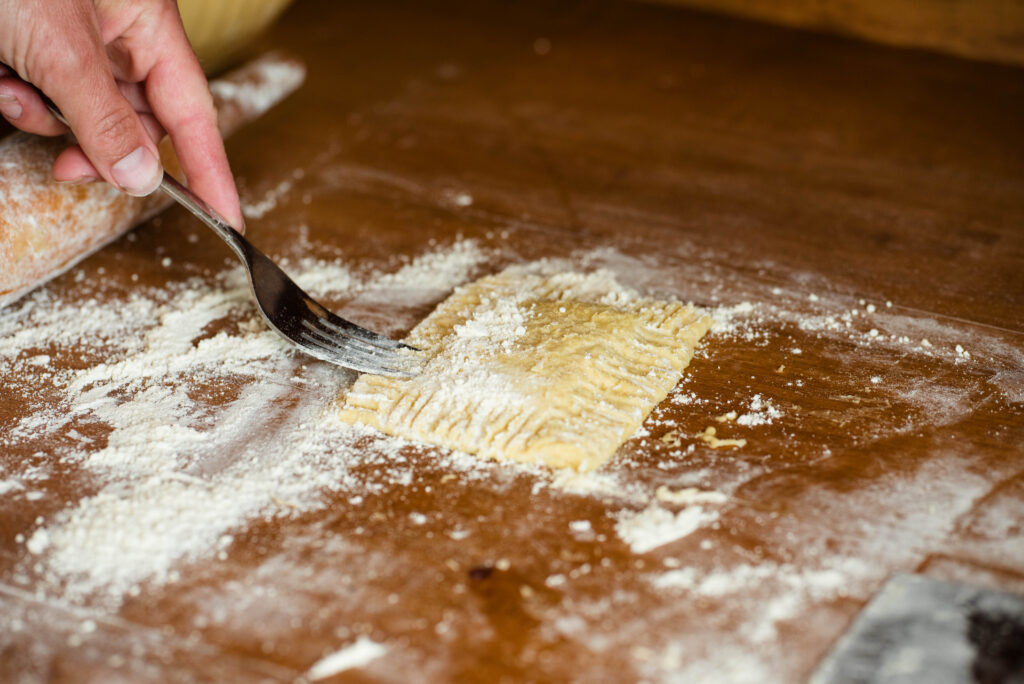
Take a fork and crimp along the edges on all four sides of the dough. Dip fork into flour to prevent it from sticking to the dough.
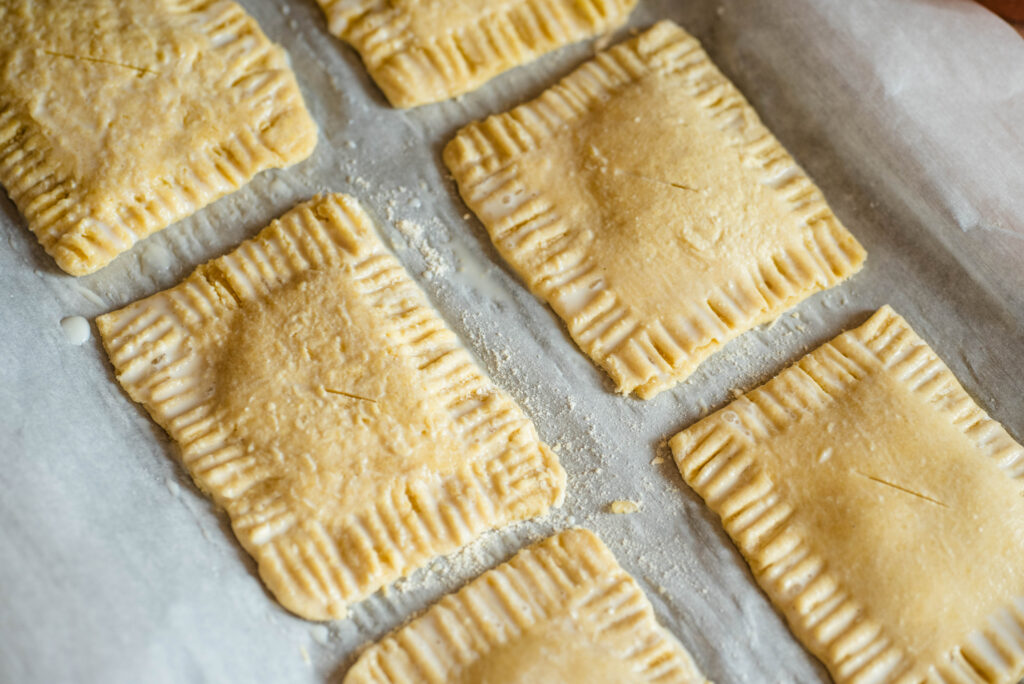
Arrange each pop tart onto a cookie sheet lined with parchment paper. Place pan in the fridge or freezer for an hour before baking.
When ready to bake, preheat oven to 350 degrees.
With a sharp knife, cut a slit into the top of each pop tart. Brush each one with heavy cream or an egg wash.
Bake for 30 minutes and let cool before icing.
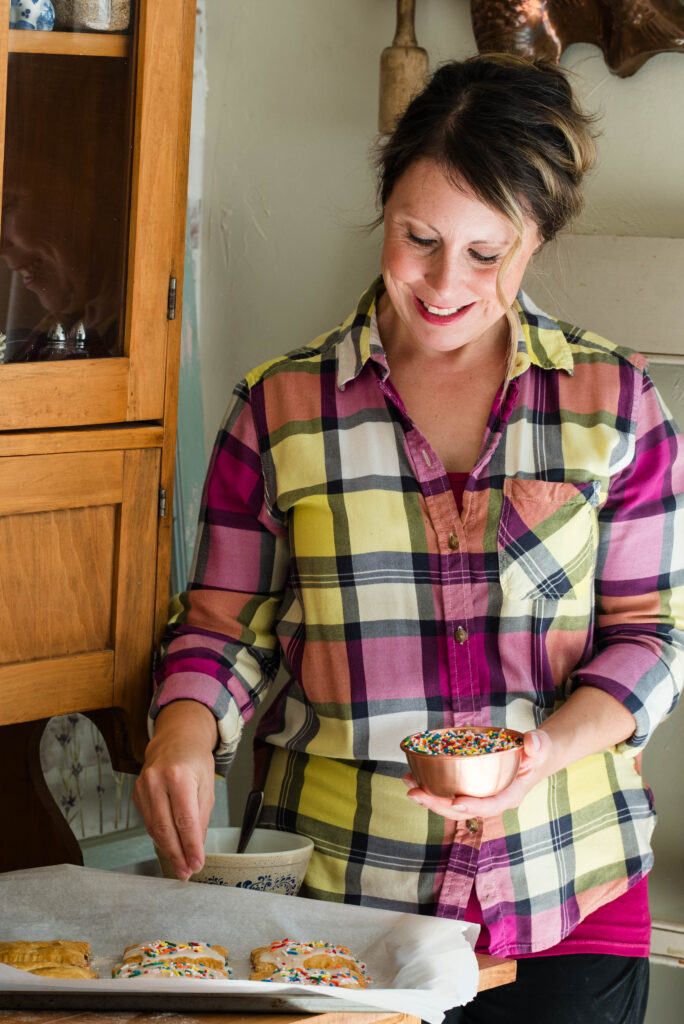
Once the pop tarts are cool enough, drizzle on the icing and top with sugar and sprinkles if desired.
Store in an air tight container in the fridge up to a week. Separate layers with parchment paper. Or store in the freezer.
When ready to eat, warm or thaw to room temperature or warm in the oven on the lowest setting. Do not warm or thaw in a toaster unless pop tart is unglazed. The icing will ruin a toaster.
FAQ’s
Is it necessary to cut a slit in the top for venting?
Yes, especially if the jam is freshly made. Some fruits like strawberries have a higher moisture content than others. The steam turns the pastry soggy.
What is the best way to keep homemade pop tarts fresh?
Keep them fresh by individually wrapping them in parchment paper or plastic wrap. Store in the refrigerator or freezer.
How should homemade pop tarts be re-heated?
Warm them to room temperature or in a toaster oven or regular oven. Heat at 275 degrees for 10 minutes or until completely warmed through. Do not place glazed pop tarts in a regular toaster. The icing will melt and ruin the toaster.
More Recipes From Becky’s Kitchen
The Best Americana Mixed Berry Pie | Cheers to 250!
Quick and Easy Homemade Whipped Cream with 3 Ingredients
How to Make No-Churn Homemade Vanilla Ice Cream
How To Make Low-Sugar Strawberry Jam
Easy Fermented Strawberries with Honey | 3 Methods to Preserve
Thank you for stopping by my blog! If you make this recipe and love it, I invite you back to leave a 5-star review! Tag me with your photos on Instagram @beckybuttlesamericana
Happy 4th of July! –Becky
Jam Filled Pop Tarts | From Scratch and Easy to Make
Homemade jam filled pop tarts feature a soft and buttery pastry filled with a dollop of jam and highlighted with a subtle layer of icing and sprinkle of sugar on top. Bring an irresistible plate of sweet nostalgia to your 4th of July picnic this summer or keep a batch on hand for an easy-to-grab snack for the kids. This homemade version will soon become your family's favorite request!
Ingredients
For the Dough
- 2 3/4 cups (350g) all-purpose flour
- 1/4 cup (50g) sugar plus more for sprinkling on icing
- 1 teaspoon (6g) salt
- 1 tablespoon (8g) vinegar
- 3/4 cup minus one tablespoon (11 tablespoons) (162g) cold water
For the Filling and Icing
- One jar of homemade or store-bought jam-any flavor
- 2 cups (240g) powdered sugar
- 2-3 tablespoons (30-45g) milk
Instructions
1. In a food processor, pulse together the dry ingredients three times.
2. Next, add the butter and blend until the mixture resembles a dry crumble texture.
3. Add the flour and butter mixture to a mixing bowl and pour in the vinegar and water. Stir together the wet and dry ingredients with a spoon or your hands just until the dough comes together. Do not over mix or dough becomes tough and dry.
Cover the dough and chill in the refrigerator for minimum of one hour. This makes the dough easier to roll out.
4. Remove dough from the refrigerator after chilling and roll out to 1/8" thick.
Cut dough into a rectangle shape and then into strips with a pizza cutter. Strips are 4" wide and 6" long.
Scoop jam onto one end then use the bench scraper to fold the other end on top of the jam.
5. Take a fork and crimp along the edges on all four sides of the dough. Dip fork into flour to prevent it from sticking to the dough.
Arrange each pop tart onto a cookie sheet lined with parchment paper. Place pan in the fridge or freezer for an hour before baking.
6. When ready to bake, preheat oven to 350 degrees.
With a sharp knife, cut a slit into the top of each pop tart. Brush each one with heavy cream or an egg wash.
Bake for 30 minutes and let cool before icing.
7. Once the pop tarts are cool enough, drizzle on the icing and top with sugar and sprinkles if desired.
8. Store in an air tight container in the fridge up to a week. Separate layers with parchment paper. Or store in the freezer.
When ready to eat, warm or thaw to room temperature or warm in the oven on the lowest setting. Do not warm or thaw in a toaster unless pop tart is unglazed. The icing will ruin a toaster.
Notes
1. To make the baking process go faster and to better incorporate the butter, use a food processor to mix together the dry ingredients and butter. With the butter finely broken up, you'll avoid a soggy mess when baking and achieve that perfect pastry crust.
2. Transfer the flour and butter mixture to a bowl before adding the wet ingredients. Pour in the vinegar and water and mix by hand. Only stir until the dough just comes together. Do not over mix or the dough will be dry and hard.
3. The key to these jam filled pop tarts baking into soft, tender layers is to keep the butter cold. It mixes into the flour better when it's cold. Also, it's important to chill the pop tarts once they're on the pan before baking, about an hour or longer. Cold butter is what bakes flaky, buttery layers.
4. In place of heavy cream, use an egg wash to achieve the glossy golden tone of each pop tart when baking. Mix one egg with one tablespoon water. I chose heavy cream because I have a sensitivity to eggs.
Nutrition Information:
Amount Per Serving: Saturated Fat: 0gUnsaturated Fat: 0g

I’m a wife and homemaker inspiring old-fashioned skills for a homemade, self-sufficient lifestyle, always with a warm beverage in hand. Homemade Recipes. Gardening. Preserving. Healthy Living.
Want More Recipes from Becky?
Sign up to receive exclusive recipes only for subscribers! Plus you’ll get the latest blog posts straight to your inbox!